
All CS2 Maps in Competitive and Casual Play TL;DR
-
There are currently 15 maps available across official Competitive and Casual matchmaking.
-
The Premier Season 5 pool contains Ancient, Anubis, Cache, Dust II, Inferno, Mirage, and Nuke.
-
Cache replaced Overpass in the Active Duty pool, but Overpass remains playable in Competitive and Casual.
-
Boulder, Fachwerk, and Shelter are the latest community maps.
-
Office, Italy, and Shelter use the Hostage Rescue objective. Every other map on this list is Bomb Defusal.
Got a skin you’ve always wanted? You can buy CS2 skins in a huge variety on Playhub. Best prices and fast delivery from verified sellers with every order.
All Current CS2 Maps in 2026
The table below covers every map currently available in both Competitive and Casual. Premier currently only uses the seven Active Duty maps.
|
Map |
Objective |
Premier |
Category |
|---|---|---|---|
|
Ancient |
Bomb Defusal |
Yes |
Active Duty |
|
Anubis |
Bomb Defusal |
Yes |
Active Duty |
|
Cache |
Bomb Defusal |
Yes |
Active Duty |
|
Dust II |
Bomb Defusal |
Yes |
Active Duty |
|
Inferno |
Bomb Defusal |
Yes |
Active Duty |
|
Mirage |
Bomb Defusal |
Yes |
Active Duty |
|
Nuke |
Bomb Defusal |
Yes |
Active Duty |
|
Overpass |
Bomb Defusal |
No |
Reserve |
|
Train |
Bomb Defusal |
No |
Reserve |
|
Vertigo |
Bomb Defusal |
No |
Reserve |
|
Office |
Hostage Rescue |
No |
Hostage |
|
Italy |
Hostage Rescue |
No |
Hostage |
|
Boulder |
Bomb Defusal |
No |
Community |
|
Fachwerk |
Bomb Defusal |
No |
Community |
|
Shelter |
Hostage Rescue |
No |
Community |
The whole Competitive pool includes the seven Premier maps plus Overpass, Train, Vertigo, Office, Italy, Boulder, Fachwerk, and Shelter.
Current CS2 Premier and Active Duty Maps
The Active Duty pool is the seven-map rotation used in Premier and professional tournament play. Competitive lets you queue these maps individually, while Premier makes both teams go through a pick-and-ban phase before the match begins.
1. Ancient
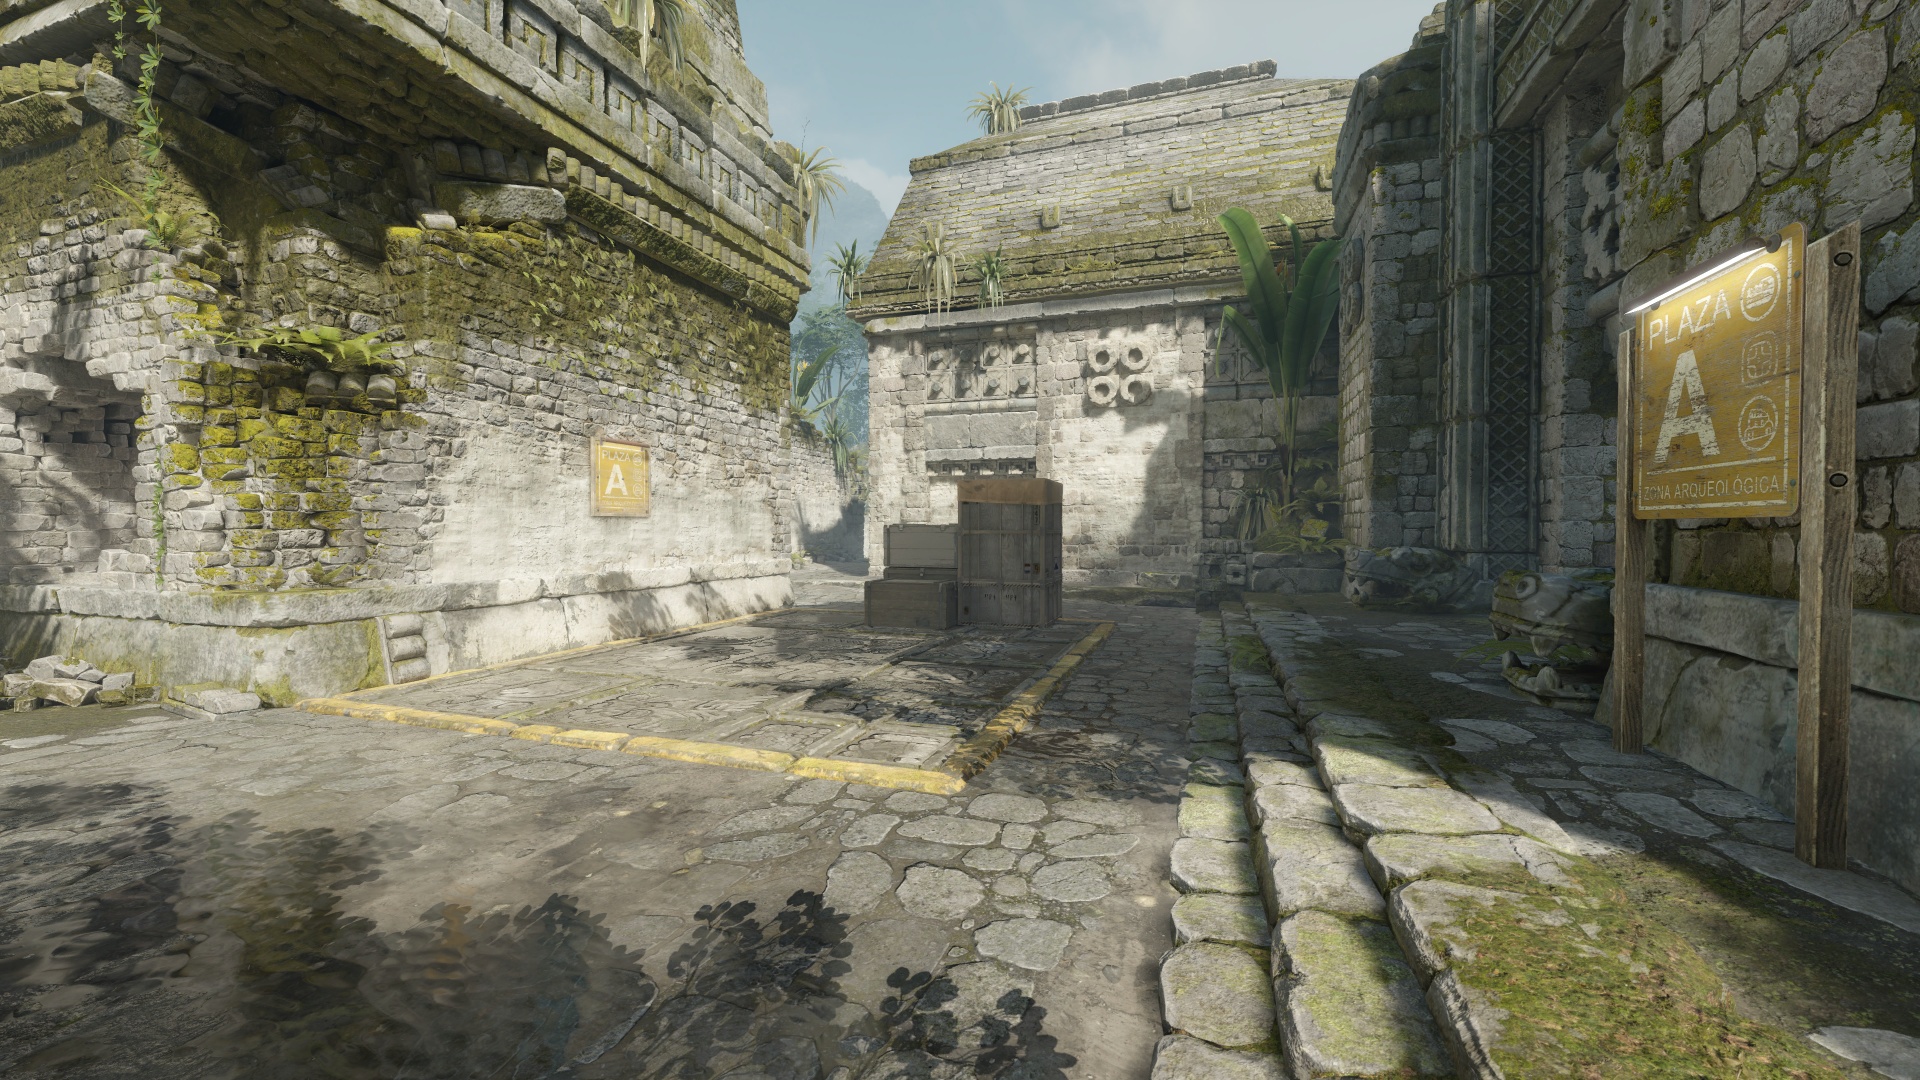
T side needs to take control of Mid, Donut, or Cave before they can create a convincing site split. Straight A Main or B Ramp pushes are much easier to stop when the defenders only have one entrance to watch. Use early utility to remove close angles, but avoid throwing every grenade during the opening fight.
CTs should contest Mid and Cave since control of them gives defenders information and makes T-side splits harder. Clear communication matters a lot when Mid control is lost. The A player needs to know when Donut becomes dangerous, while B defenders must track possible Cave and Ramp rushes.
2. Anubis
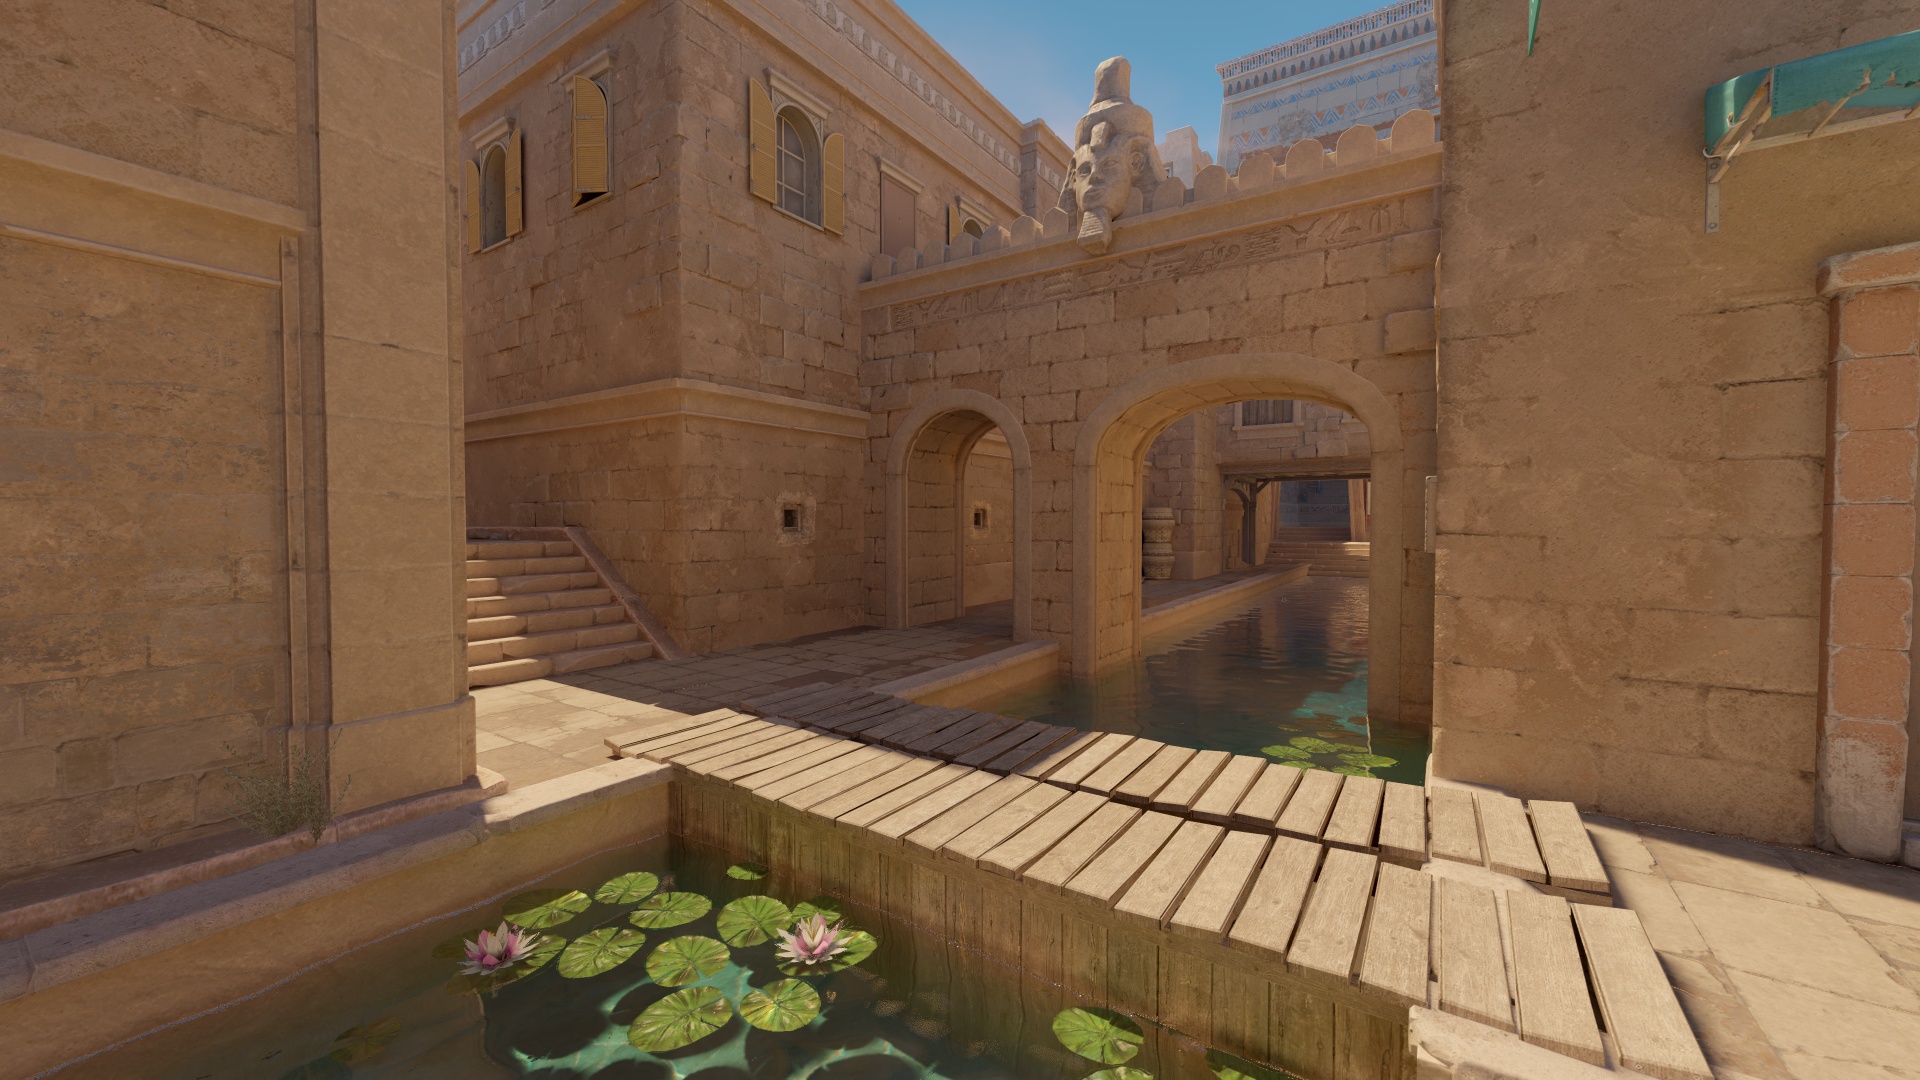
Anubis gives both teams multiple ways to rotate - Mid, Water, Connector, and Canal. That movement flexibility makes map control super important.
T side should use Mid and Water to force CTs away from their comfortable site setups. Once attackers control the central routes, they can split A, pinch B, or get rotating defenders. B attacks should use molotovs and smokes to isolate the deeper site positions before you even go in.
Anubis also greatly rewards late-round changes of direction. Because the central routes connect both sides of the map, a team holding enough control can rotate without returning all the way through the T Spawn.
CTs need information around Mid and Water, but should try to avoid giving away opening kills for free. Defenders also need to communicate when Water or Connector is lost. These positions let Ts attack from multiple directions and make static site holds much less reliable.
3. Cache
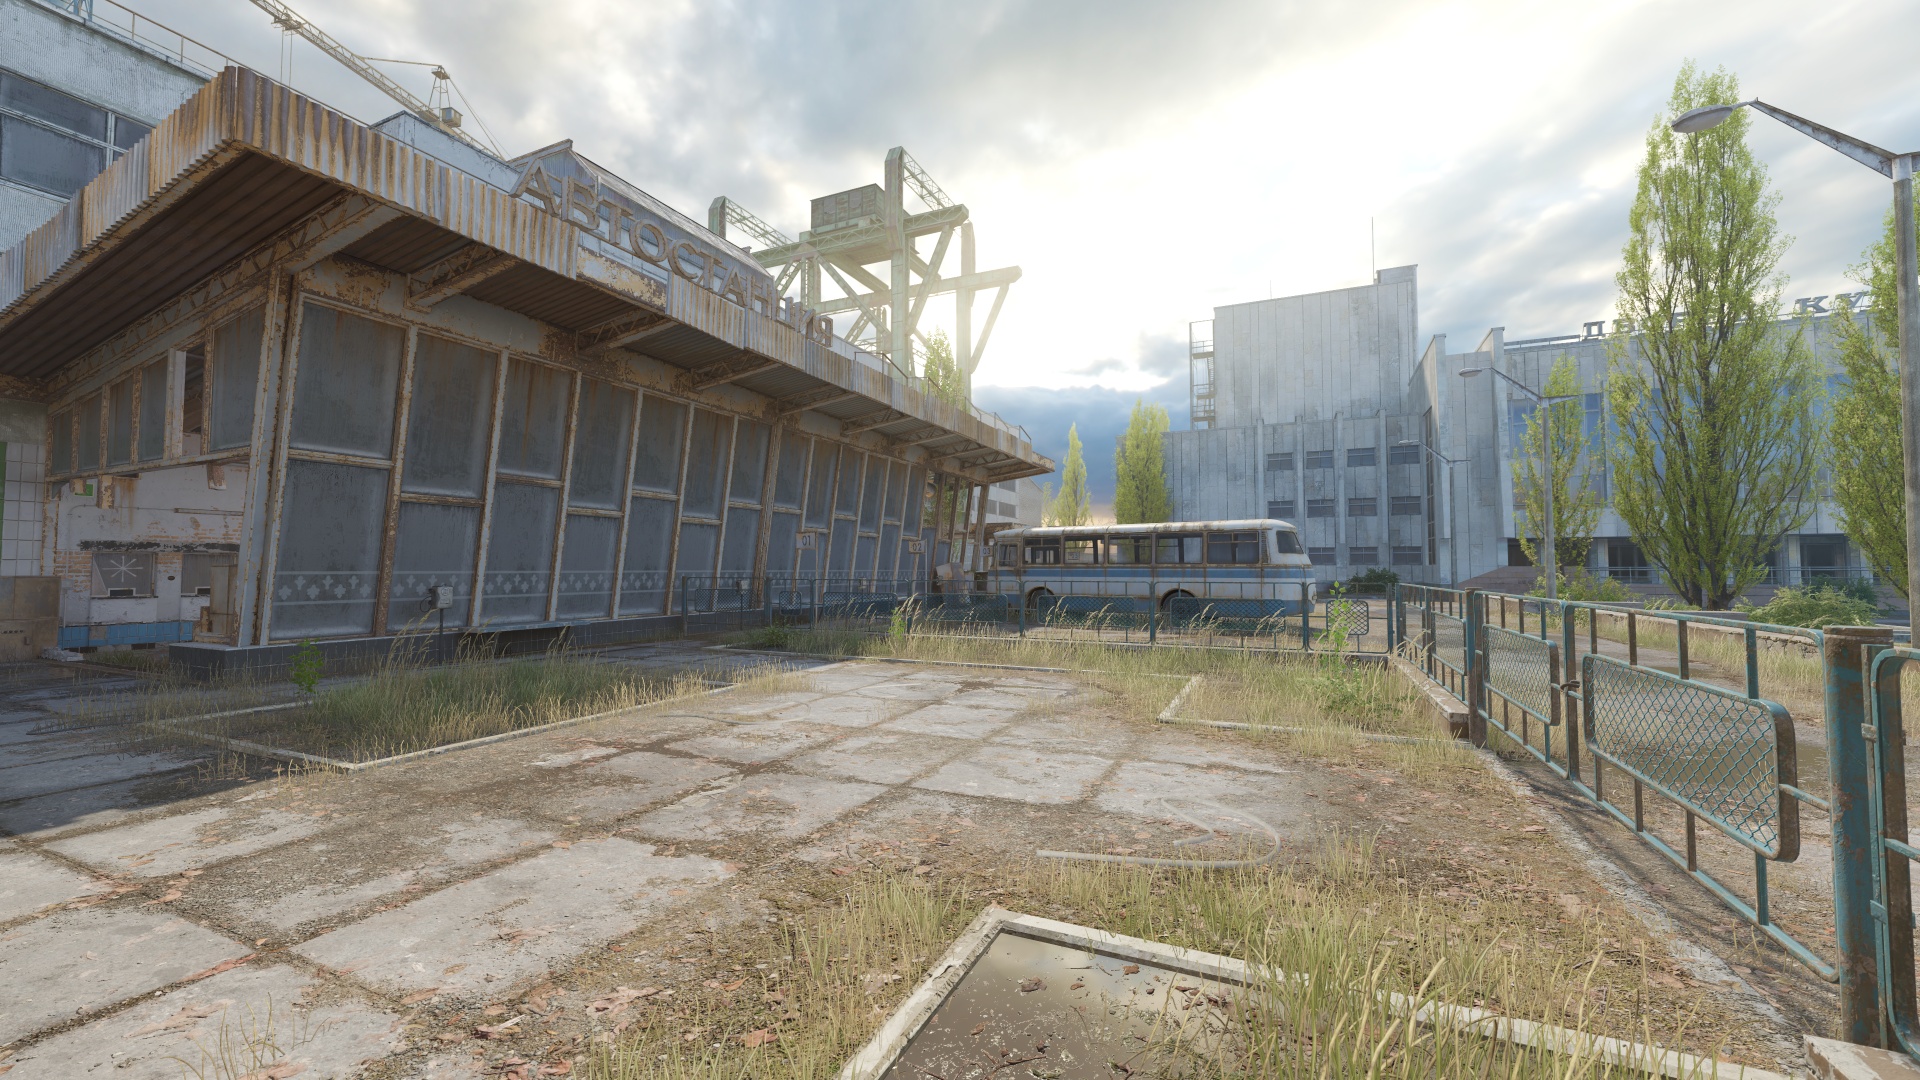
Cache is a three-lane map with Mid connecting both sites through Highway and Vents, so whoever owns it gets far more rotation options. The map has been absent from the pool for many years, and its return sparked player discussion on whether the rework works or not.
T side should try to contest Mid and not force five-man A Main or B Main rushes. Mid control lets you split A through Highway, pressure B through Vents, or keep CT rotations pinned. A hits are strongest with Ramp, Squeaky, and Highway pressure landing together.
CTs should make taking Mid difficult without overcommitting players into it every round. Defenders need to make quick calls on Squeaky and Highway, while B players must track Vents for sneaky Ts trying to get in.
4. Dust II
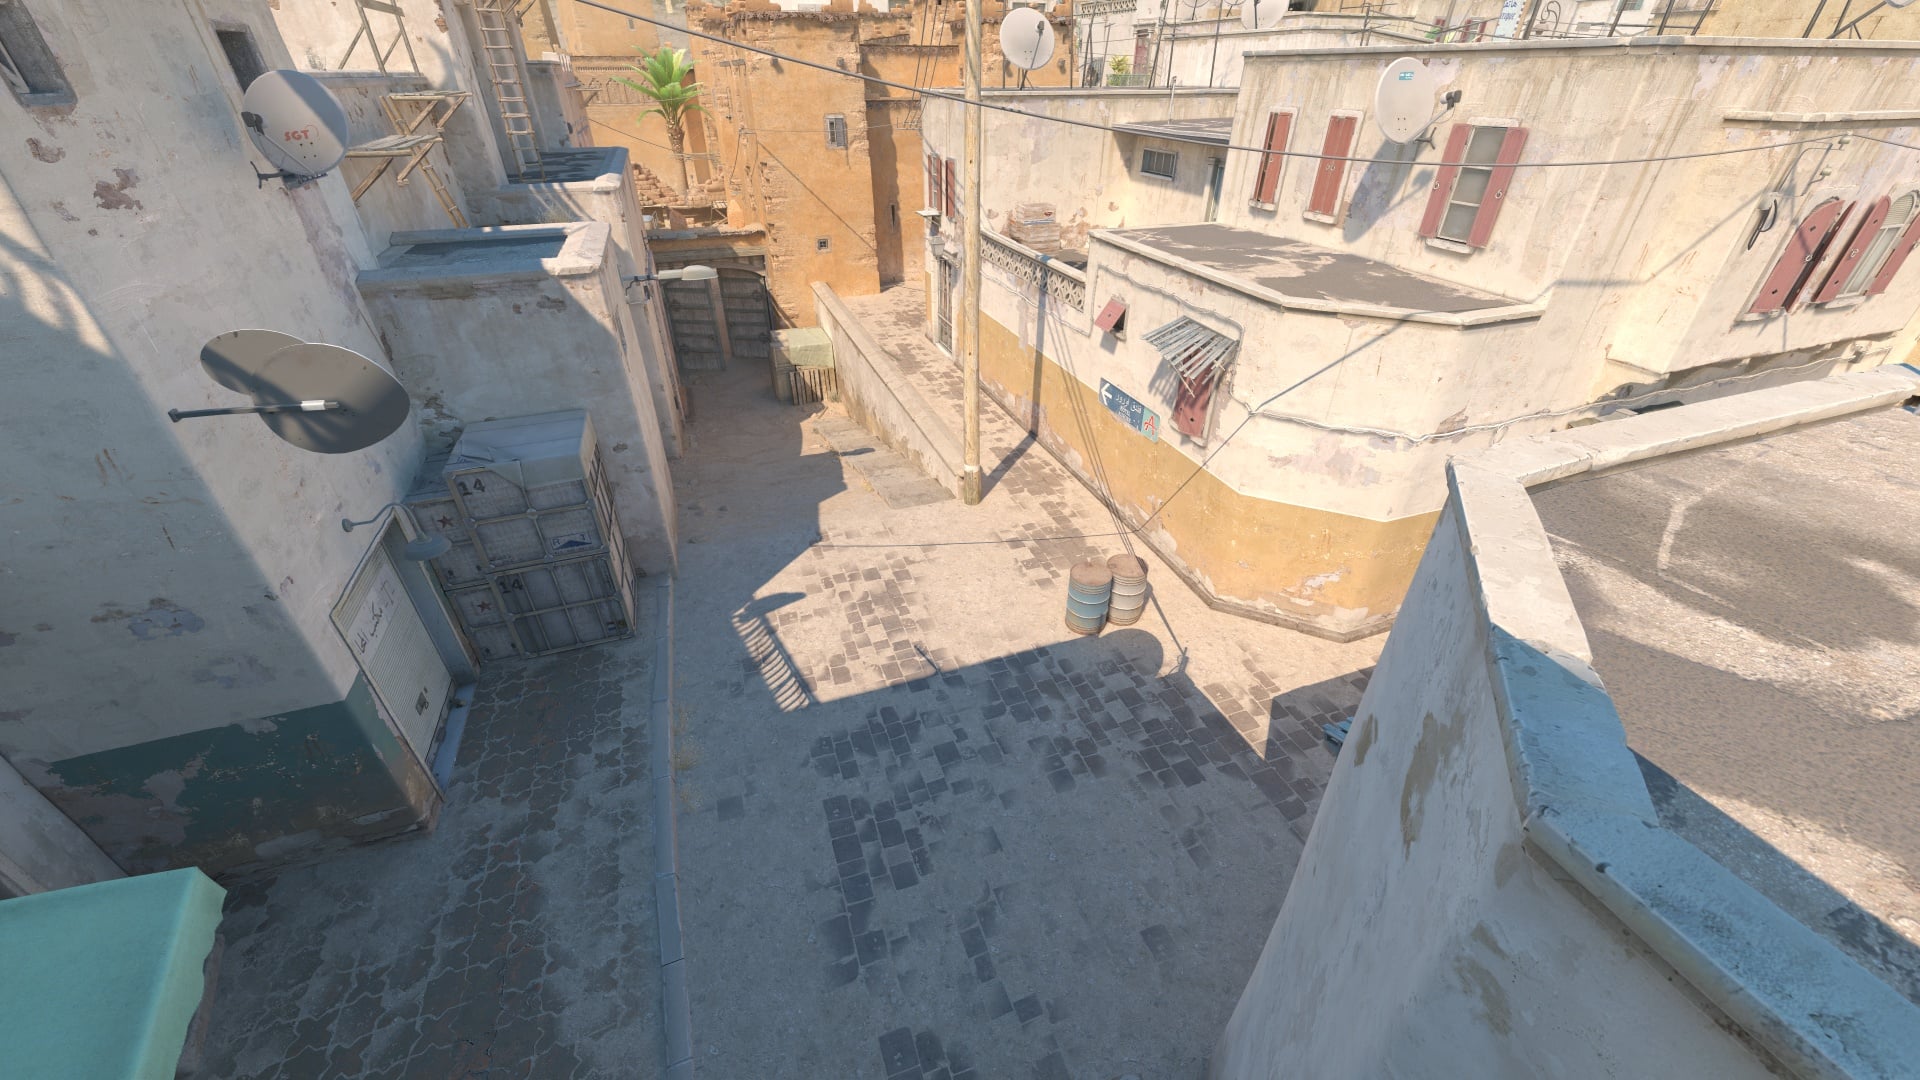
Dust II is iconic with its Long, Short, Mid, and B Tunnels. The layout is very simple, but the fights are punishing because angles are already burned into everyone’s muscle memory.
T side should decide early whether the round is about Long control, a Mid split, or B rush. On B, clear close positions like Car and the near boxes before trying anything else.
CTs need a proper Long defense plan based on using the right utility. Either contest it with flashes or give it up and set up a crossfire. Mid information is useful, but repeated dry peeks through Doors will eventually most likely get punished.
5. Inferno
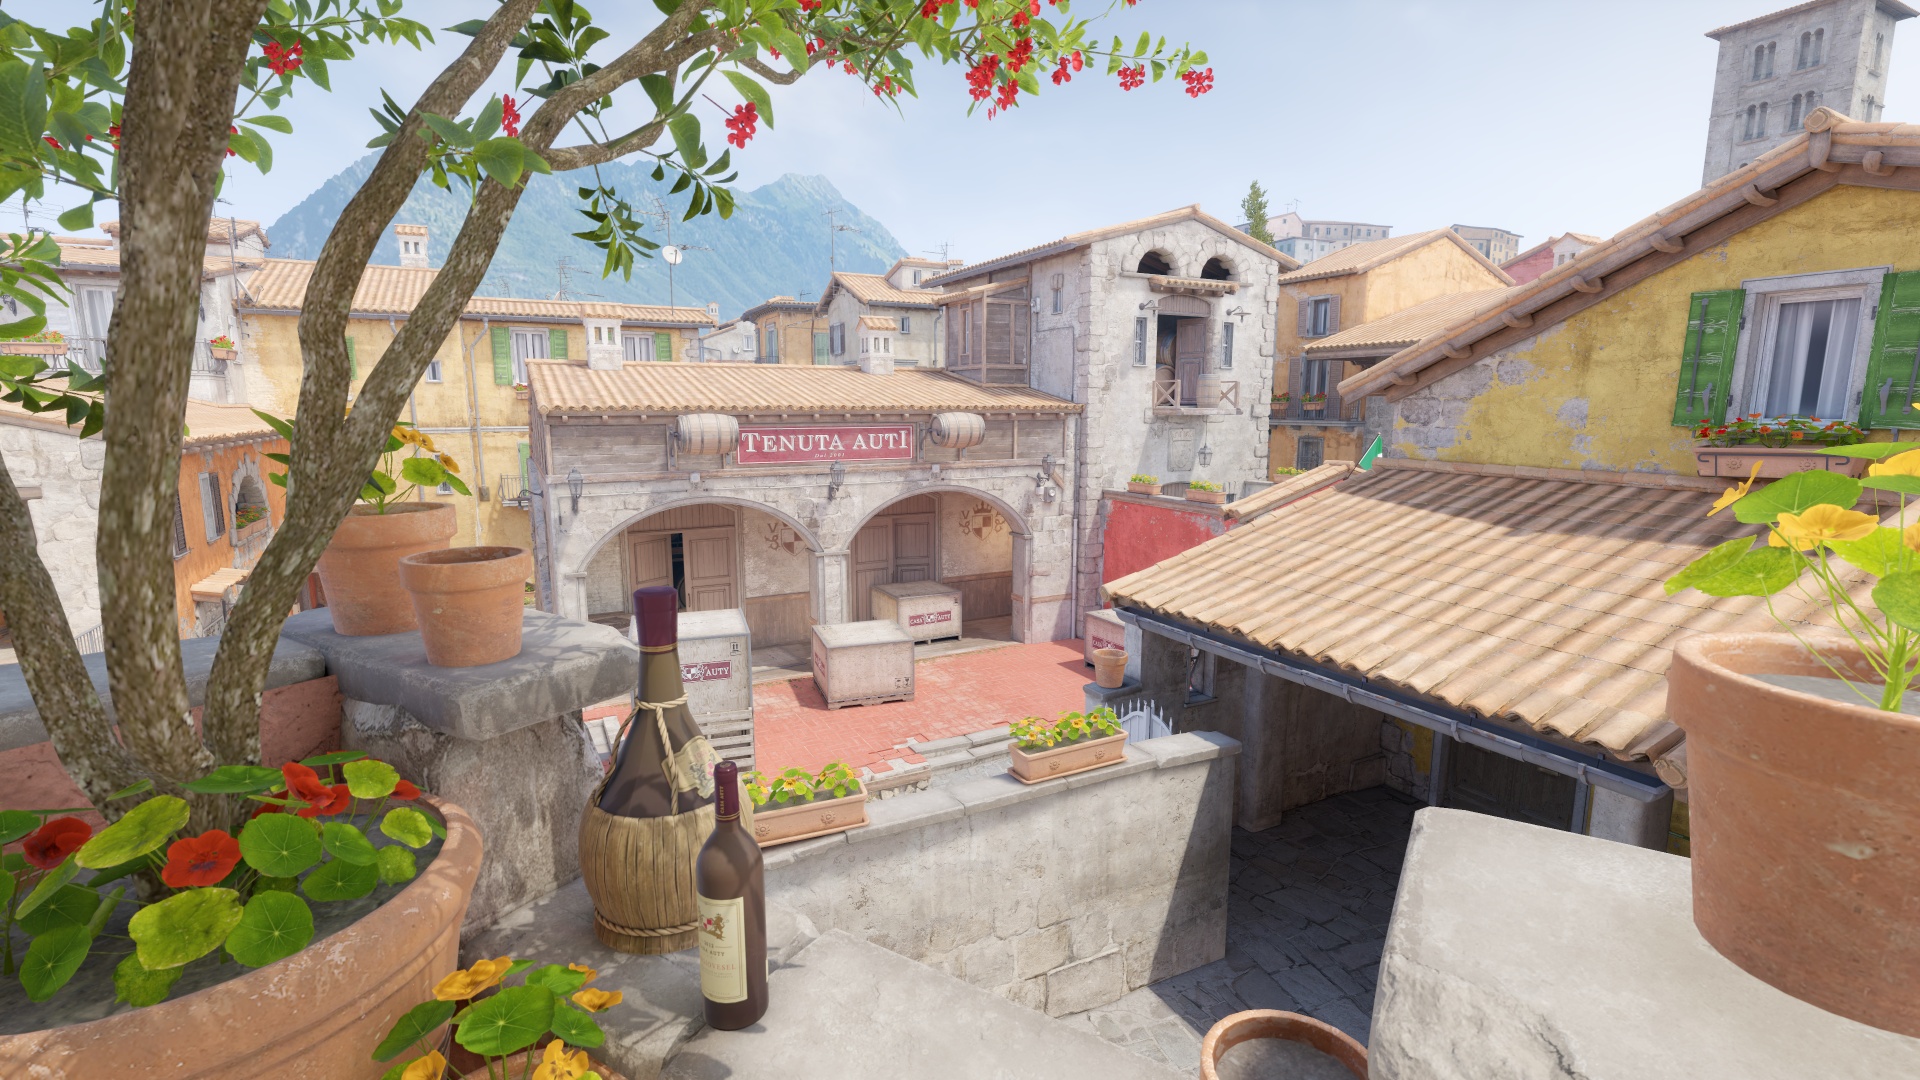
Inferno’s callouts to know are Banana, Apartments, and tight secondary site entrances.
T side needs to pressure Banana using flashes, HEs, and counter-molotovs to force the B players back. On A, combine Apps with Short or Long control because a one-lane push turns Pit into a nightmare.
CTs can fight for Banana early on, but holding it to the death is rarely worth losing players over. Defenders should play around crossfires on Pit, Site, Balcony, and Long instead of taking solo peeks. Rotations need solid information backing them up because Inferno is one of the easiest maps for Ts to fake a push with a few grenades.
6. Mirage
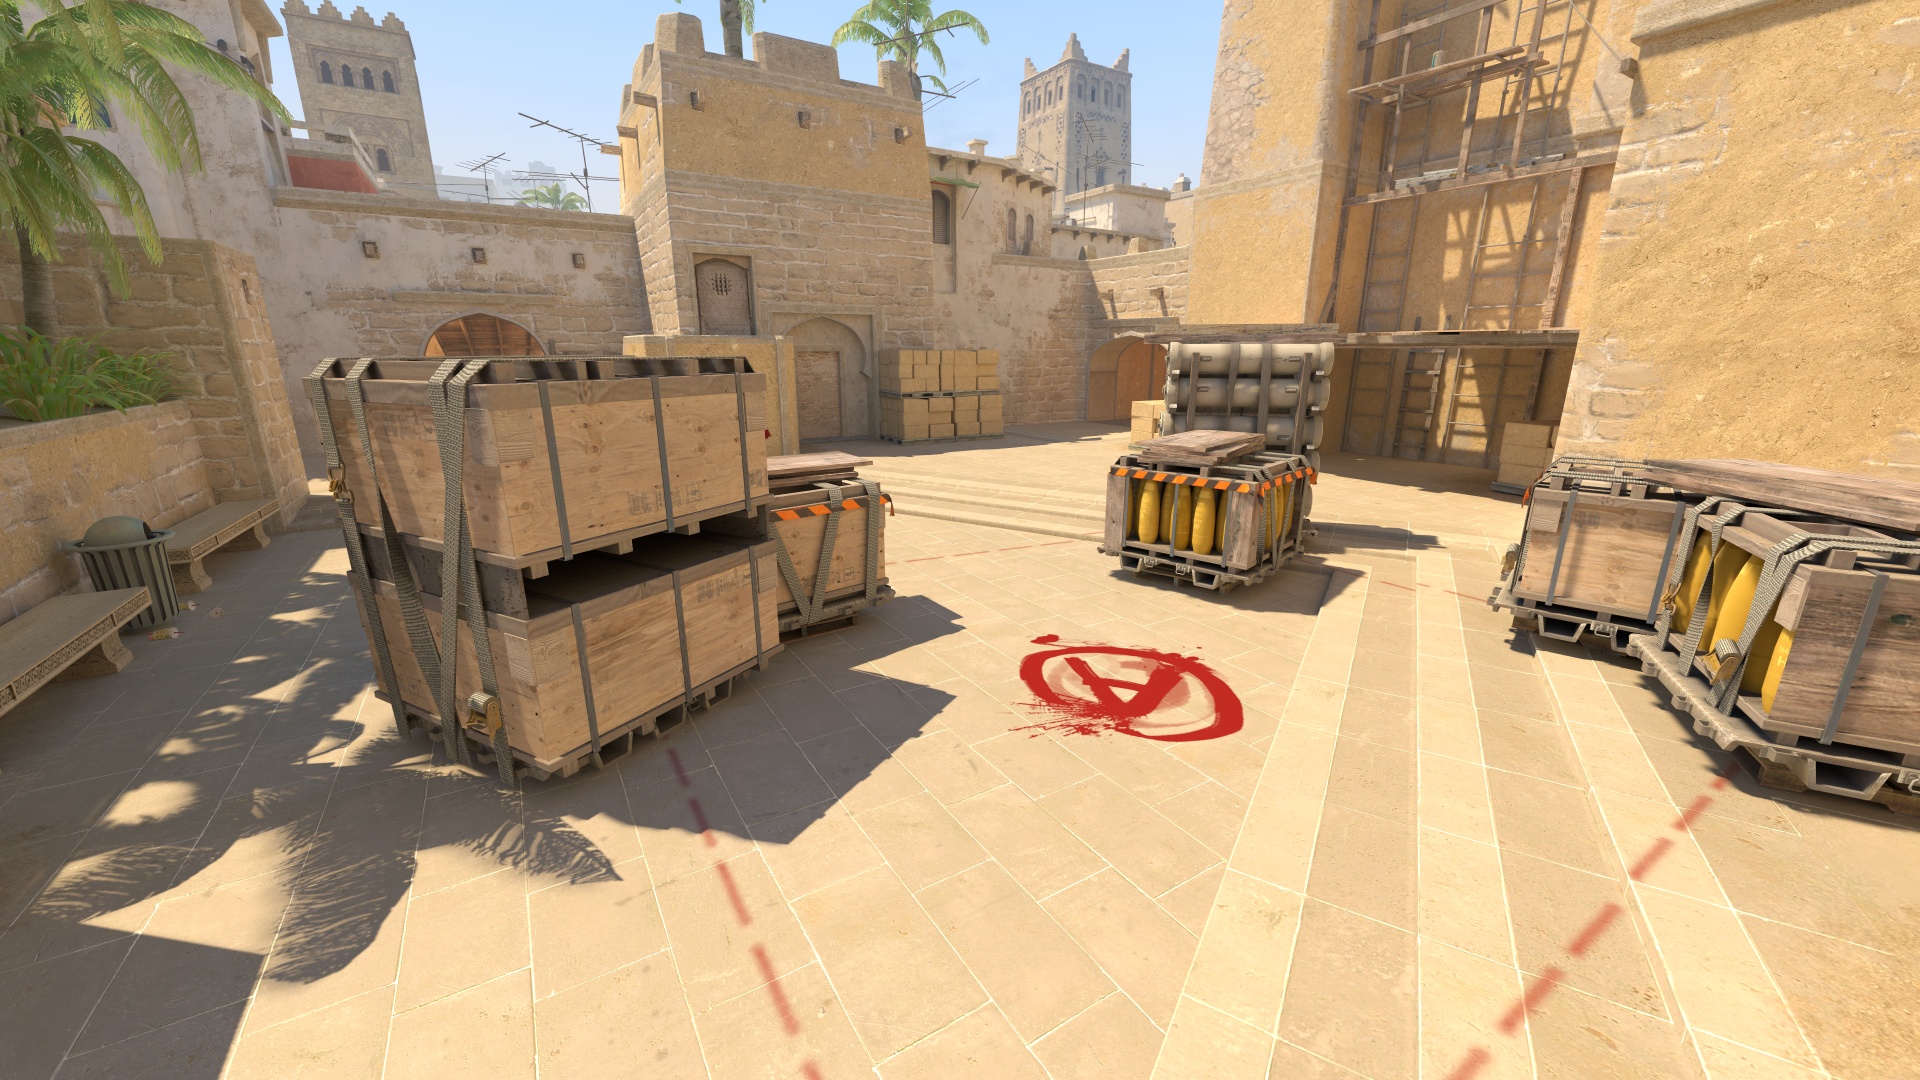
Mirage is the standard pug map for a reason. Mid links Window, Connector, Short, and both sites, which gives the T side plenty of room to change the round.
T side should pressure Mid often enough that the CTs cannot sit comfortably on the sites. A executes need synchronized smokes for Jungle, Stairs, and CT, followed by flashes that let the entries actually leave Ramp and Palace. On B, Apps pressure is much stronger when someone also controls Short.
CTs should contest Mid through Window, Connector, or Short. Delaying the Mid take makes the T default less comfortable to execute, and random picks are always welcome.
7. Nuke
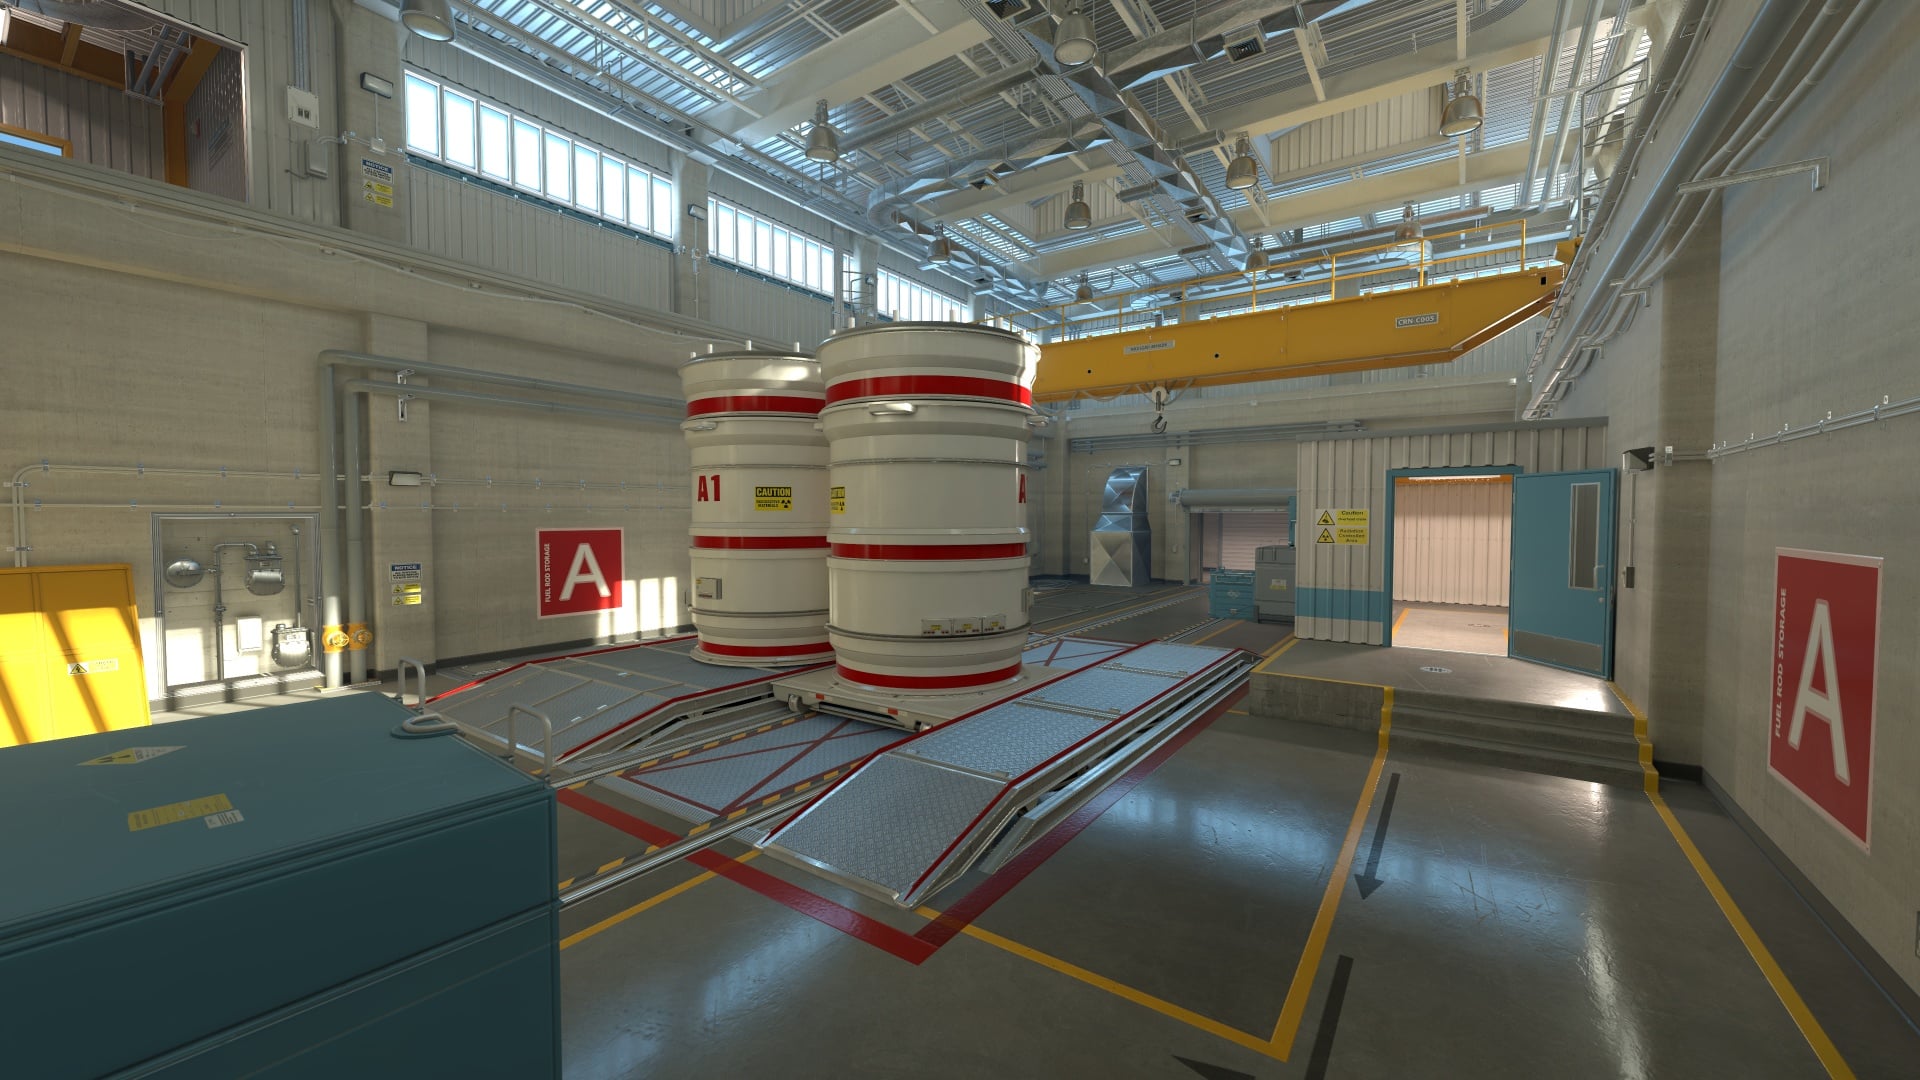
Nuke is the most vertically designed map in the pool. Upper and Lower sit on different floors, with places like Ramp, and Vents creating fast rotations possibilities in every direction.
T side should keep the CTs guessing between Outside, Ramp, and Upper. Outside smoke walls can open a Secret, hide a lurk, or sell a fake. Upper hits need flashes and molotovs for you to get in more or less comfortably.
CTs need clear Outside calls without completely abandoning the inside sites. Ramp players should value staying alive over holding the room forever, since falling back to Lower buys lots of rotation time most of the time. Sound can be misleading between floors, so use the radar and teammate calls all the time.
8. Overpass
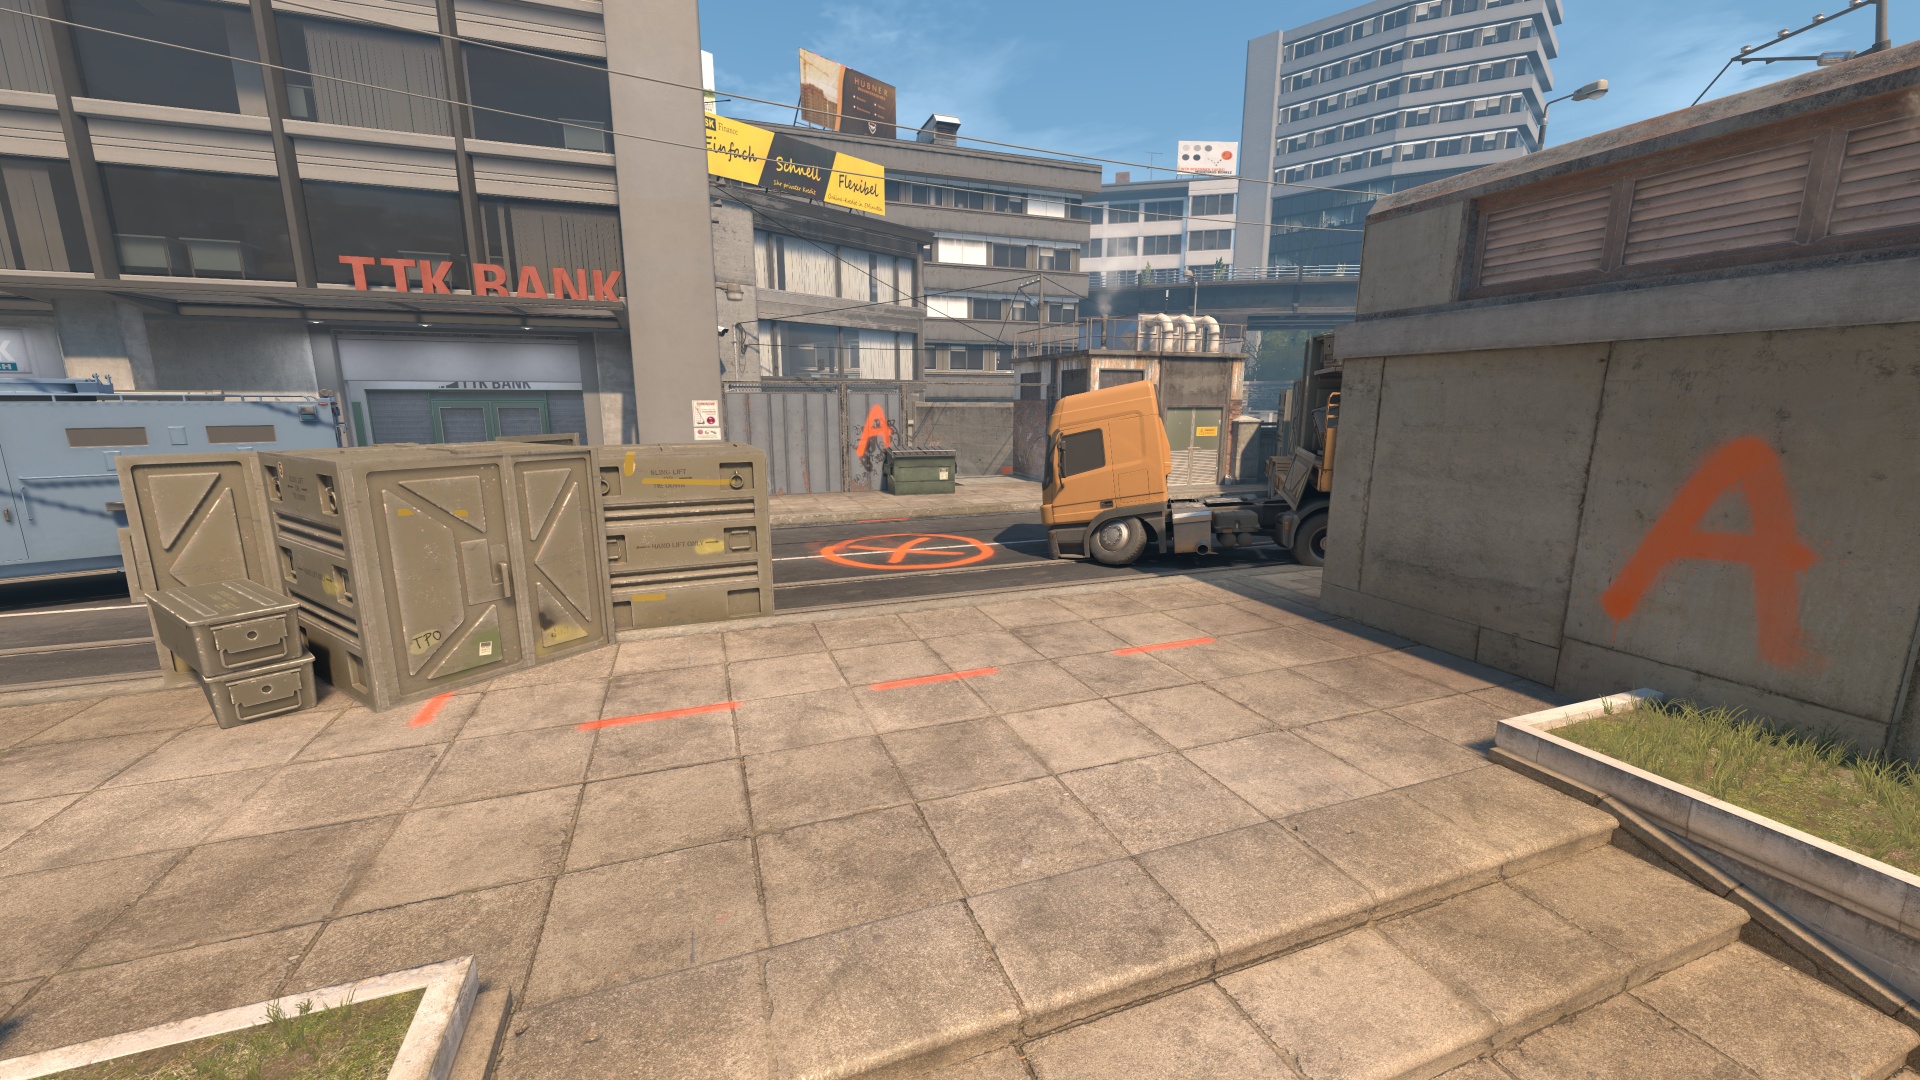
Overpass is a large map built around Bathrooms, Long, Connector, Monster, Short, and the lower Water area. CT rotations are quick, so T side usually needs map control before committing.
T side should use a slow default to clear Fountain, Connector, Bathrooms, and Water. A hits work best with Long and Bathrooms fakeouts, while B becomes much easier when Monster and Short split attack together. Utility fakes are very strong on this map because the CTs rotations are very quick, and they tend to take them.
CTs can take early fights around Fountain, Connector, Short, or Monster, but those plays need flash support and a way out. B defenders should save utility for the final Monster and Short push. A players also need to call lost Bathrooms control early because that route can expose the whole site.
9. Train
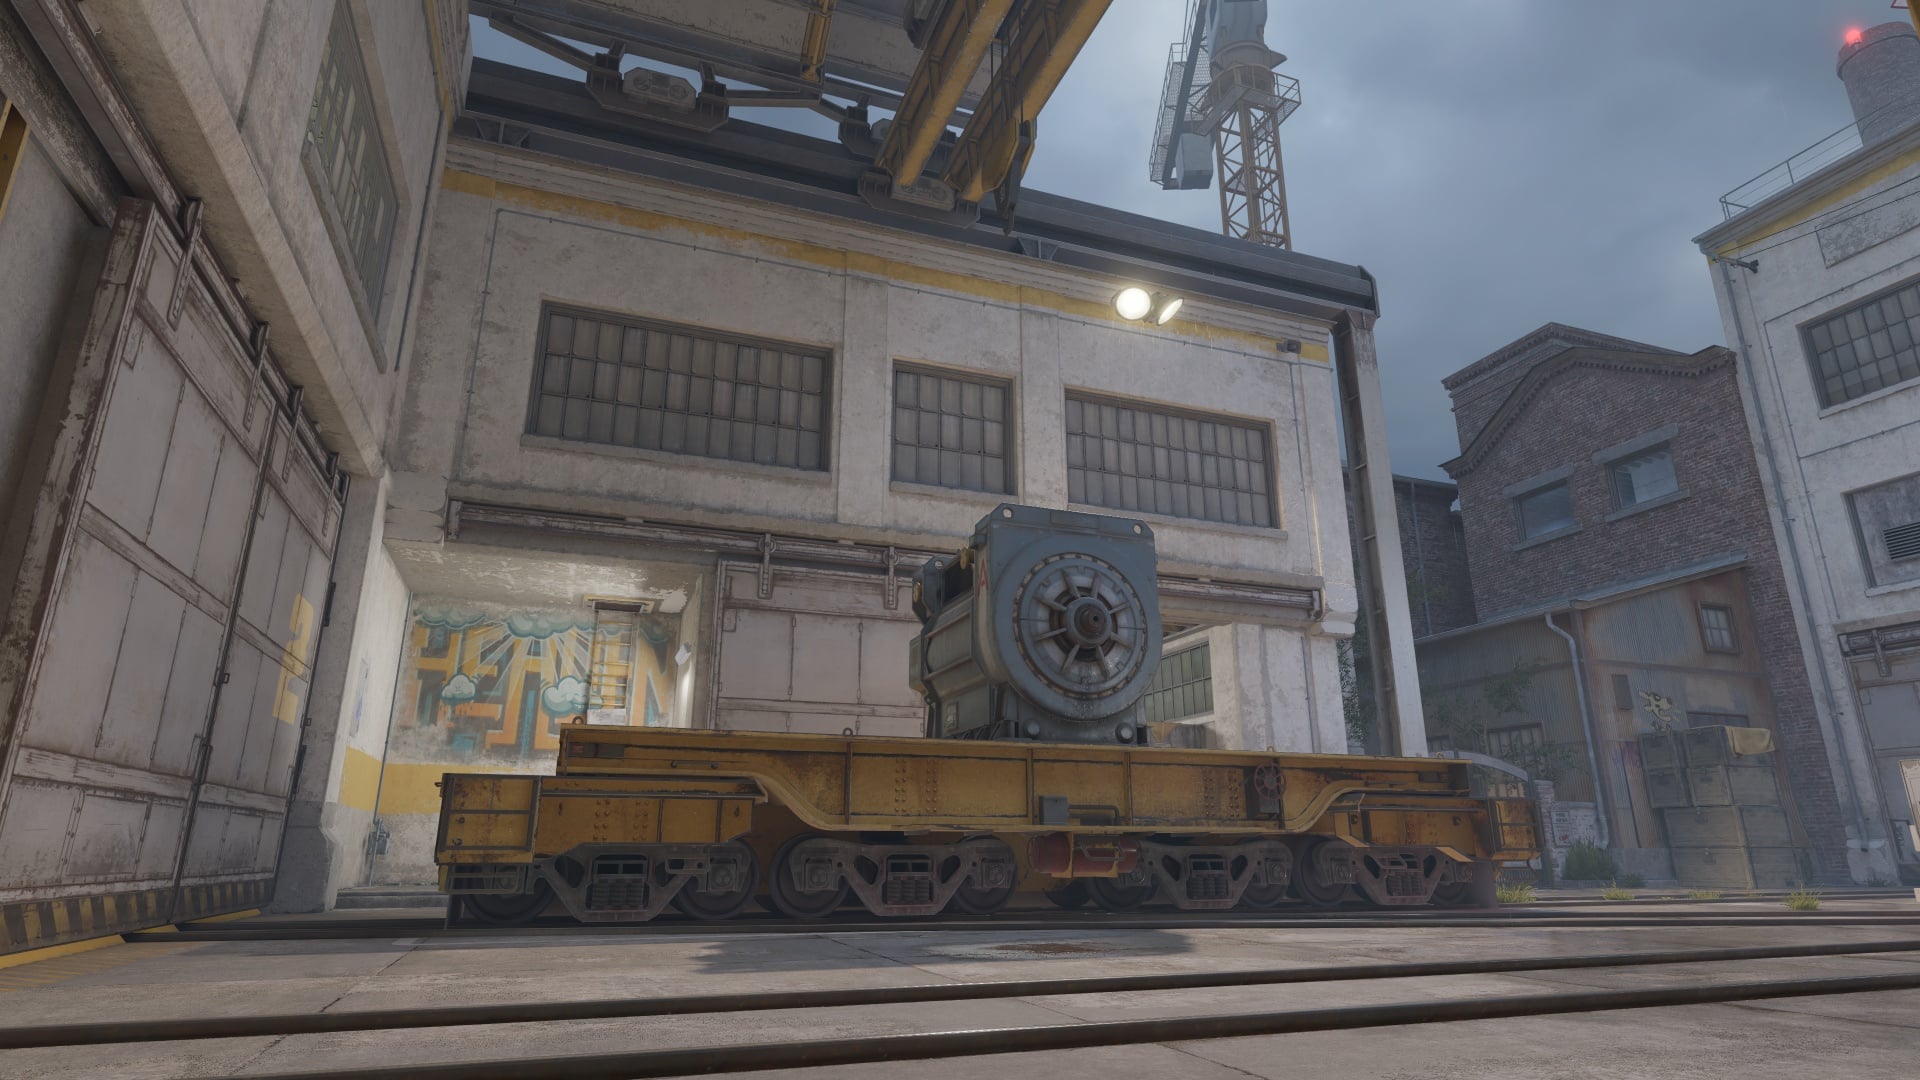
Train is full of long sightlines and a metal cover to make callouts matter even more than usual.
T side should attack the A yard from several routes instead of feeding through Main into every possible AWP angle. Combined Ivy and Main entry forces the CTs to turn away from each other. On B, the upper and lower pressure should land together so the defenders cannot focus on one entrance. Personally, I hate playing T on this map since the layered structure combined with metal covers creates an unfair balance tilted towards the CT side.
CTs should play off crossfires on this map. Keep your eyes peeled on Ivy and Popdog because losing either route without a call can open the side of the entire A setup. The B player also needs patience since faking inner entry is very common.
10. Vertigo
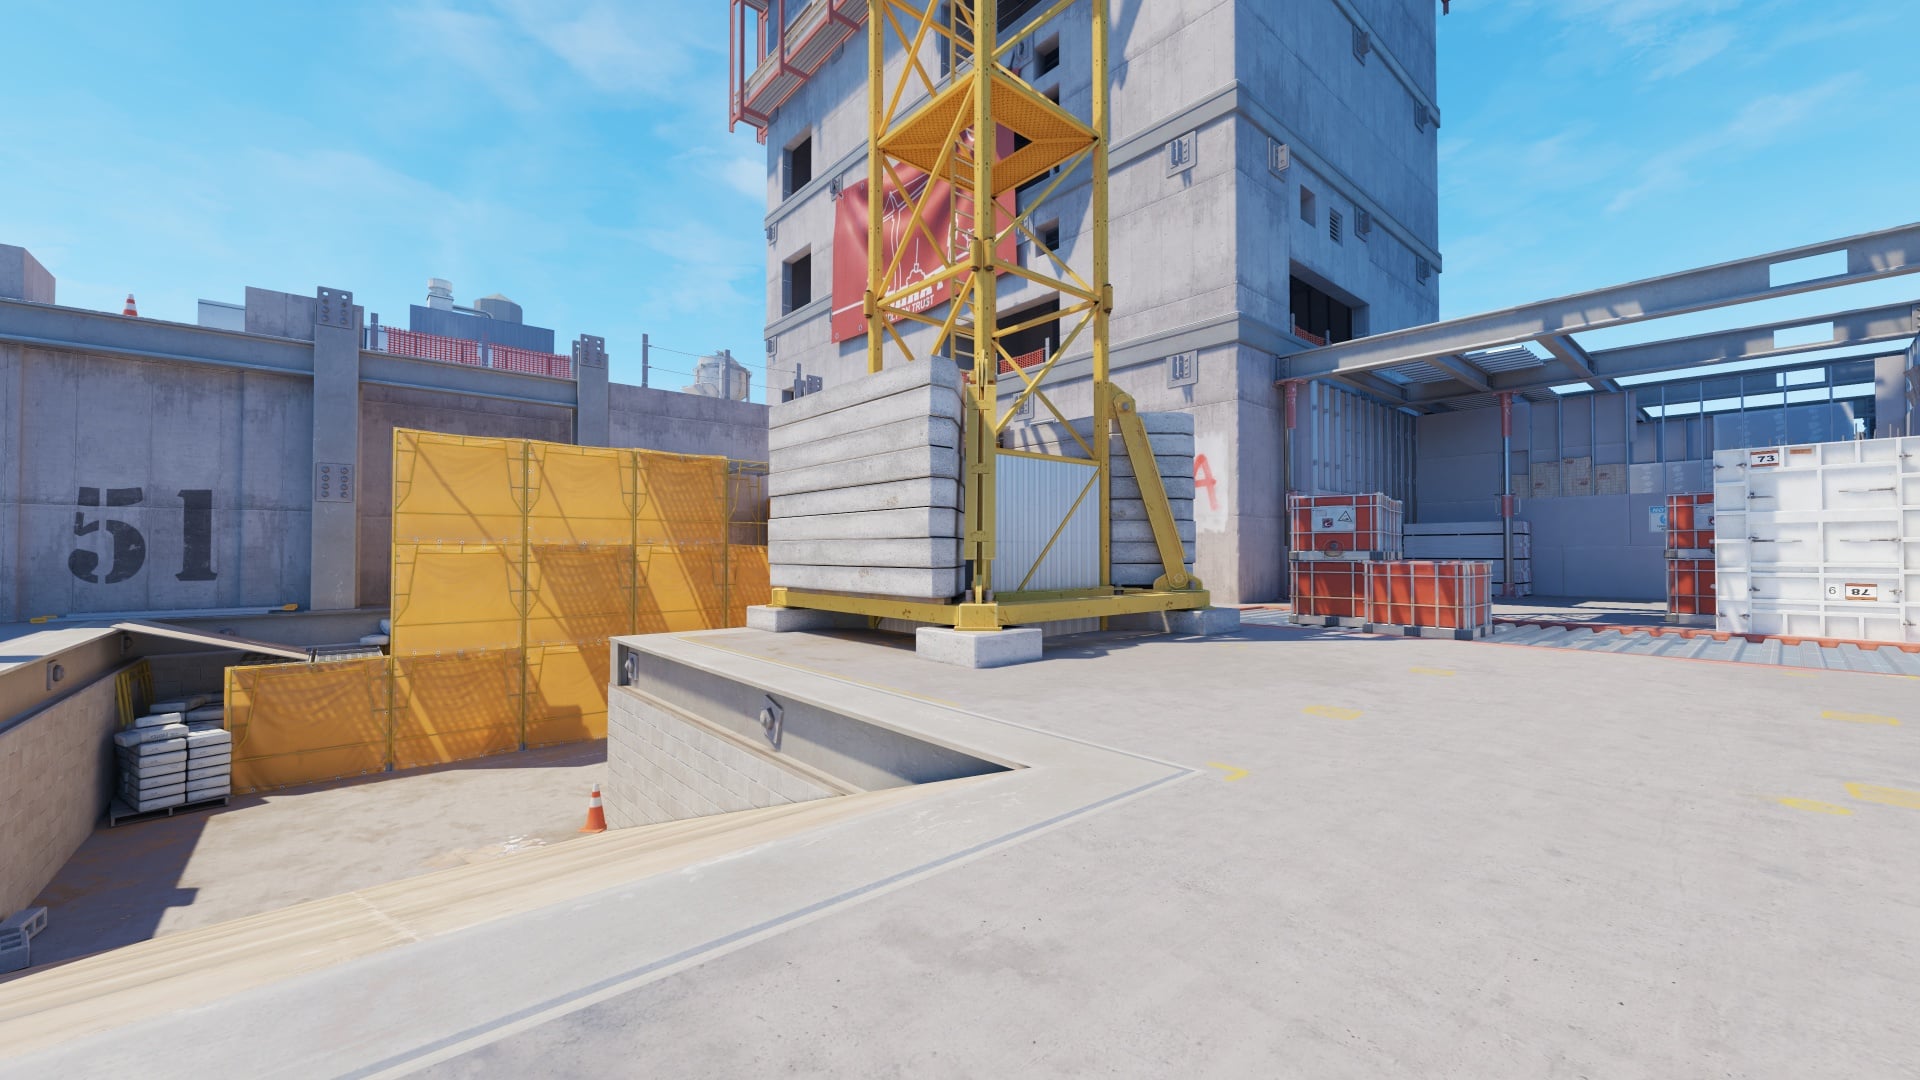
Vertigo plays revolve around A Ramp, but Mid and B force the CTs away from stacking five players there every round. The vertical layout also makes footsteps sound very misleading. For optimal sound settings, refer to our CS2 settings guide.
T side should pressure Ramp early enough to burn CT utility and claim space. Once Ramp is controlled, you can set up the A hit or hold for an aggressive re-peek. Mix in Mid and B rounds so the defenders cannot treat every round like a Ramp deathmatch.
CTs can fight for Ramp with utility, but falling back into Site is often better than dying at Sandbags. B players need quick calls when the outer routes are lost because the site is difficult to retake once the bomb goes down. Do not rotate purely off footsteps from another floor.
11. Office
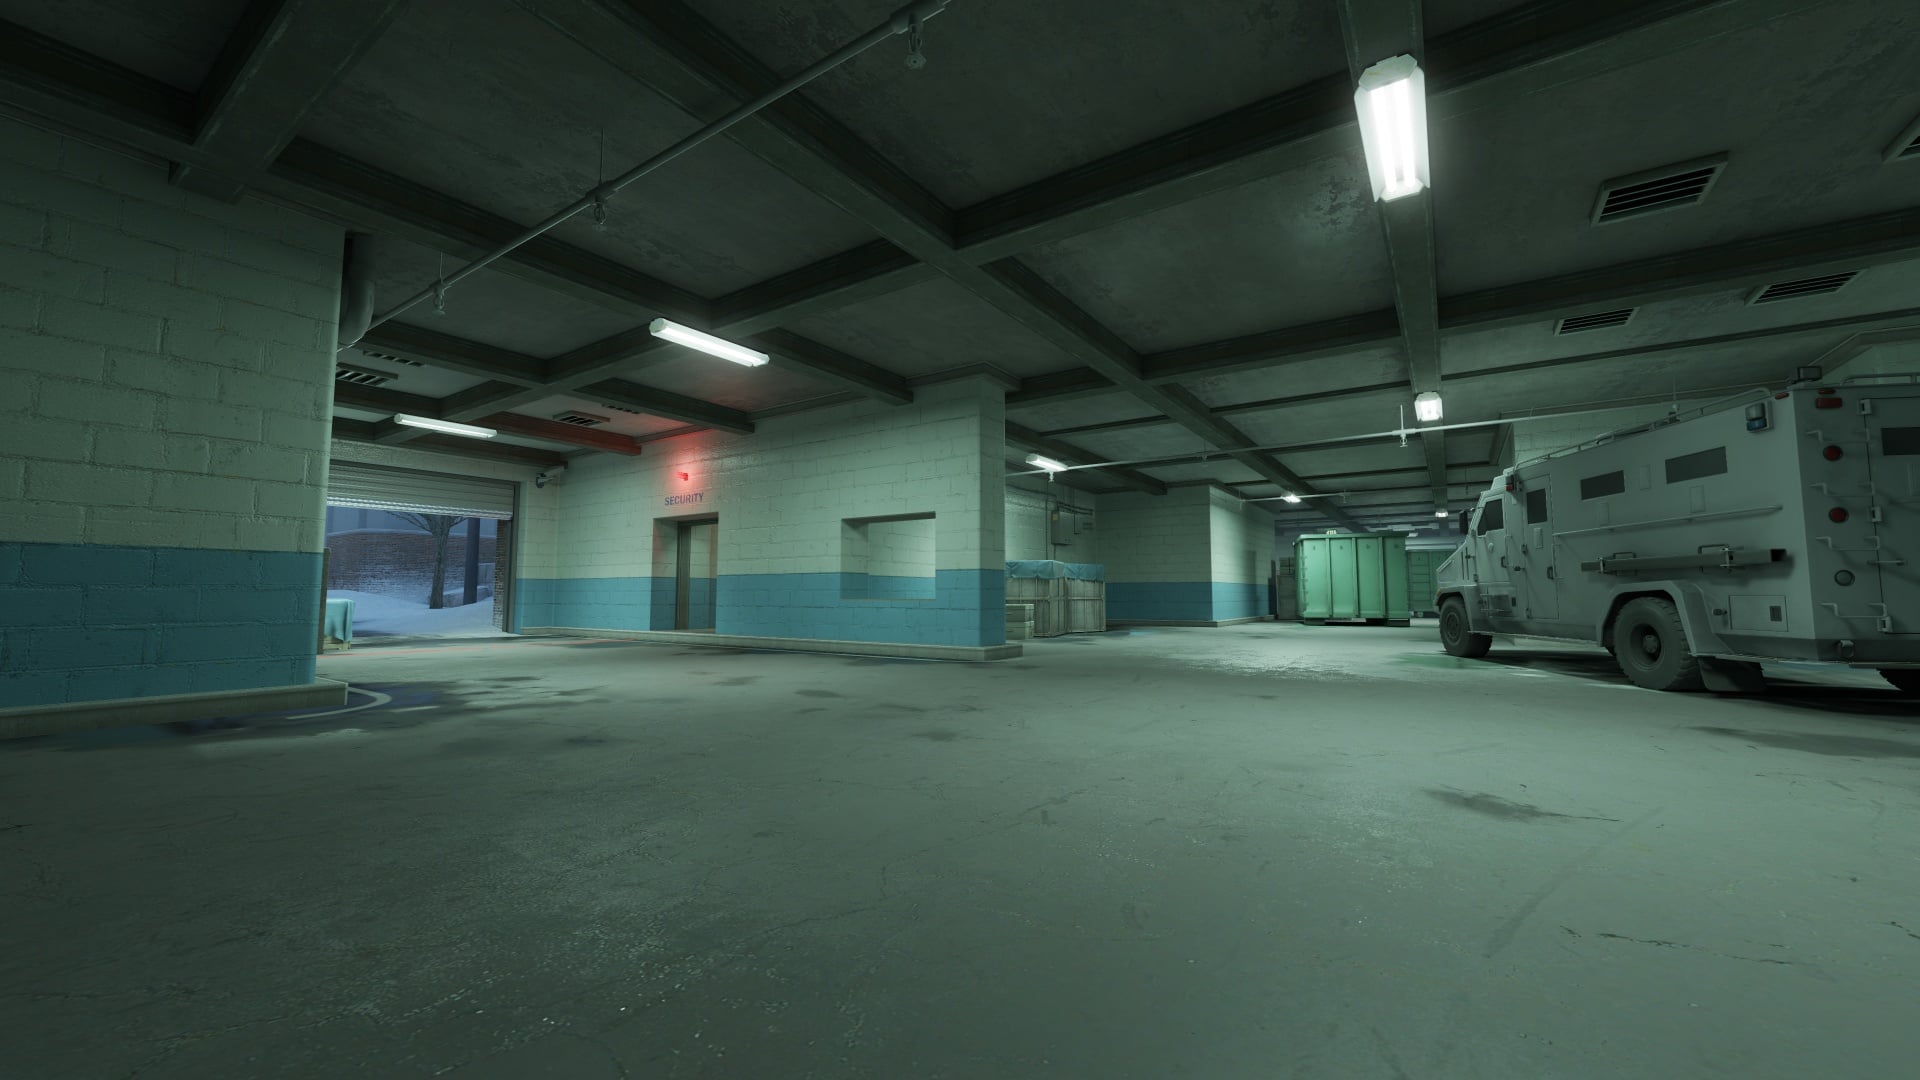
Office is a Hostage Rescue map, so the tactics are different from standard Bomb Defusal. Ts defend the hostages inside, while CTs need to break in, grab one, and extract.
T side should hold layered crossfires around Long Hall, Garage, Paper, Projector, and the hostage rooms. There is little reason to push deep into CT territory when the objective already forces them toward you. Once a hostage is picked up, focus on the extraction routes instead of chasing random kills.
CTs should split up and press more than one entrance and use flashes before walking into hallways. Smokes can block the longer corridors while the entries clear the close corners. After grabbing a hostage, protect the carrier and leave.
12. Italy
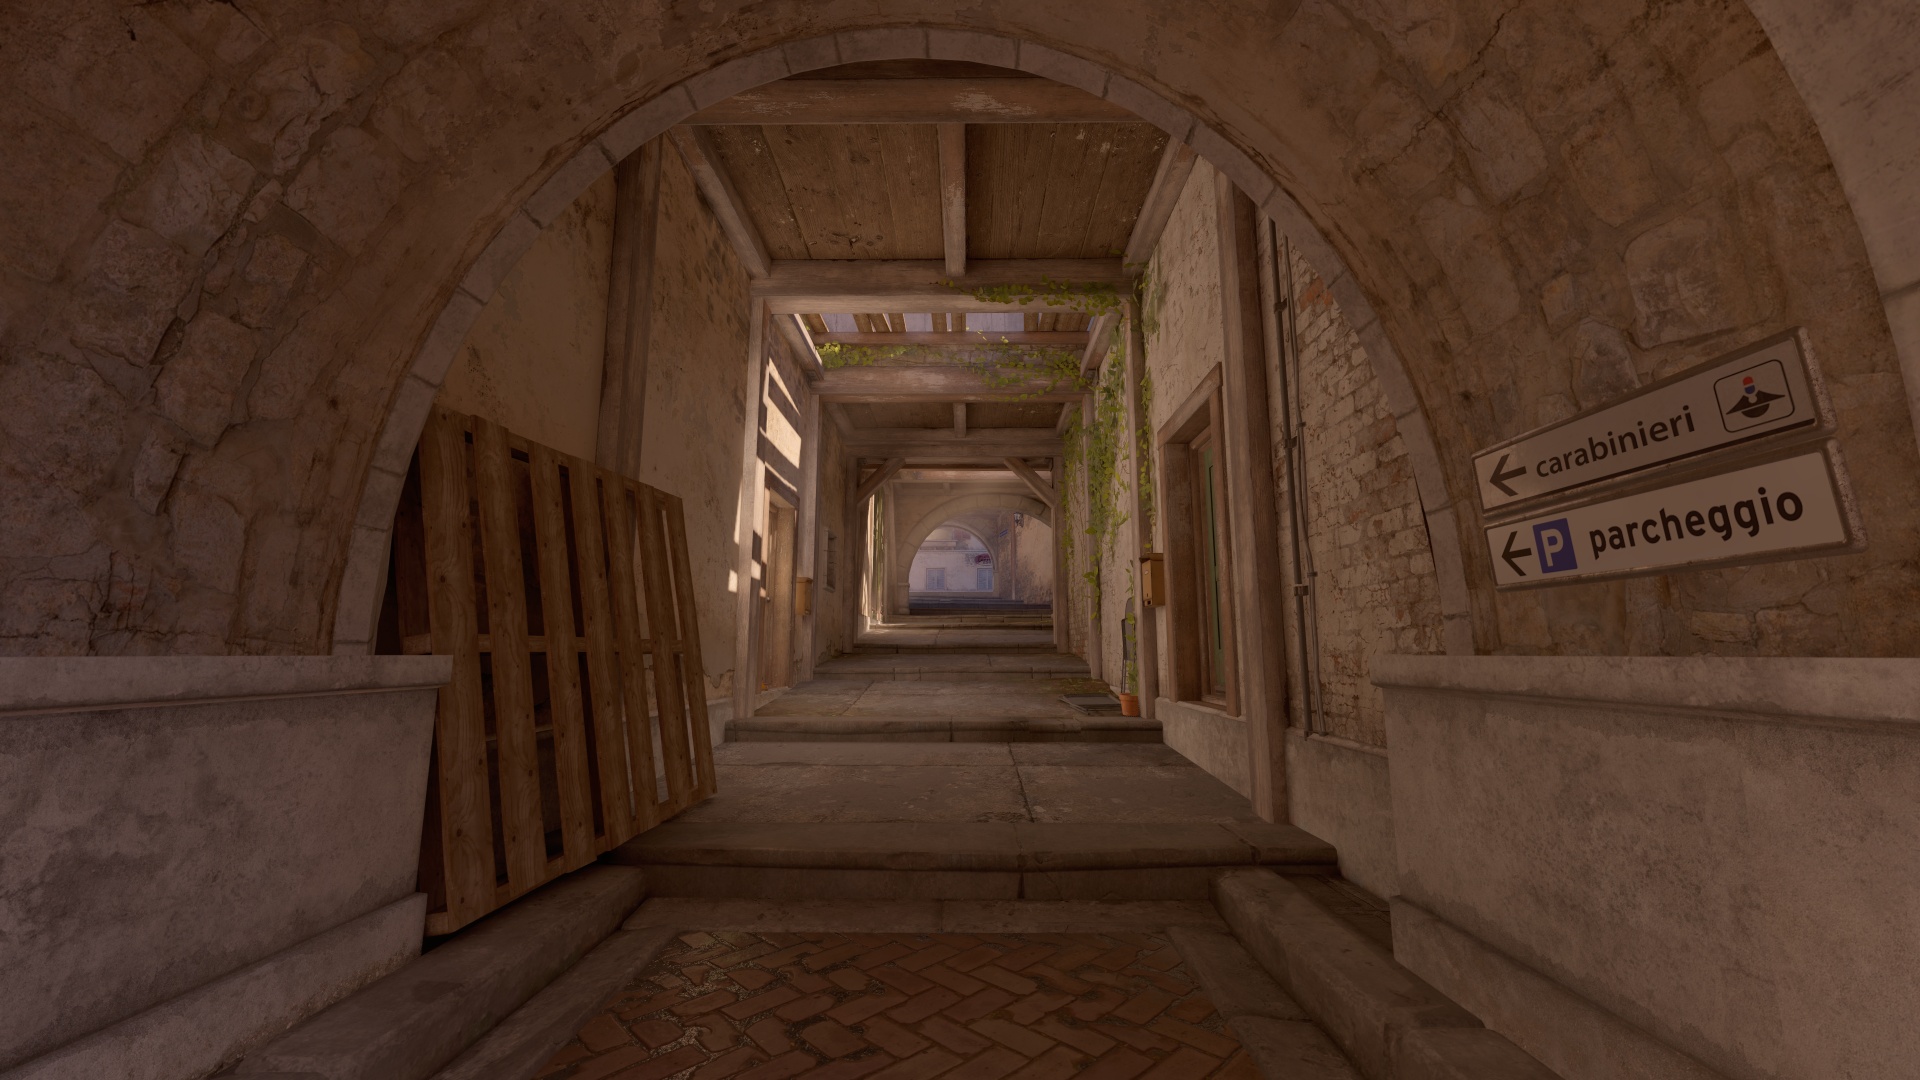
Italy is another Hostage Rescue map, with narrow streets, apartments, interiors, and several routes leading toward the hostage areas.
T side should spread enough players to watch the main approaches while keeping the hostages covered. The tight streets make crossfire setups much stronger than solo aggression attempts. When CTs take a hostage, cut off the extraction path and try to regain the initiative.
CTs need to methodically clear apartments and interior corners in order. Once the hostage is secured, one player should carry while the others clear the route out.
13. Boulder
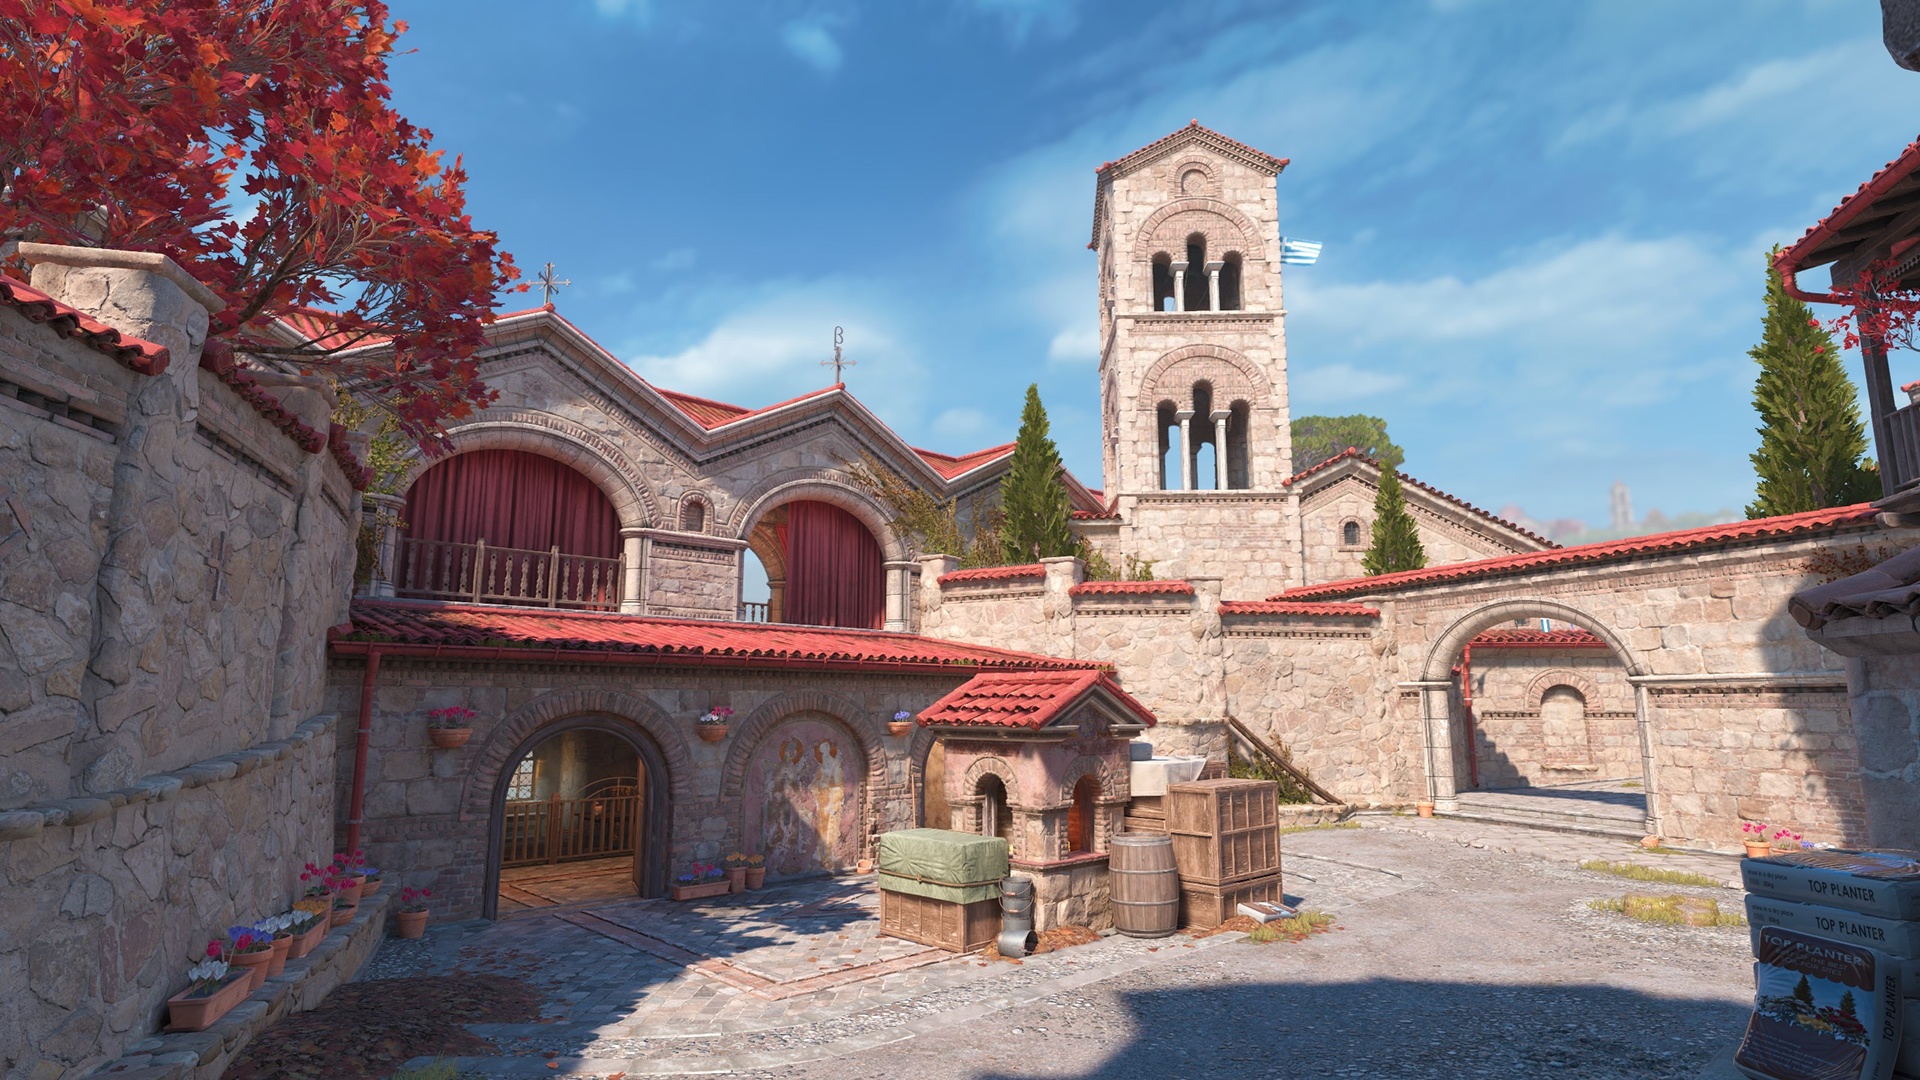
Boulder is a community Bomb Defusal map built around a cliffside monastery, tight stone routes, and plenty of elevation changes.
T side should first work out which central routes connect the sites. Use flashes and molotovs to clear elevated angles and deep corners before committing. Split attacks become much stronger if the CTs start mindlessly stacking on the main entrance.
CTs should use the elevation for crossfire setups and getting early information, but avoid overpushing into T territory. Community-map players often sit and wait for aggression while they learn the layout. Calls on losing central control matter because several routes can quickly open both the site and the rotation path, leading to split attack.
14. Fachwerk
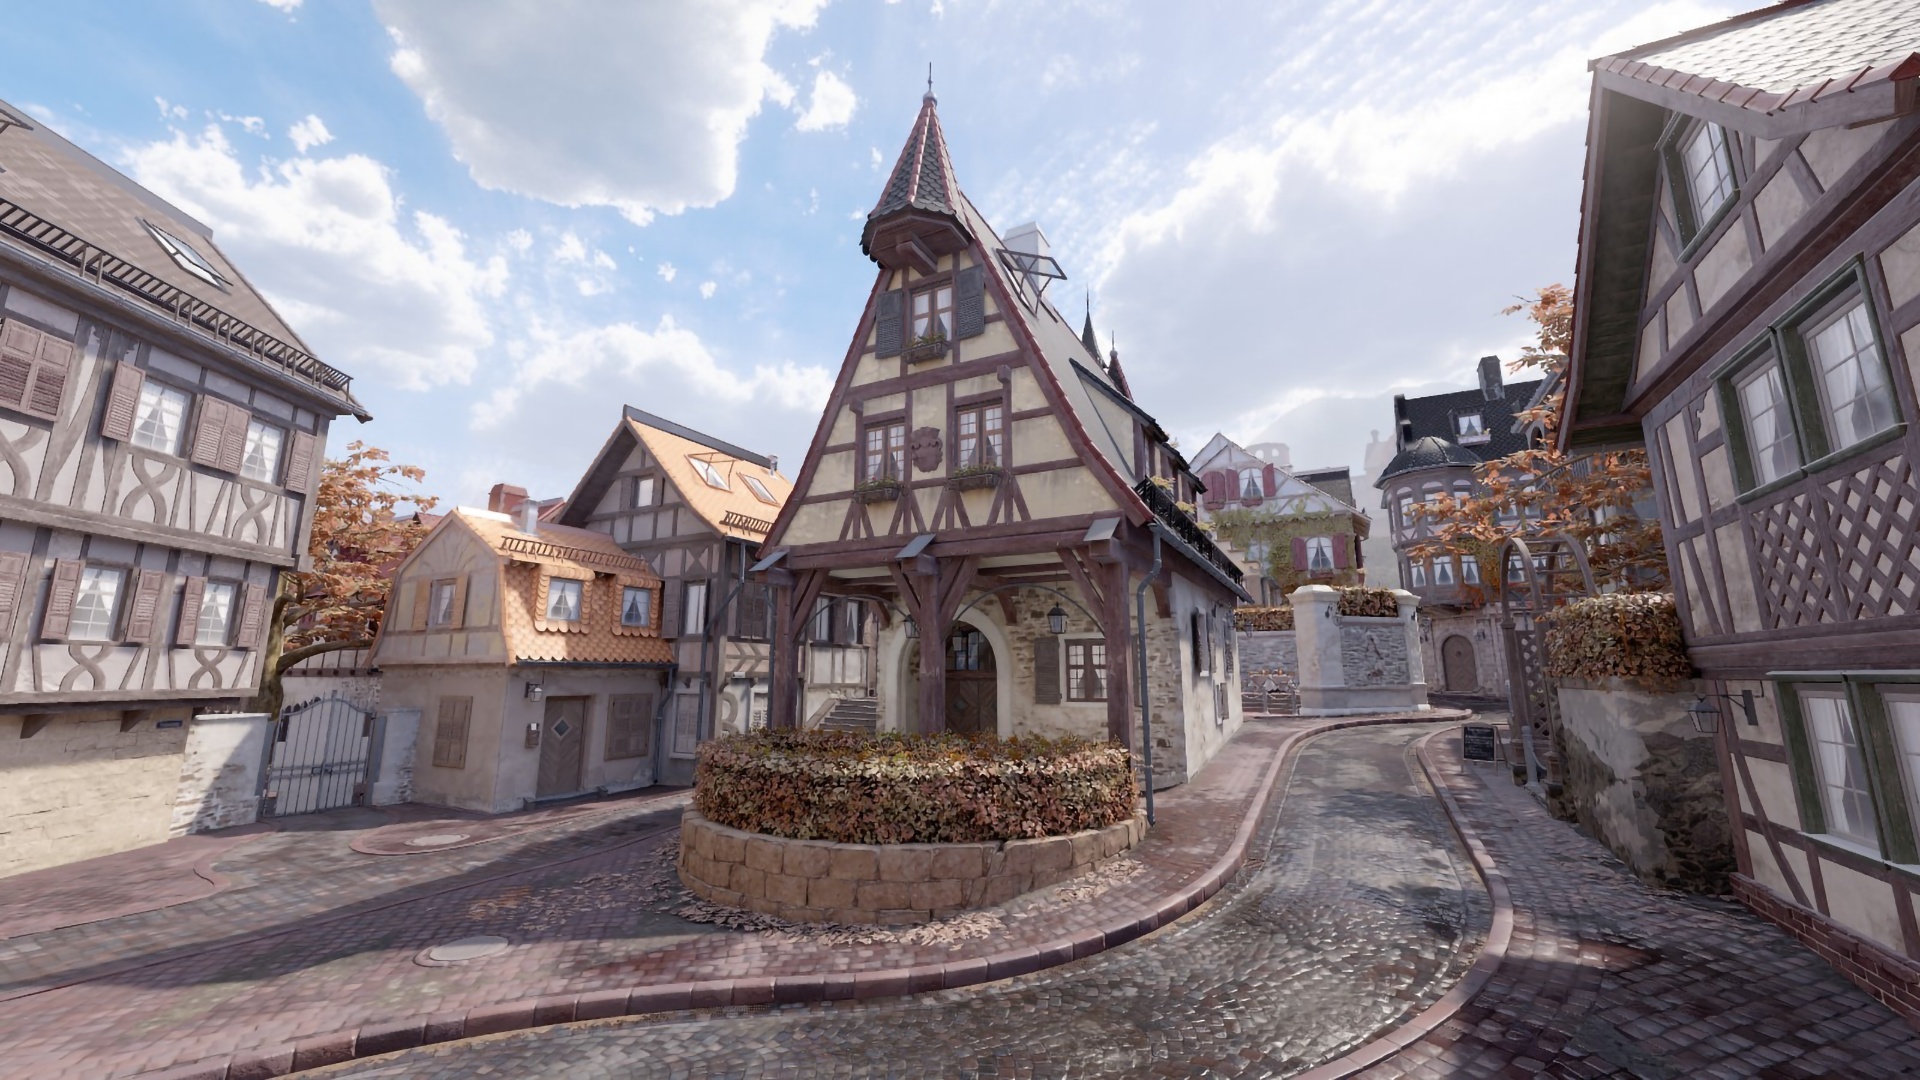
Fachwerk is a community defusal map set in a compact European town. The streets and building interiors create plenty of close-quarters fights.
T side should use the central routes to stretch the CT setup before hitting a site. Flash through the tighter entrances and clear the close corners first because the detailed buildings make defenders easy to miss. As per usual, site splits are a much safer bet than sending everyone through the same narrow street pathway.
CTs should hold crossfires around the doors and lanes instead of taking every fight alone. Keep some utility for the late round because attackers usually move more slowly while checking angles.
15. Shelter
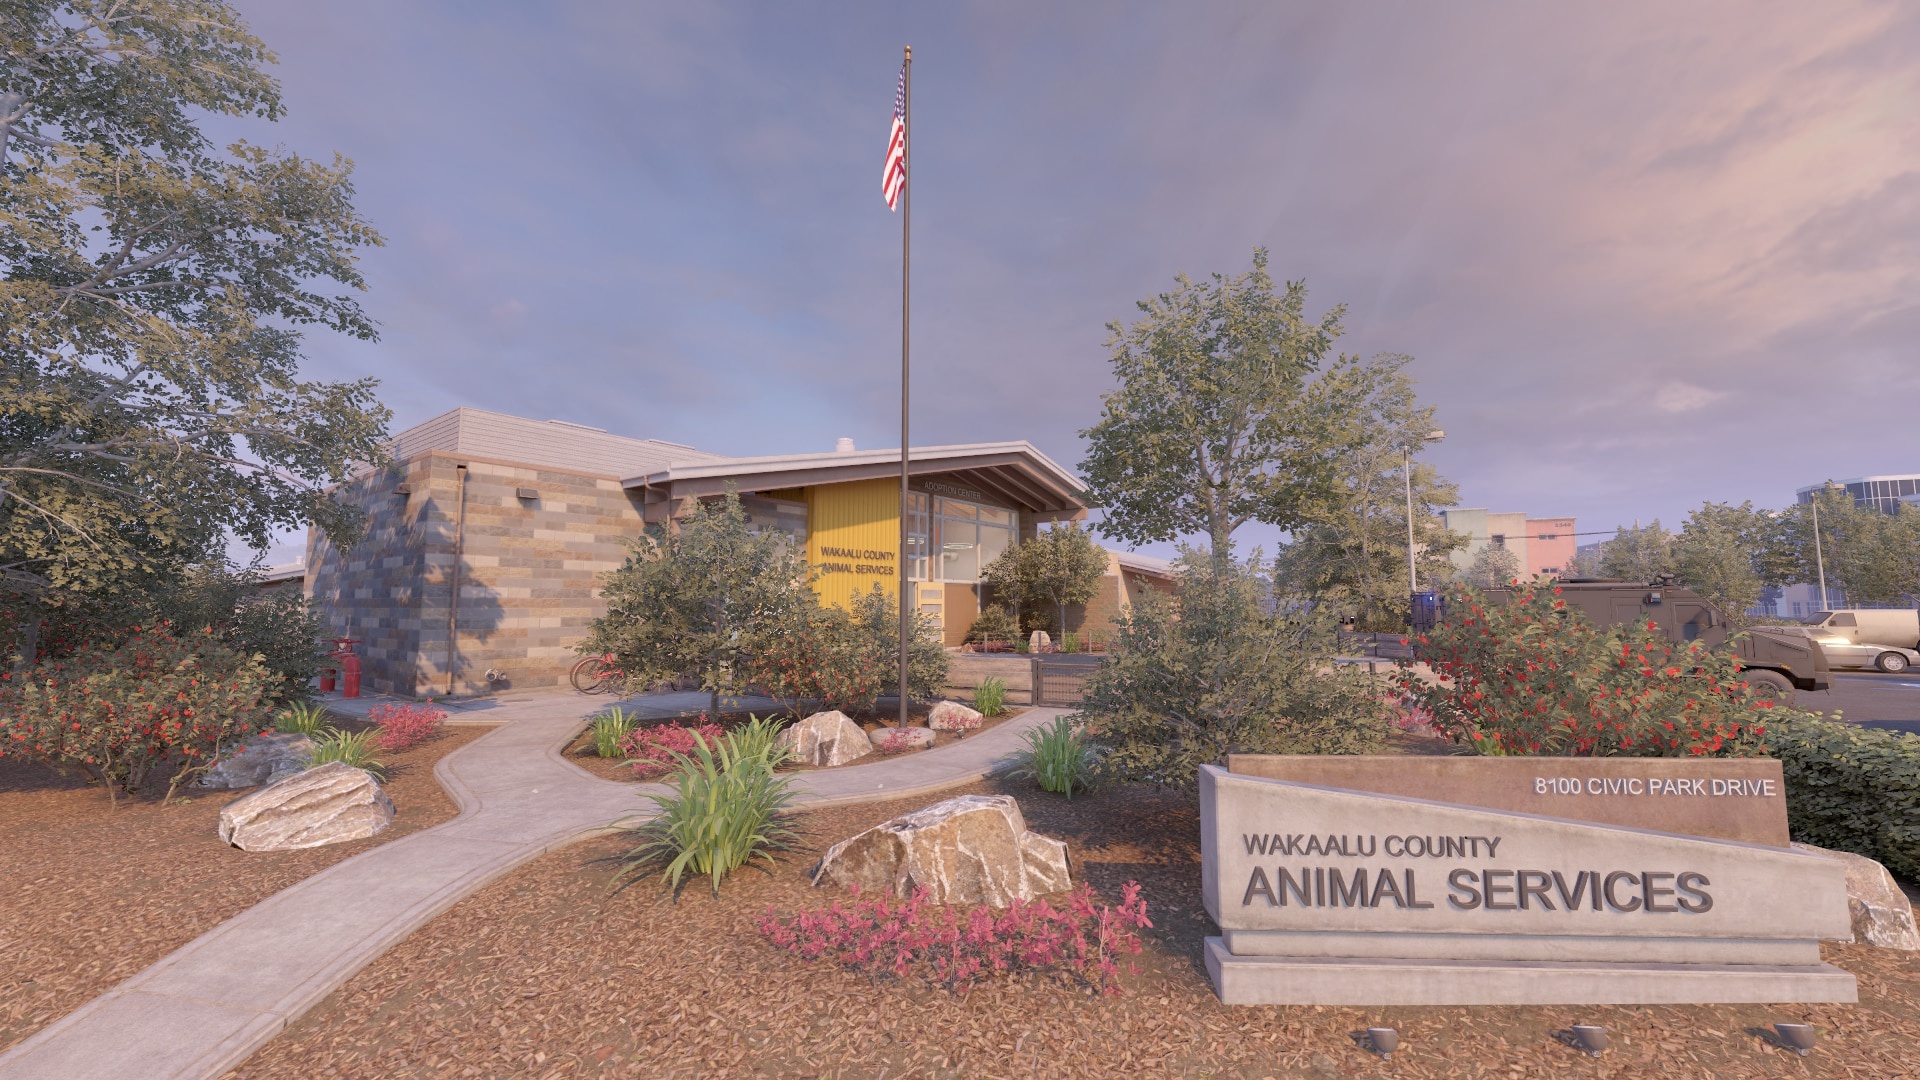
Shelter is a community Hostage Rescue map set inside an animal shelter. CTs need to recover the dog hostages, while Ts defend the building and extraction routes.
T side should build crossfires around the interior rooms and likely exits. The map mixes tight indoor fights with longer outdoor sightlines, so position your rifles and SMGs accordingly. Do not chase CTs too far from the hostages and leave the objective open.
CTs should flash into the smaller rooms and clear the building methodically. Before picking up a dog, make sure the route back to the rescue zone is under control. Once the hostage is secured, escort it out quickly and don’t try to hunt every T hiding somewhere in the building.
CS2 Map Categories Explained
CS2 uses map categories, which is why two players can use the phrase “competitive map pool” and refer to different lists - they rotate in and out.
Active Duty Maps
Active Duty contains the seven maps used in Premier and major tournament competition. The current Active Duty maps are:
-
Ancient
-
Anubis
-
Cache
-
Dust II
-
Inferno
-
Mirage
-
Nuke
Players in Premier choose which maps to ban from this pool before the match begins.
Competitive Maps
Competitive includes every Active Duty map plus the reserve, hostage, and featured community maps. Unlike Premier, Competitive lets you select which specific maps you are willing to play. You are not forced to use the seven-map veto system at all and can play on the maps you’re the most familiar with.
Casual Maps
Casual uses relaxed rules and allows larger team sizes. It’s useful for learning routes, testing utility setups, and trying out a new community map before taking it into Competitive. The additional players make site holds and chokepoints less representative of normal 5v5 matches, but Casual is still useful for learning the basic layout and warming up before playing ranked.
Featured Community Maps
Featured community maps are created by independent Workshop creators, not an actual Valve’s internal map team. Valve then selects certain maps and adds them to official matchmaking. The current 5v5 featured maps are:
-
Boulder
-
Fachwerk
-
Shelter
These maps can also rotate out during future updates, so you can potentially completely skip them if you don’t enjoy playing them.
Best CS2 Maps for Beginners
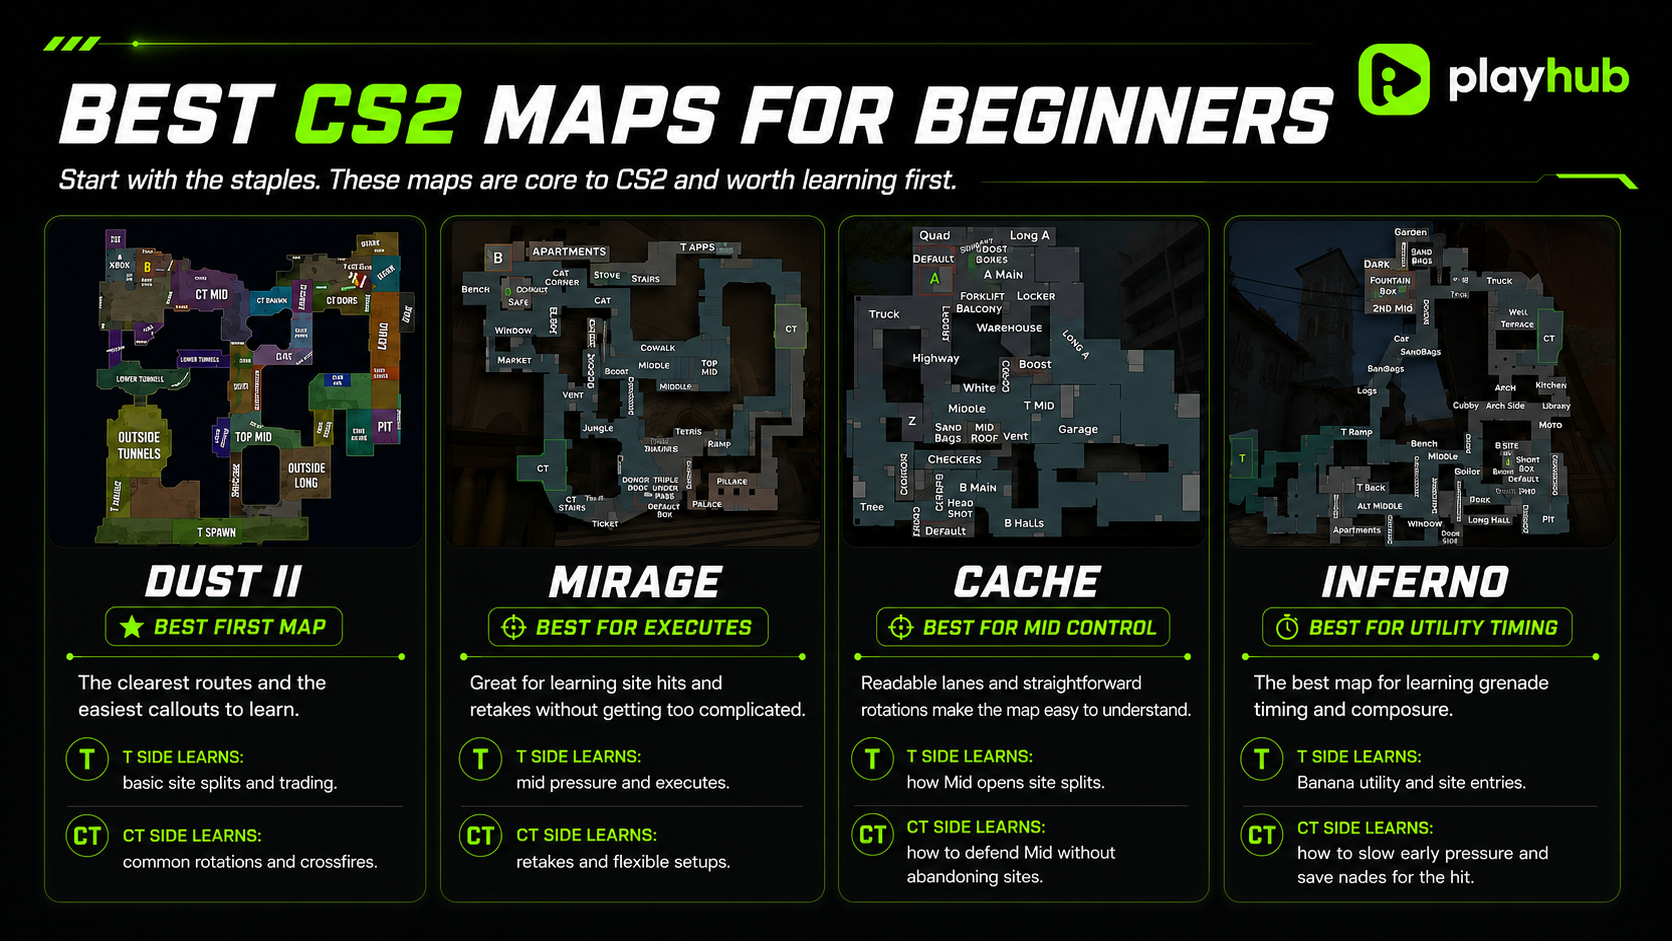
Contrary to community maps, there are some you’ll have to learn no matter what. These are the game’s staples that will not go anywhere in the near future, so it’s worth learning them first:
-
Dust II has the clearest routes and the smallest number of immediately important callouts to memorize. T players can practice basic mechanics and tactics like site splits and trading, while CT players can learn common rotations and practice crossfires.
-
Mirage teaches site executes and retakes without becoming as complicated as, say, Nuke. Both sides also have several viable approaches, so I think the map is perfect for learning the game without getting tedious in any way.
-
Cache is another map that has readable lanes and straightforward rotations. T sides learn how Mid control creates site splits, while CT sides learn how to defend the central part of the map without leaving the bombsites without oversight.
-
Inferno forces both sides to understand grenade timing.Ts need utility to take Banana and enter the sites. CTs need to slow early pressure while saving enough grenades for the execute, which actually translates to better composure plays on other maps.