Best Ways to Get Stickers in Monopoly Go! TL;DR
-
Events and tournaments are your bread and butter - most packs drop as milestone rewards, so bank your dice for them.
-
Quick Wins, daily treats, and the shop gift hand you free packs every day for basically zero effort.
-
Vaults convert your pile of duplicates into Stars, then into bigger packs through Stickers for Rewards.
-
Wild stickers let you pick the exact card you're missing - golds included - instead of praying to RNG.
-
Trading dupes, in-game or in Facebook groups, is how you fill the specific cards a set still needs.
-
Hoard packs for Sticker Boom (50% extra), and only chase golds during Golden Blitz.
Want to skip the grind entirely? Playhub has you covered - here you can grab the exact Monopoly Go! stickers or packs you need from vetted sellers, no dice math required.
The Best Ways to Stack Stickers (and Which Sources to Skip)
Get right to the point: stickers come from a few trusted sources, and the challenge is figuring out which ones yield the most so that you don't dilute yourself.
One principle unites them all, and it's the one that trips people up the most often: don't go into the game blind. Your dice are your sticker currency; spend them when there's a bounty at stake, and not wandering aimlessly around the board.
Here are all of the sticker and pack sources you need to know about. The first bunch is all about numbers - the source of the packs themselves - and everything else is the way to nab those particular cards you're missing:
-
Milestones for events and tournaments - the largest and most consistent source of packs ever.
-
Daily tournaments - your leaderboard position gets you packs every day.
-
Quick Wins, daily bonuses, and shop gift - get free packs on a timer reset.
-
Completing boards and property set landings - give you bonus packs and Color Wheel spins.
-
Community Chest - team up with three friends weekly and max all three chests for a Red 6-star pack.
-
Stickers for Rewards Vaults - convert your duplicate stickers to dice and packs.
-
Sticker Boom - not really a source of stickers, but it gives you 50% more stickers from every pack you open, so make sure to do it during that event.
-
Community trades - the fastest way to complete your collection if you have duplicates.
-
Wild stickers - pick the exact sticker you want (and even gold stickers too).
-
Golden Blitz - your only opportunity to trade for exact gold stickers.
-
Purchase cards directly - remove the randomness of sticker packs and get your sticker directly.
The rest of this guide breaks the big ones down with the numbers.
Events and Tournaments - Your Main Sticker Faucet
If you take one thing from here, make it this. The huge majority of my packs come from events, full stop. Scopely runs them back to back, and nearly all of them dish out sticker packs as milestone rewards.
Daily Tournaments
These run on a one-day cycle and drop you onto a leaderboard against 99 other players. You rack up points by landing on the tournament tile as you roll. Every color except the top-tier packs shows up here, so it's steady, low-effort income you can count on.
I always check the tournament before a session. If points come from Bank Heists or shutdowns, I line my multipliers up with that and farm two things at once.
Banner and Partner Events
The bigger banner events refresh every couple of days and carry the fattest sticker rewards on the board. Partner events are the team-up ones - you and three mates fill a shared meter for a chunky payout of packs plus dice.
This is where dice management earns its keep. Stack a couple thousand dice before a big event lands, then funnel them into the pack milestones. Dumping a big bank into one event session is how you get Monopoly Go stickers fast, way quicker than scraping a few rolls a day.
Quick Wins and Daily Freebies
Quick Wins are three tiny tasks that reset each morning - roll a few times, pull off a Heist, easy stuff. Each can pop a sticker, and filling the weekly bar lands a high-tier pack. They take two minutes. Just do them.
On top of that, claim your shop gift (it refreshes through the day) and your daily login reward. None of it feels huge in the moment, but a week of freebies quietly stacks into a real pile of packs. For F2P players, this is the backbone of the whole thing.
Community Chest - the Weekly Route to Red 6-Star Packs
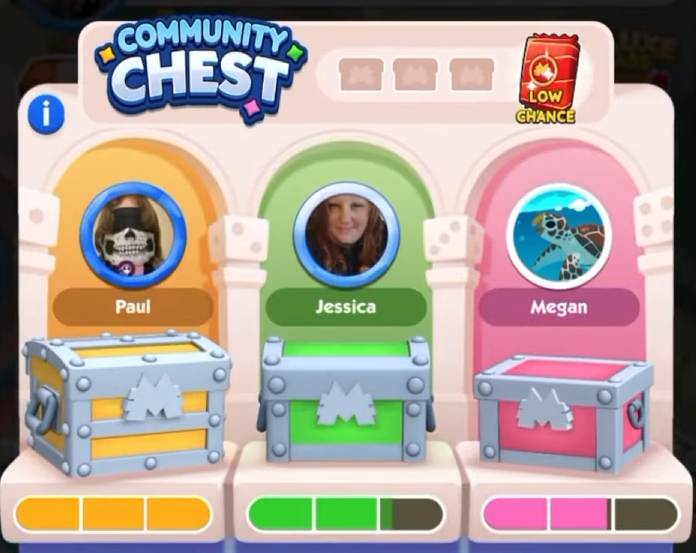
Community Chest is a weekly co-op mode, and it's the only dependable line on 6-star stickers - the rarest tier in the game. You team up with three friends and fill three shared chests together by landing on Community Chest tiles and clearing tasks. It resets every week, so each one is a fresh shot at the top prize.
Max out all three chests, and you walk away with a Red Sticker Pack. It always includes at least one 6-star and skews heavier toward high-star cards than any other pack. Worth knowing how scarce these are: a whole Season holds just six Red stickers, four regular and two gold. The one catch is that it lives and dies by your team - flaky teammates mean no red pack, so rope in people who actually show up.
Sticker Packs by Color - What's Inside and Your Real Odds
Not all packs are worth the same hype, and the contents tell you which to actually chase. Each pack locks one sticker at its headline rarity, and the pack's other stickers roll on the odds below. You can pull these up in-game by tapping the "i" above any pack - these are Scopely's own published numbers.
|
Pack |
Stickers |
Locked sticker |
Rolled slot: 5★ |
Rolled slot: 5★ gold |
|---|---|---|---|---|
|
Green |
2 |
1-star |
0.13% |
0.07% |
|
Yellow |
3 |
2-star |
0.28% |
0.16% |
|
Pink |
3 |
3-star |
0.50% |
0.30% |
|
Blue |
4 |
4-star |
1.12% |
0.67% |
|
Purple |
6 |
5-star |
0.68% |
0.51% |
|
Red |
6 |
6-star |
- |
- |
|
Swap |
4 |
swap, same rarity |
- |
- |
Note that the percentages are for the rolls only, not for the locked slot. Therefore, while it may look tempting to choose Blue with 1.12%, remember that Purple is the true 5-star choice here, because it gives you a 5-star card first and then rolls its other five slots. The only thing Purple does differently is roll more low-level fillers, because you get one 5-star anyway.
In my humble opinion, green packs are simply dupe machines, so there is nothing exciting about them for me personally. Blue would be the best of all packs that do not have a locked 5-star, with four cards and the highest roll chances in that group. However, the Purple pack should be considered as the main goal. And the Swap pack is heavily undervalued, with four high-tier cards and swapping of one for the random, same star-level card.
Vaults and Stars - turning dead dupes into packs
This is the part that newer players often miss. Every single duplicate that you have becomes Stars, and Stars let you purchase Vaults in the "Stickers for Rewards" tab (Albums -> Vaults tab). It is the easiest way to finally make the trash pile pay dividends.
|
Vault tier |
Star cost |
Rough payout |
|---|---|---|
|
Starter |
~250 Stars |
A solid stack of dice |
|
Mid |
~450 Stars |
More dice plus a couple of packs |
|
Top |
~700 Stars |
Big dice haul plus several packs, higher tiers included |
Usually, I don't even touch the small vault, as the big one is significantly more efficient per Star. One thing that many players forget, but can help to get save extra Stars: when you unlock the vault, the game chooses what dupes to use, but sometimes it will charge you one or two extra stars, so simply use the selection screen and replace the selected dupes with the cheaper ones and leave any chunky 4-5 stars that you would prefer to trade.
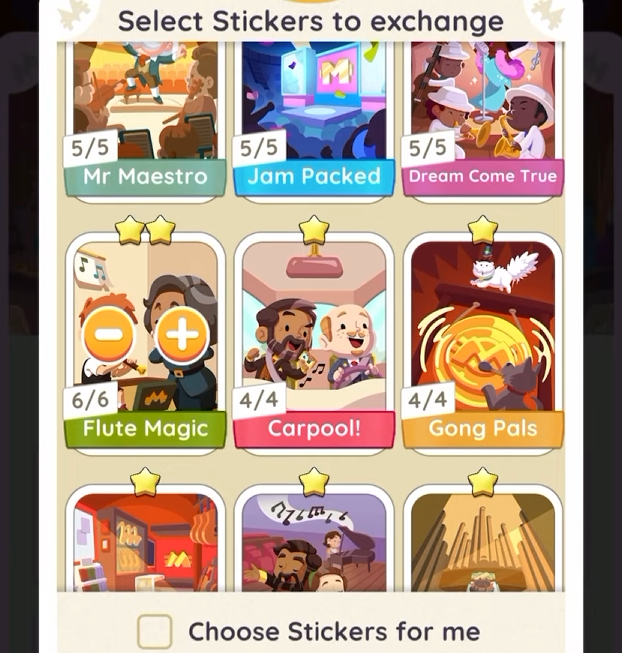
If there is a stubborn hole in the album that does not want to close, then Wild stickers come to the rescue. With a Wild sticker, you can unlock literally anything you need, even gold cards – without any RNG at all. They replaced the old Galaxy pack and, trust me, they are much better than that.
Golds, Golden Blitz, and Why I Don’t Open Packs Instantly
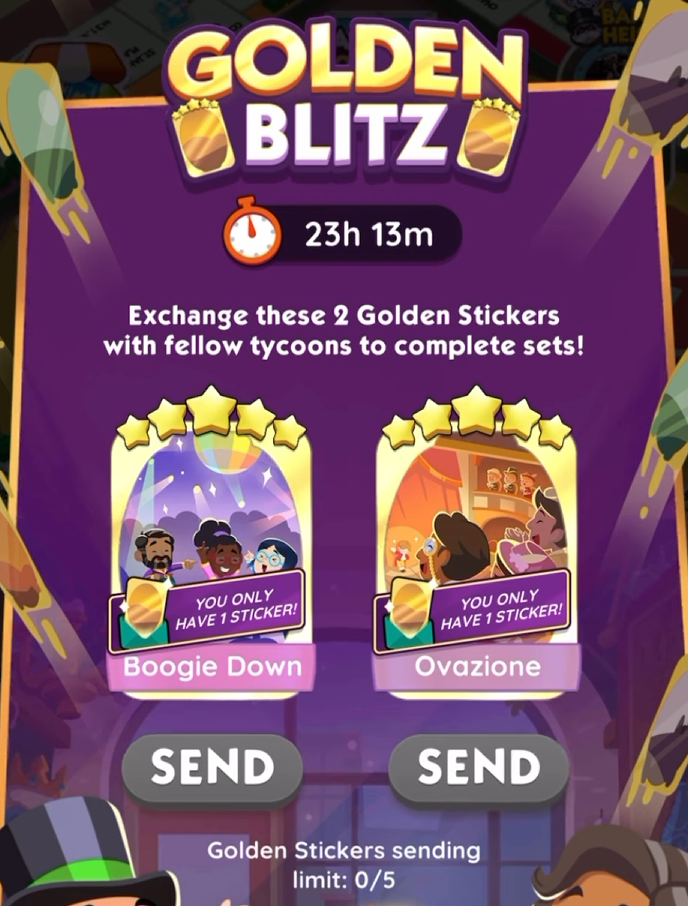
Gold stickers are the shiny ultra-rares, and as the odds table shows, you're staring at well under 1% from most packs. Normally, you can't trade or gift them at all - they're stuck to you.
The only exception is the Golden Blitz. During the Blitz, Scopely makes available only two golds that you are supposed to exchange, allowing you to send up to five each day under a limit separate from the ordinary one – all you have to do is to have an extra gold. The plan is simple: while I have extra golds during the Blitz, I exchange them for any 5-star card I am lacking, since they will be locked after the Blitz ends.
There is also Sticker Boom, the event I like the most and that I like to organize my schedule around. With it, every pack you open during the Boom window will get you 50% additional stickers. I try to stop opening my packs a day or two before a Boom and open all of them in a row during the Boom.
The ordinary practice is to open packs as soon as you get them. This is not the right thing to do if you have a Boom coming soon. One thing you should know about the Boom is that it does not add extra stickers to Wilds - save those for the cards you actually need.
Trading and Free-Sticker Sources off the Board
You can always get rid of those dupes. The in-game trading system allows you to exchange stickers with other players up to five times per day, and Scopely really promotes it – on their own App Store page, they encourage players to gather and trade stickers with friends and family, and even name-drops Facebook trading groups directly.
This community is where I get my missing cards. The process is super easy – take screenshots of your dupes and needed stickers, share them in a trading group, and wait for people to match with you. I usually have a few trustworthy friends who trade with me and help me utilize any good dupe.
There is one place that many people do not even visit – the official Monopoly Go Facebook page. It is where Scopely announces their events and drops free dice and sticker links sometimes before they hit the game. That's free stickers for basically zero effort, so check it regularly.
Skip the Grind by Buying Cards Directly
Card packs themselves are random number generators to begin with. There is no choice made about what you receive – you open and you see, and the table I've shown you above proves how low the chances of receiving any particular gold or five-star are. It doesn't matter how long you grind – you might not get the one card your set requires.
This is why certain players avoid the RNG and just purchase cards they need from marketplaces. The only difference with just rolling packs is that you already know the outcome beforehand, instead of relying on luck.
