
Brawl Stars Best Gadgets TL;DR
-
Gadget choices should be situational - you have to decide which utility you need more on each given map.
-
The table’s main pick is the best blind choice, but the alternative can still be better in one specific mode or matchup.
-
Use anti-dive Gadgets when the enemy has assassins. Extra damage does nothing when Edgar lands on you and sends you straight back to spawn again and again.
-
Use wall-breaking Gadgets for maps where opening the lane helps your team.
-
Recent Buffies changed several old defaults, especially for Brawlers such as Bull, Bibi, Crow, Bo, Rico, Brock, and Surge.
-
Gadget Cooldown Gear is best on Brawlers whose Gadget creates their whole playstyle.
Getting new Brawlers and cosmetics takes too long. Instead, you can get a stacked Brawl Stars account on Playhub. Collector items and any Brawlers you want are just a couple of clicks away - all with quick delivery from verified sellers.
Best Gadget for Every Brawler in Brawl Stars
Recent buffs and reworks changed several picks that players had been using for years. Gadgets also work differently from the old three-charge system. You can now reuse them once they go off cooldown, and the Gadget Cooldown Gear reduces that timer by 15%. This makes repeatable utility much more important than it used to be - a good Gadget now is something you use throughout the match, and not just a panic button you save for the final round.
The table gives you the default picks for 3v3 play. Think of it as the Gadget you would equip before entering Ranked without seeing the exact map or enemy team. The last column covers the cases where I would swap instead. For close choices, stats decided what’s the best choice:
|
Brawler |
Best Gadget |
Alternatives |
|---|---|---|
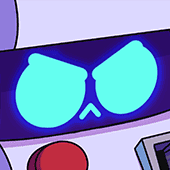
|
Cheat Cartridge |
Extra Credits in Heist |
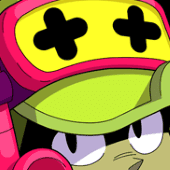
|
Cold-Blooded |
Feed the Gators is better for staying alive through long fights |
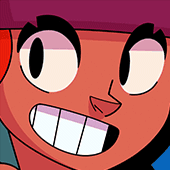
|
Dancing Flames |
Fire Starters is good on passive maps where you need to control lanes and cycle Supers |
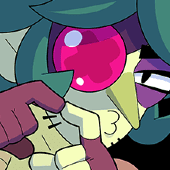
|
Master Fletcher |
Stinging Flight is better against assassins that keep reaching you |
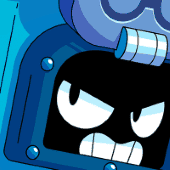
|
Rotten Banana |
Chill Pill is good when the matchup needs sustain |

|
Sticky Syrup Mixer |
Herbal Tonic for healing |
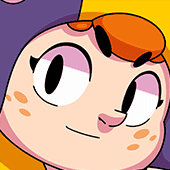
|
Honey Molasses |
Rattled Hive on open maps where the bees can damage multiple enemies at once |
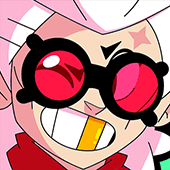
|
Reverse Polarity |
Nest Egg is best on narrow maps where enemies have to cross the same lane |

|
Healthy Additives |
Friendship Is Great against heavy CC |
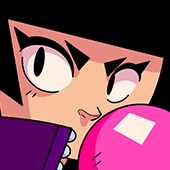
|
Vitamin Booster |
Extra Sticky to help your team secure kills |
|
Super Totem |
Tripwire is decent for holding a choke |

|
Oil Change |
Bouncy Ball when you need an engage or a quick wall break |

|
Sugar Rush |
Crash Test for aggressive dives and finishing low-health enemies |
|
Rocket Fuel |
Rocket Laces when tanks or assassins can jump onto you |
|
T-Bone Missile |
Stomper in Brawl Ball |
|
Slo-Mo Replay |
Utility Belt in a defensive team that gets lots of value from the healing |
|
X-Ray-Shades |
Reserve Buoy when you need an immediate Super before the first fight starts |

|
Shot in the Arm |
Booster Shots can be decent |
|
Flying Hook |
Heat Ejector in Heist or when the burning rocks can shut down a lane |

|
Personal Space |
Spiders when you need ammo pressure or vision checking |

|
Candy Beans |
Spicy Dice when your current Super is useless for the situation |
|
Ghost Train |
Rerouting when you need to establish the first posts quickly |
|
Snappy Shooting |
Tactical Retreat when surviving the enemy’s engage is the bigger issue |
|
Na-Ah! |
Gotcha! when sustain matters more than burst damage |

|
Silver Bullet |
Speedloader when the map is already open and more ammo means more pressure |
|
Replanting |
Poison Mushroom silence utility |
|
Slowing Toxin |
InstaPoison against shields |
|
Spiritual Healing |
Wall of Sound for extra trickshot |
|
Tar Barrel |
Recoiling Rotator for faster Super cycling |
|
Double Sausage |
Extra Mustard to opt for more damage |
|
Upper Cut |
Last Stand against teams that burst through you during the engage |
|
Satchel Charge |
Fidget Spinner when movement and constant pressure are more useful than the stun |
|
Let’s Fly |
Hardcore when you already have easy Super access and need a shield |
|
Suplex Supplement |
Asteroid Belt for removing a key wall on some of the maps |
|
Acid Spray |
Friendzoner when assassins keep getting on top of you |
|
Motherly Love |
Gotta Go! for an emergency escape |

|
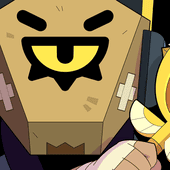
Corn-Fu |
Roundhouse Kick for an extra stun |
|
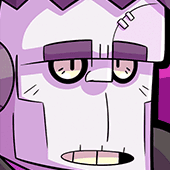
Back to the Finxture |
No Escape against Brawlers that rely on dashing away |
|
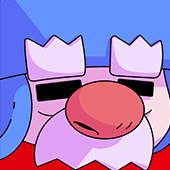
Active Noise Canceling |
Irresistible Attraction for an extra pull that sets up your attack or Super |
|
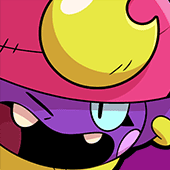
Twister |
Spring Ejector for tricky rollouts |
|
Vengeful Spirits |
Lamp Blowout against assassins or Brawl Ball carriers |
|
Longer Strings |
Disappearing Act for invisibility plays around cobjectives |
|
Slippery Savior |
More Lumens when your tether is protected and you can play around the extra output |
|
Walking Cane |
Grand Piano for walls |
|
Piggy Bank |
Coin Shower for more lane pressure |
|
Watchtower |
Radio Check on maps where bush vision barely matters |

|
Soul Switcher |
Kooky Popper when you need more burst |
|
Water Balloons |
Barricade to tank through damage windows |
|
Pneumatic Booster |
Rebuild when an enemy wall breaker has destroyed the cover your team needs |
|
Time for a Slow Song |
Weekend Warrior to play more aggressively |

|
Drop the Bass |
Backstage Pass for anti-dive |

|
Spark Plug |
Recoil Spring in Heist or when Scrappy can shoot safely for several seconds |
|
Elementalist |
Voodoo Chile for an emphowered attack |
|
Gracious Host |
Hensojutsu to dive against snipers or throwers |
|
Hosomaki Healing |
Dashi Dash when extra mobility lets you reach or escape the right target |
|
Cardboard Box |
Cheeseburger is good if you’re playing Kit as a support |
|
Order: Fall Back |
Order: Swap when changing weapons solves a specific matchup |
|
Lollipop Drop |
Clone Projector for scouting bushes or wasting enemy ammo |
|
Repot |
Vanish when you need an escape or a safer ambush route |

|
Freeze Frame |
Stunt Double is good to create better angles |

|
Ice Block |
Cryo Syrup in Hot Zone or when instant freeze progress secures the fight |
|
Grim and Frostbitten |
Hit the Lights when the extra utility fits the map better |
|
Finish Them! |
Disengage |
|
Caramelize |
Cookie Crumbs when enemies keep hiding behind thin walls |

|
Sneaky Sneakers |
Phase Shifter when immediate immunity is safer than planning the return |

|
Ragequit |
Mansions of Meeple on chokepoint maps or alongside throwers |
|
Toolbox |
Jolting Volts when keeping the Mecha alive matters more than team reload speed |
|
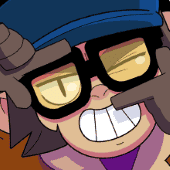
Perfect Pitch |
Interlude when the shield is needed for a committed dive |
|
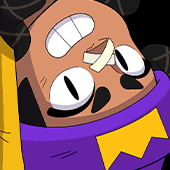
Presto |
Clipping Scream when the extra burst finishes fragile targets |
|
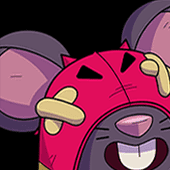
Capo-What? |
Windmill against projectile-heavy teams |
|
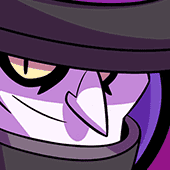
Rat Race |
Dodgy Digging when getting the first Super quickly decides the lane |
|
Creature of the Night |
Combo Spinner when you need instant burst rather than another engage tool |
|
Service Bell |
Porter Reinforcements when constant lane harassment matters more |
|
Poison Puddles |
Najia Jar when the defensive knockback can stop a dive |
|
Return to Sender |
Warp Blast creates kill opportunities or lets you escape |
|
Faux Fur |
Bear Paws when the stun lets Bruce and your team delete someone |
|
Sushi Snack |
Gonna Need A Bigger Net when your team can punish the root immediately |
|
Regulate |
All Eyez On Me when the alternate engage suits the enemy draft better |
|
Phat Splatter |
Dormant Star is good for trapping an objective |

|
Scrapsucker |
Pulse Modulator when the instant healing keeps several teammates alive |
|
Overcooked |
Made with Love only when the team healing will consistently connect |

|
Salty Barrel |
Trusty Spyglass on open maps where the cannon is safe and has clear targets |
|
You Only Brawl Twice |
Bottomless Mags when nonstop ammo pressure is more important |

|
Homemade Recipe |
Auto Aimer against assassins and tanks that can reach you |
|
Tuning Fork |
Protective Tunes against stuns, slows, and other dangerous effects |
|
Hacks! |
Out of Line when you need the split form immediately |
|
Bouncy Castle |
Multiball Launcher when the reworked vending machine can lock down a lane |
|
Grow Light |
Unfriendly Bushes when the map already has enough grass |
|
Take Cover |
Air Support when you need pressure instead of another defensive position |
|
Pulse Repellent |
Magnetic Field when pulling enemies into your attack is more useful |
|
Sweet Dreams |
Sleep Stimulator when self-healing is safe and you expect longer fights |

|
Jump Scare |
Longarms on open maps where the added reach matters |
|
Clay Pigeons |
Fast Forward on closed maps where one dash gets you into shotgun range |

|
A Starr Is Born |
Master of Shadows when preserving your Shadows is the whole game plan |

|
Life Plant |
Popping Pincushion in Heist or against enemies fighting at point-blank range |

|
Transplant |
Garden Mulcher on bushy maps where the healing is reliable |

|
Residue |
Windup on open maps where the burst shot is easier to land |

|
Shining Starr of Friendship and Justice |
Floaty Time when movement gives you more value than the main effect |
|
Speed Zone |
Breakthrough when a wall is blocking your best lane or scoring route |
|
Power Shield |
Power Surge to get the first upgrade quickly |
|
Support From Beyond |
Psychic Enhancer on bush-heavy maps where information wins lanes |
|
Last Hurrah |
Mine Mania when you are safe from dives and can focus entirely on pressure |
|
Worker Ants |
For the Queen! |

|
Green Grenade |
Wind-Powered for extra survivability |
|
Spellbound |
Dive when dodging one burst combo is likely to save you |

|
Now You See Me… |
Electric Shuffle for CC and damage |
Best Gadgets in Brawl Stars
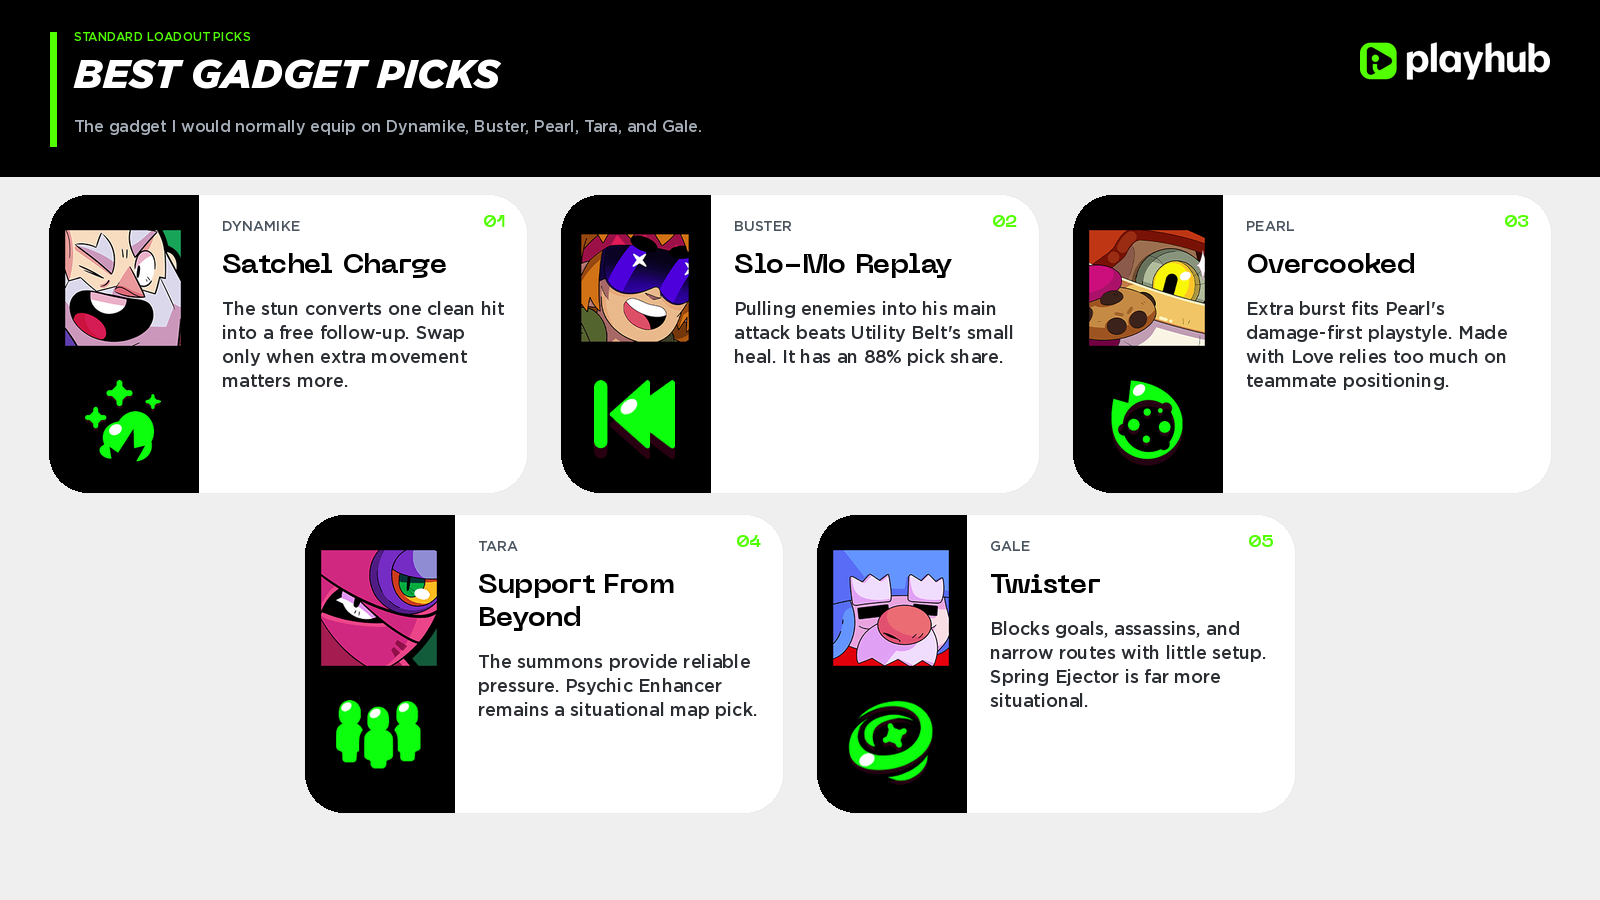
Some Gadget choices are close, and others really are not. After the recent round of changes, here are the ones that are super hard to replace:
-
Satchel Charge is the reason Dynamike can punish anyone who walks in straight lines. The stun turns one clean stick throw into a free follow-up and often a full-on one-shot kill. Most builds prefer it over Fidget Spinner, so I would only swap when I desperately need extra movement.
-
Slo-Mo Replay is the Buster’s standard pick. Pulling someone into his main attack is far more threatening than a small team heal or other utility. Community build data has it at an 88% pick share over Utility Belt.
-
Pearl’s Overcooked is another landslide. The extra burst fits what Pearl already wants to do, plus Made with Love depends on teammates standing in the correct place and actually needing the heal.
-
Tara almost always wants Support From Beyond. Psychic Enhancer is good on maps such as Snake Prairie, but it is a map tech rather than her normal loadout.
-
Gale is in a similar spot. Twister can block a goal, stop an assassin, or shut a narrow route. Spring Ejector has clever map-specific plays, but Twister is much easier to get value from in an ordinary match.
Check out other helpful Brawl Stars articles:
Brawlers Tier List
How to Get Gems
Creator Codes