
Black Temple Raid Guide TL;DR
-
Black Temple opens globally on August 27, 2026, at 3:00 PM PDT alongside the Battle for Mount Hyjal.
-
It is a 25-player, nine-boss raid placed in eastern Shadowmoon Valley.
-
Attunement is required. Once completed, the attunement is account-wide in TBC Anniversary, but partial quest progress is not.
-
A safe first-clear roster uses three tanks, five or six healers, a Mage tank for High Nethermancer Zerevor, two Fire Resistance tanks for Illidan's Flames of Azzinoth, and a Shadow Resistance Warlock for Illidan's Demon Form.
-
Most non-tanks should prepare Shadow Resistance for Mother Shahraz. A practical target is 174 unbuffed Shadow Resistance, which becomes 244 with Prayer of Shadow Protection.
-
Black Temple provides the Tier 6 shoulder, leg, and chest tokens. Illidan also drops the Warglaives of Azzinoth and item-level 151 weapons and armor.
Tired of farming gold in another re-release? You can skip the gold grind entirely and buy WoW Classic Anniversary gold on Playhub. Best prices and quick delivery from verified sellers.
Black Temple Attunement
Like in every other TBC version, Black Temple requires a completed attunement chain in Anniversary Phase 3. A finished raid attunement applies account-wide this time, although unfinished quest progress is character-specific. The full chain reqiuires you to travel across Shadowmoon Valley, Serpentshrine Cavern, Tempest Keep, and the Battle for Mount Hyjal:
-
Start the faction-specific chain with Tablets of Baa'ri from Anchorite Ceyla for the Aldor or Arcanist Thelis for the Scryers.
-
Continue through the Akama storyline in Shadowmoon Valley, including Seer Udalo in the Arcatraz, Ata'mal Terrace, and Akama's Promise.
-
Defeat Fathom-Lord Karathress in Serpentshrine Cavern and accept The Secret Compromised from Seer Olum.
-
Complete Ruse of the Ashtongue by defeating Al'ar in Tempest Keep while wearing the Ashtongue Cowl.
-
Complete An Artifact From the Past by defeating Rage Winterchill in the Battle for Mount Hyjal and looting the Time-Phased Phylactery.
-
Finish The Hostage Soul, Entry Into the Black Temple, and A Distraction for Akama.
-
Receive the Medallion of Karabor, which grants entry to Black Temple and also provides 40 Shadow Resistance.
You can complete most of the chain before Phase 3, but the Rage Winterchill step and the final quests require Mount Hyjal to be open. Every prospective raider should reach An Artifact From the Past before August 27. Mount Hyjal has its own attunement, The Vials of Eternity, which requires the vial remnants from Lady Vashj and Kael'thas Sunstrider.
Black Temple Location
Black Temple stands on the eastern edge of Shadowmoon Valley. The raid entrance is reached through the breach in the outer wall and the Karabor Sewers, not through the sealed front gate.
/way Shadowmoon Valley 71.0 46.3 Black Temple Entrance
Black Temple Raid Composition and Preparation
Black Temple is designed for 25 players. The following composition is traditional for steady progression:
-
3 tanks: one main tank and two off-tanks.
-
5-6 healers: six makes early Council and Illidan attempts safer; optimized raids can reduce the number later.
-
16-17 DPS: you need to bring a functioning combination of interrupts, dispels, crowd control, and a balanced mix of melee and ranged damage.
Several encounters require specific tank gear capstones to be covered for a smooth experience. Assign these players before raid night.
|
Assignment |
Recommended Preparation |
|---|---|
|
Mother Shahraz raid |
About 174 unbuffed Shadow Resistance on non-tanks, reaching 244 with Prayer of Shadow Protection |
|
Illidan Phase 2 |
Two tanks approaching 365 buffed Fire Resistance |
|
Illidan Demon Form |
One Warlock with roughly 335-365 buffed Shadow Resistance and around 12,000 health |
|
Illidan main tank |
A Warrior or Paladin with reliable block coverage for Shear; a full avoidance set can approach 101.8% combined miss, dodge, parry, and block |
|
Illidari Council |
A Mage prepared to tank High Nethermancer Zerevor at range |
Black Temple Consumables Checklist
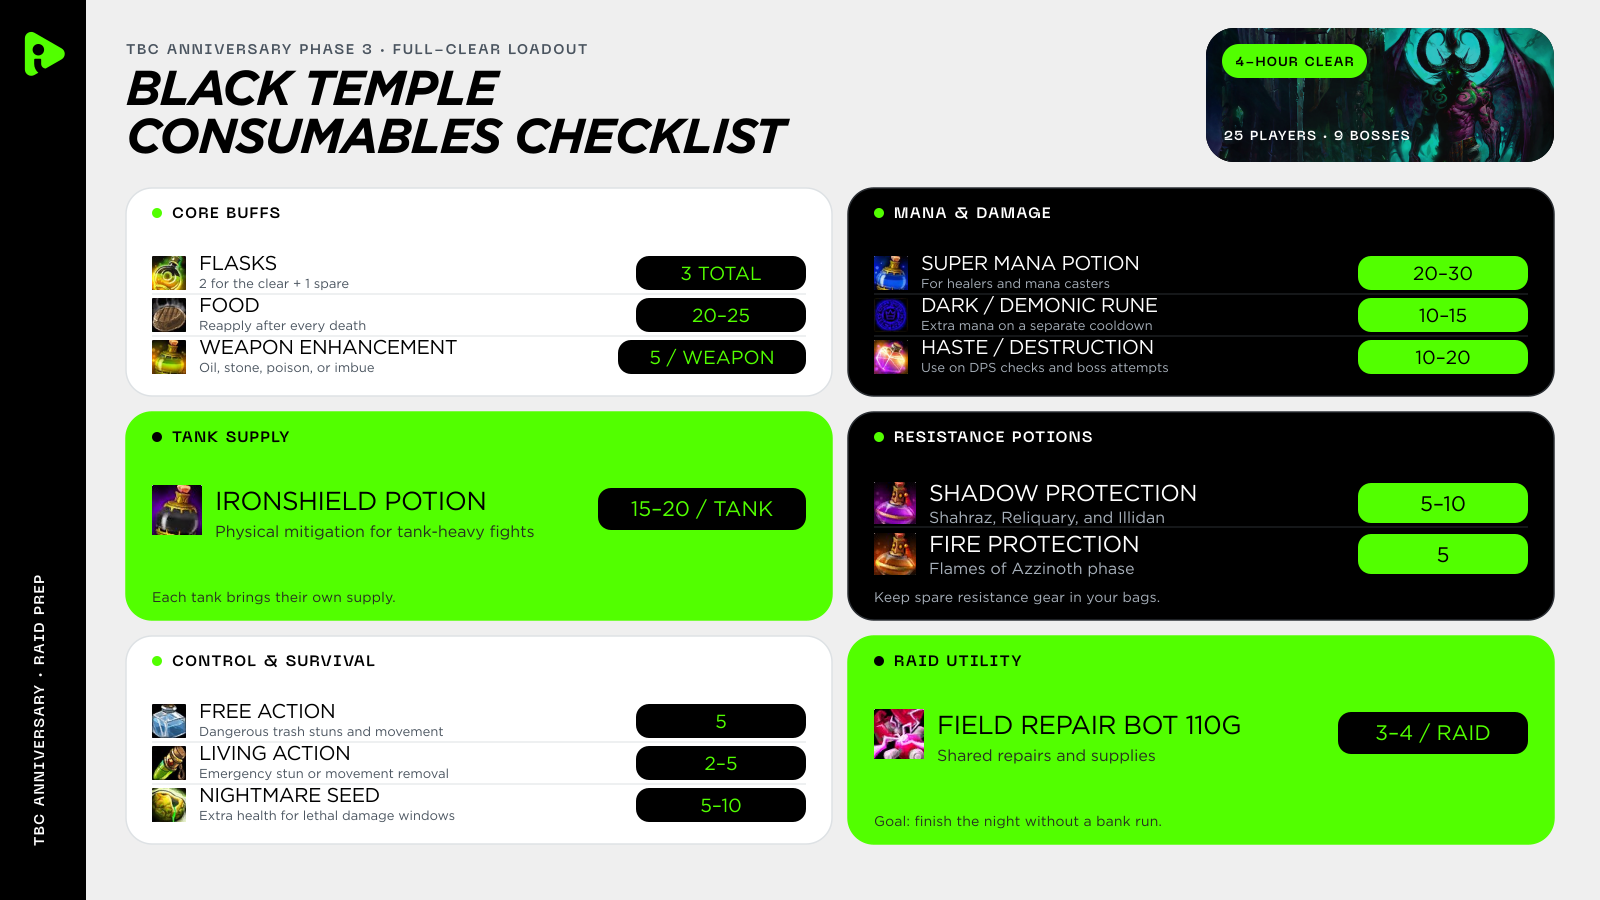
For a full clear night, you want to bring enough of everything:
|
Consumable |
Recommended Amount |
Main Use |
|---|---|---|
|
Flasks enough for a ~4-hour clear |
2, plus 1 spare |
Two-hour buff that persists through death |
|
Food, enough of it to reapply after deaths |
20-25 |
Reapply after every death |
|
Weapon oil, stone, poison, or imbue |
5 applications per weapon |
One application per hour, plus one spare |
|
Super Mana Potion for mana casters |
20-30 |
Healers and mana-intensive casters |
|
Dark Rune or Demonic Rune for extra mana |
10-15 |
Extra mana on a separate cooldown |
|
Haste Potion or Destruction Potion |
10-20 |
Serious DPS checks and boss attempts |
|
Ironshield Potion for tanks |
15-20 per tank |
Physical mitigation during tank-heavy fights |
|
Major Shadow Protection Potion to withstand the shadow damage |
5-10 |
Mother Shahraz, Reliquary, and Illidan Shadow damage |
|
Major Fire Protection Potion for Illidan's Flame of Azzinoth |
5 |
Illidan's Flame of Azzinoth phase |
|
Free Action Potion |
5 |
Dangerous trash stuns and movement effects |
|
Living Action Potion |
2-5 |
Emergency stun or movement-effect removal |
|
5-10 |
Temporary health during lethal damage windows |
|
|
3-4 per raid |
Repairs and supplies during progression |
Stuff like repair bots and spare resistance pieces save significant downtime.
Black Temple Bosses
Black Temple contains nine boss encounters; here’s the order:
-
High Warlord Naj'entus
-
Supremus
-
Shade of Akama
-
Teron Gorefiend
-
Reliquary of Souls
-
Gurtogg Bloodboil
-
Mother Shahraz
-
The Illidari Council
-
Illidan Stormrage
After Supremus, the temple offers some route flexibility. The usual progression order is Shade of Akama, Teron Gorefiend, Reliquary of Souls, and Gurtogg Bloodboil. All four must die before the raid advances to Mother Shahraz.
High Warlord Naj'entus Strategy
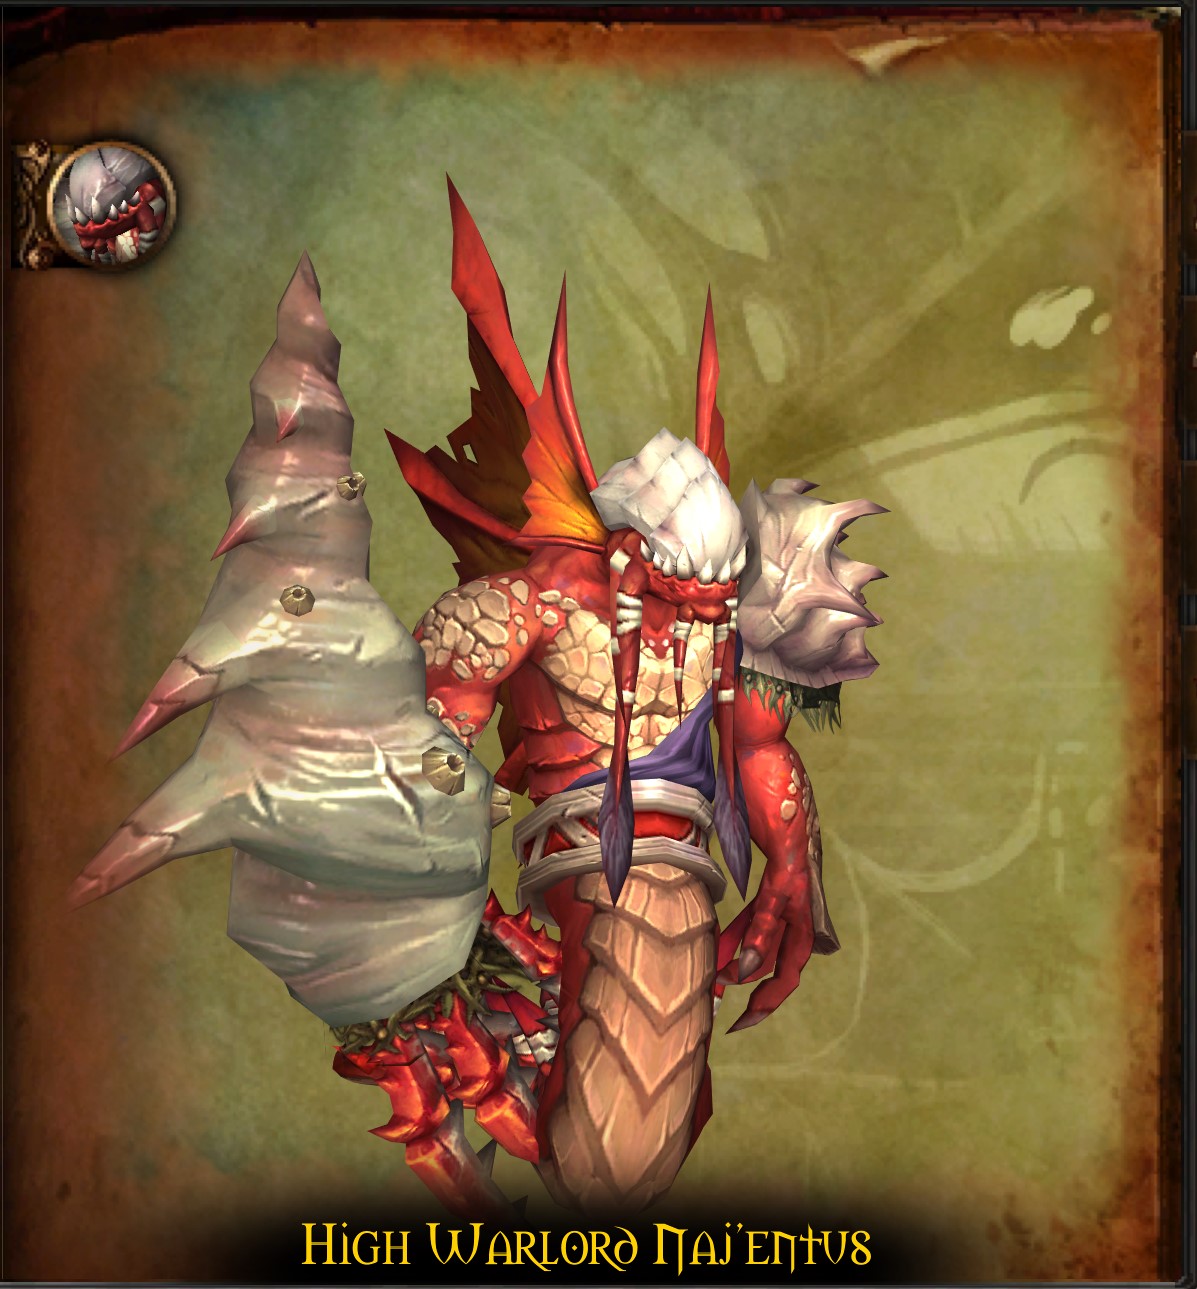
Naj'entus is a healing and execution check. Spread the raid by at least six yards while keeping everyone within healing range. Melee should use the boss's large hitbox and spread out instead of stacking on one point.
-
The tank faces Naj'entus away from the raid and keeps him stationary.
-
When Impaling Spine pins a player, a nearby raider clicks the spine to remove it and receives a usable Naj'entus Spine. Do not leave the target pinned ever.
-
Save the collected spine until Naj'entus casts Tidal Shield. He becomes immune and rapidly heals while the shield remains active.
-
Healers top the entire raid before the assigned player throws the spine into Tidal Shield. Breaking it triggers Tidal Burst, dealing roughly 8,500 Frost damage raid-wide.
-
Use personal defensive CDs if the raid is not fully recovered. Resume the spread immediately after the burst.
I’d say the Bloodlust is most effective on the pull because the encounter has no later increased damage phase worth saving it for. The fight repeats the same spine, shield, and burst cycle until Naj'entus dies.
Supremus Strategy
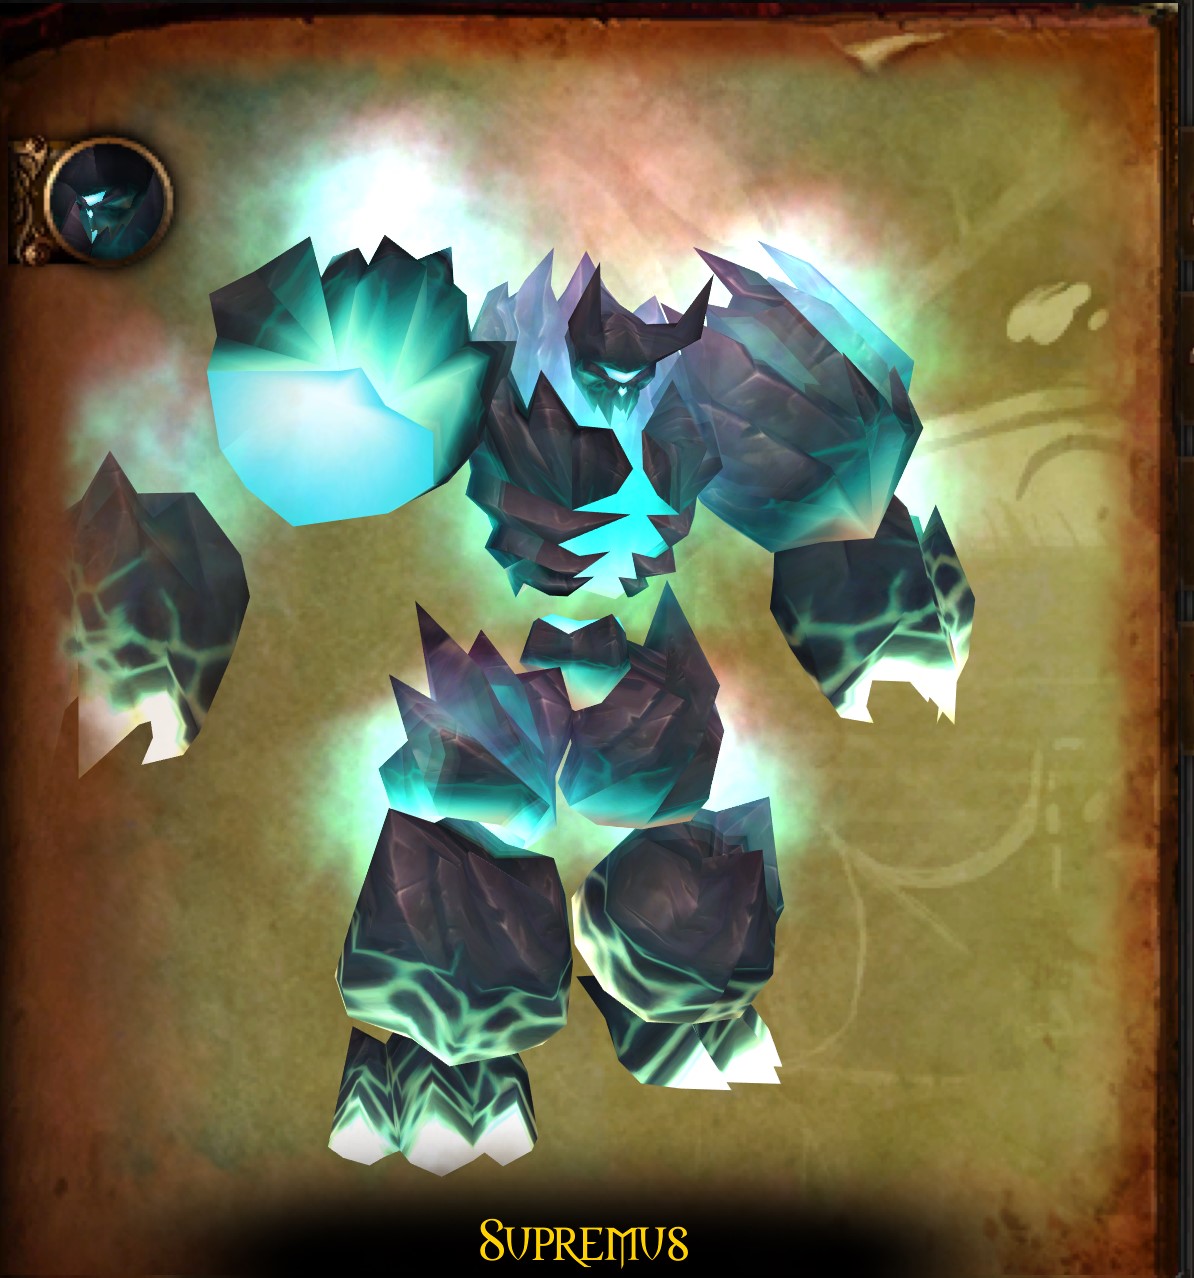
Supremus’s fight alternates between two 60-second phases. The encounter is pretty simple:
Phase 1: Tank Phase
-
The main tank holds Supremus in the center while the other tanks stay second and third on threat.
-
Hateful Strike targets a nearby high-health player with high threat, so the off-tanks must remain in melee range and fully healed.
-
Move the boss out of Molten Flame trails without dragging him through the raid.
-
Ranged players spread around the room and avoid standing near the melee group.
Phase 2: Fixate Phase
-
Supremus fixates a random player. That player runs away while the rest of the raid continues attacking from safe positions.
-
Do not kite more than about 40 yards from the boss. Excessive distance can trigger a charge and kill the target.
-
Volcanoes spawn around the room and deal escalating damage. Move as soon as the ground effect appears.
-
Supremus changes targets several times before returning to the tank phase.
I really want you to remember that the threat resets when Phase 2 ends. DPS must stop and allow the main tank to grab control of the boss before attacking again.
Shade of Akama Strategy
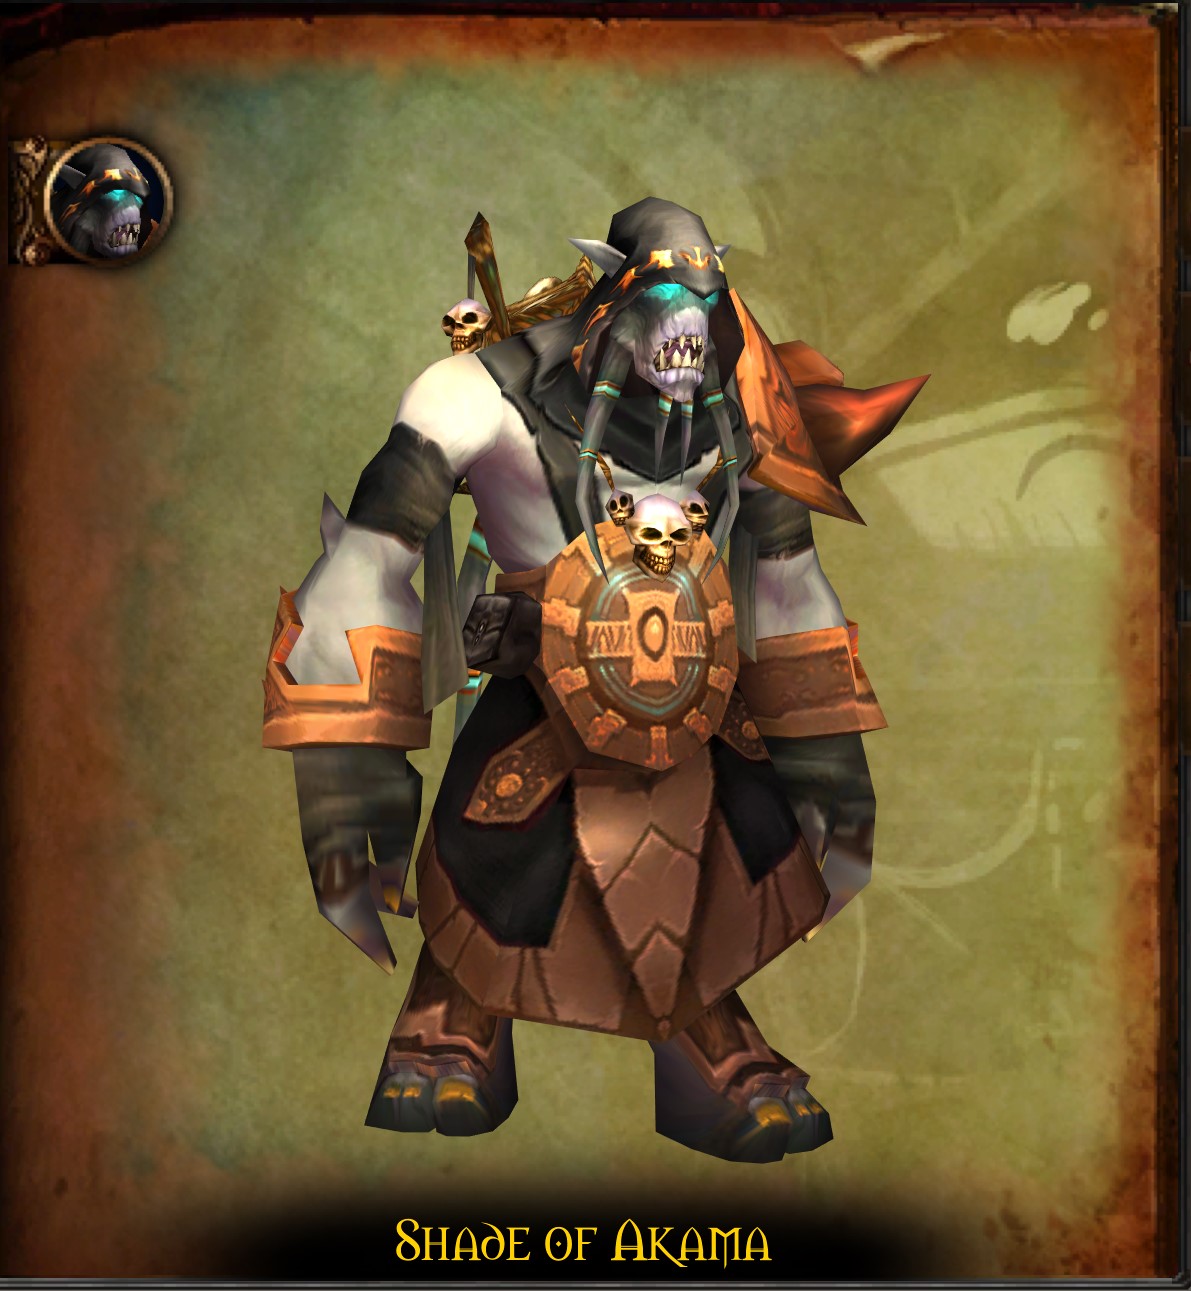
The Shade of Akama encounter begins with six Ashtongue Channelers holding the Shade in place. Adds enter from both sides of the room while Akama and his Broken allies help the raid.
-
Assign one tank and a small control group to each side entrance. Pick up incoming mobs before they reach the healers.
-
The main damage group kills the six Channelers. Cleave nearby adds, but do not stop channeler damage.
-
Ashtongue Sorcerers periodically run to the Shade and begin channeling. Kill them immediately because they slow Akama's progress.
-
Once all channels end, Shade of Akama becomes attackable and moves toward Akama.
-
Use Bloodlust or Heroism and burn the Shade before it kills Akama. Continue controlling side adds until the boss dies.
An optional speed tactic is to keep one suitable trash mob alive before the pull and use raid-wide area damage to hit the Channelers through it. This is not required for a normal clear and can be skipped if the group wants a clean, predictable setup.
Teron Gorefiend Strategy

Teron is primarily a personal-responsibility encounter. Every player who can receive Shadow of Death should understand the exact ghost controls you need to do before the pull.
-
The tank holds Teron in place while melee stack behind him.
-
Ranged and healers spread to reduce damage from Crushing Shadows and Incinerate.
-
Dispel Incinerate immediately - damage is respectable.
-
About ten seconds before Shadow of Death expires, the marked player runs to the assigned back corner. The debuff kills them, creates a spirit, and spawns four Shadowy Constructs.
-
As the spirit, open with the area slow or root, attack the Constructs, and tab between targets so none reaches the raid. Use every control ability available on the temporary action bar.
If even one Construct escapes, it can kill multiple players and create an unrecoverable chain. Practice the ghost sequence before raid night and assign a clear death corner that does not overlap the group. Use Bloodlust or Heroism early so it benefits everyone before players begin entering the spirit phase.
Reliquary of Souls Strategy

Reliquary of Souls contains three distinct essences separated by short soul waves. Mana users should take advantage of the transitions to recover, while the raid quickly kills the incoming Enslaved Souls.
Phase 1: Essence of Suffering
-
Healing is disabled, and armor provides no protection.
-
The Essence fixates the nearest player. Rotate tanks at close range so no one player absorbs every hit.
-
The current tank should step back as health falls, allowing the next tank to become the nearest target.
-
Dispel Soul Drain promptly and avoid unnecessary damage. Players cannot be restored until the phase ends.
Phase 2: Essence of Desire
-
Place Curse of Tongues on the boss and maintain a strict interrupt rotation for Spirit Shock. One successful cast can kill the tank or destabilize the entire phase.
-
A Mage should Spellsteal Rune Shield.
-
Deaden increases damage taken by the boss and should be used as a controlled burn window.
-
Damage dealt to the boss is partially reflected to the attacker. DPS must watch their own health.
Phase 3: Essence of Anger
-
Give the tank a clear threat lead before the raid commits damage. Threat mistakes are fatal because the boss punishes anyone who overtakes the tank.
-
Use Bloodlust or Heroism and burn the boss before its escalating raid damage overwhelms the healers.
-
Players targeted by Spite require focused healing and should use personal defensives.
-
Healers rotate cooldowns as the damage ramps rather than exhausting everything at the start.
Spirit Shock interrupts, and disciplined reflected-damage management matters more than raw DPS in this fight.
Gurtogg Bloodboil Strategy
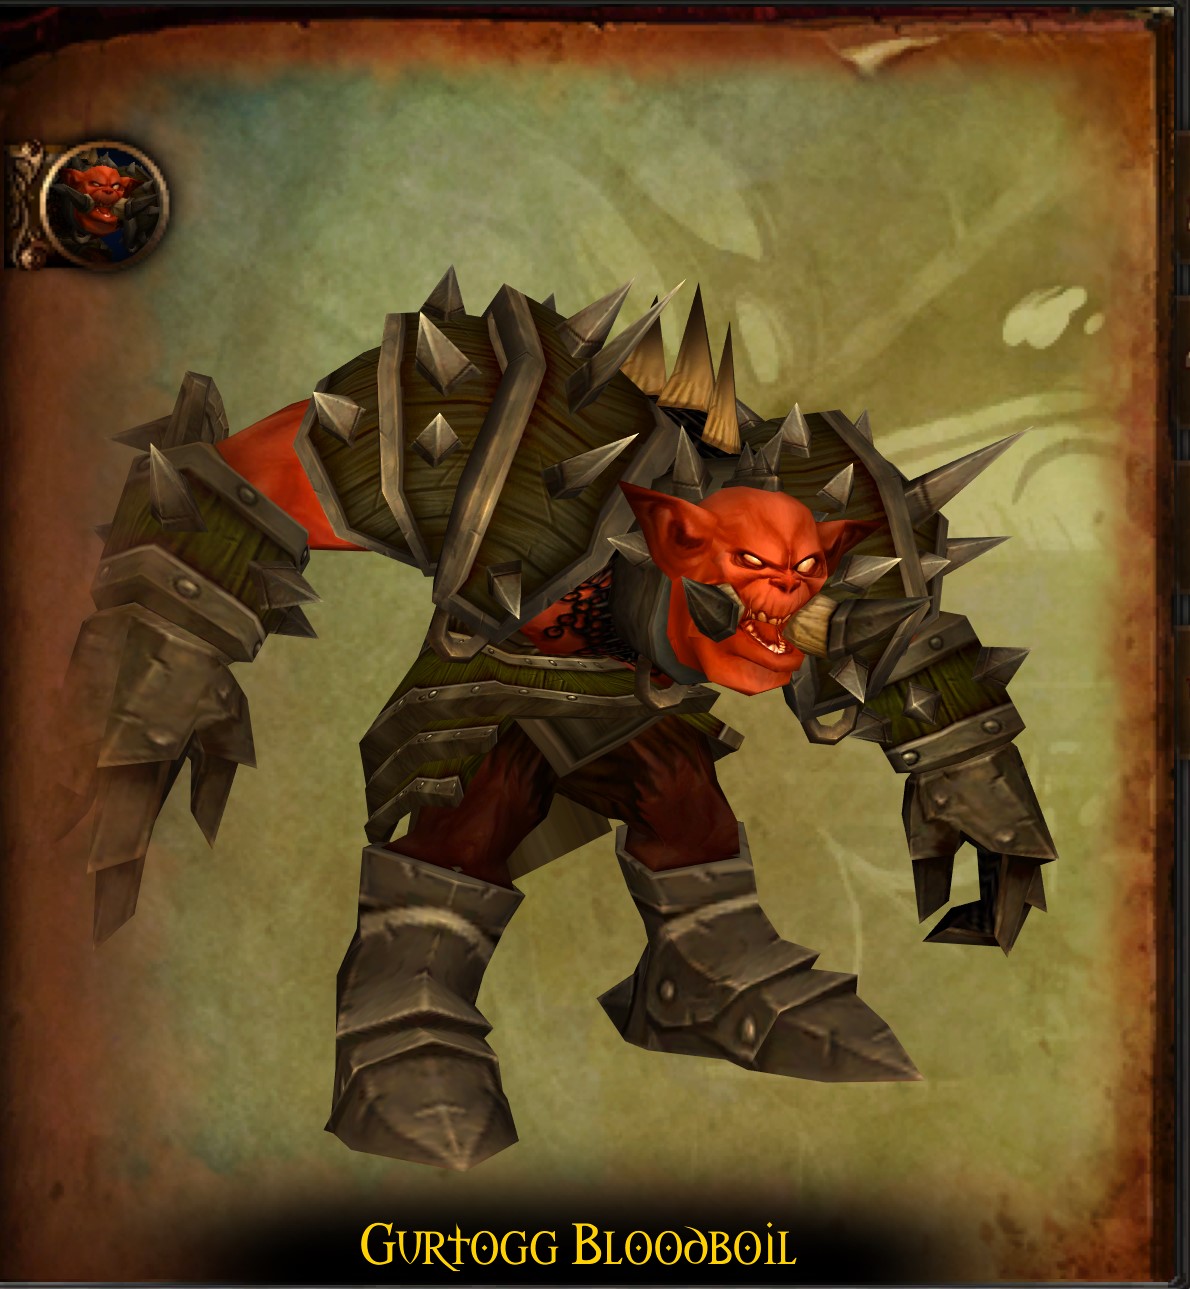
Gurtogg alternates between a normal tank-heavy phase and a Fel Rage phase. He cannot be taunted, so all three tanks must stay near the top of the threat table.
Phase 1: Bloodboil
-
Tanks rotate through Acidic Wound, swapping around seven or eight stacks. Since Gurtogg is untauntable, swaps are performed through threat management.
-
Divide 15 ranged players and healers into three groups of five. The active group moves farthest from the boss to receive Bloodboil, then rotates out after the cast.
-
Five consecutive Bloodboils occur in each cycle. A simple rotation such as Group 1, Group 2, Group 3, Group 1, Group 2 keeps stacks controlled.
-
Use Bloodlust during this phase, when damage dealers have stable uptime.
Phase 2: Fel Rage
-
Gurtogg chooses a random player and grants them large temporary health, armor, healing, and threat bonuses.
-
The Fel Rage target stands in front of the boss, keeps attacking, and receives concentrated healing.
-
The target must not Vanish, Feign Death, use Ice Block, or otherwise remove themselves from combat. Doing so can send Gurtogg into the raid.
-
Everyone else reduces threat and avoids pulling aggro when the phase ends.
Healers should pre-assign who covers the Fel Rage target and who maintains the tanks. Most wipes come from a missed Bloodboil rotation or a Fel Rage target using an immunity out of habit.
Mother Shahraz Strategy
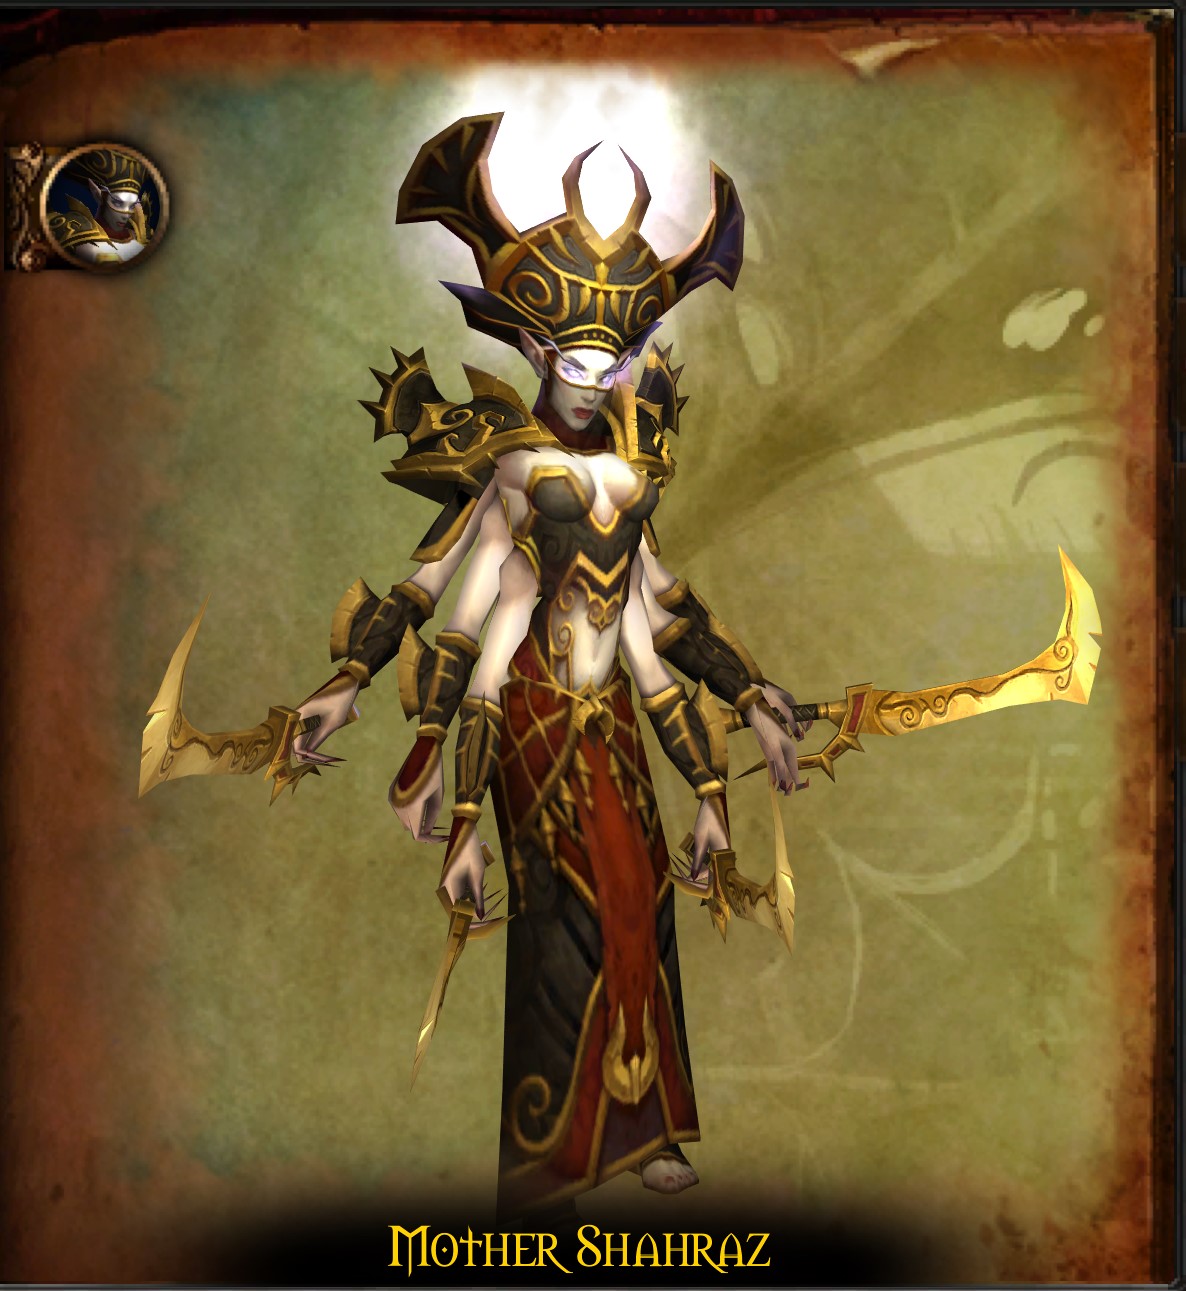
Mother Shahraz is well-known to be the raid's Shadow Resistance check. A progression target is 244 buffed Shadow Resistance for non-tanks. Prayer of Shadow Protection supplies 70, so players need about 174 from gear before the buff. The Medallion of Karabor contributes 40 of that amount. Tanks generally prioritize survival and threat gear instead of wearing a full resistance set.
-
Three tanks stack tightly in front of Mother Shahraz to split Saber Lash. If one tank moves out of position, the others can be killed instantly.
-
The raid spreads behind and around the boss while staying clear of the tanks.
-
Three players targeted by Fatal Attraction are teleported together. They immediately run away from one another and away from the raid until the effect ends.
-
Melee and nearby casters move out for Silencing Shriek, which silences players within 18 yards.
-
Healers prepare for periodic raid damage from the boss's prismatic beams and keep the Saber Lash tanks topped.
Position the boss before using Bloodlust or Heroism. Fatal Attraction execution is more important than maximizing damage during the opening seconds. Mark safe escape directions so teleported players do not run through the main group.
The Illidari Council Strategy
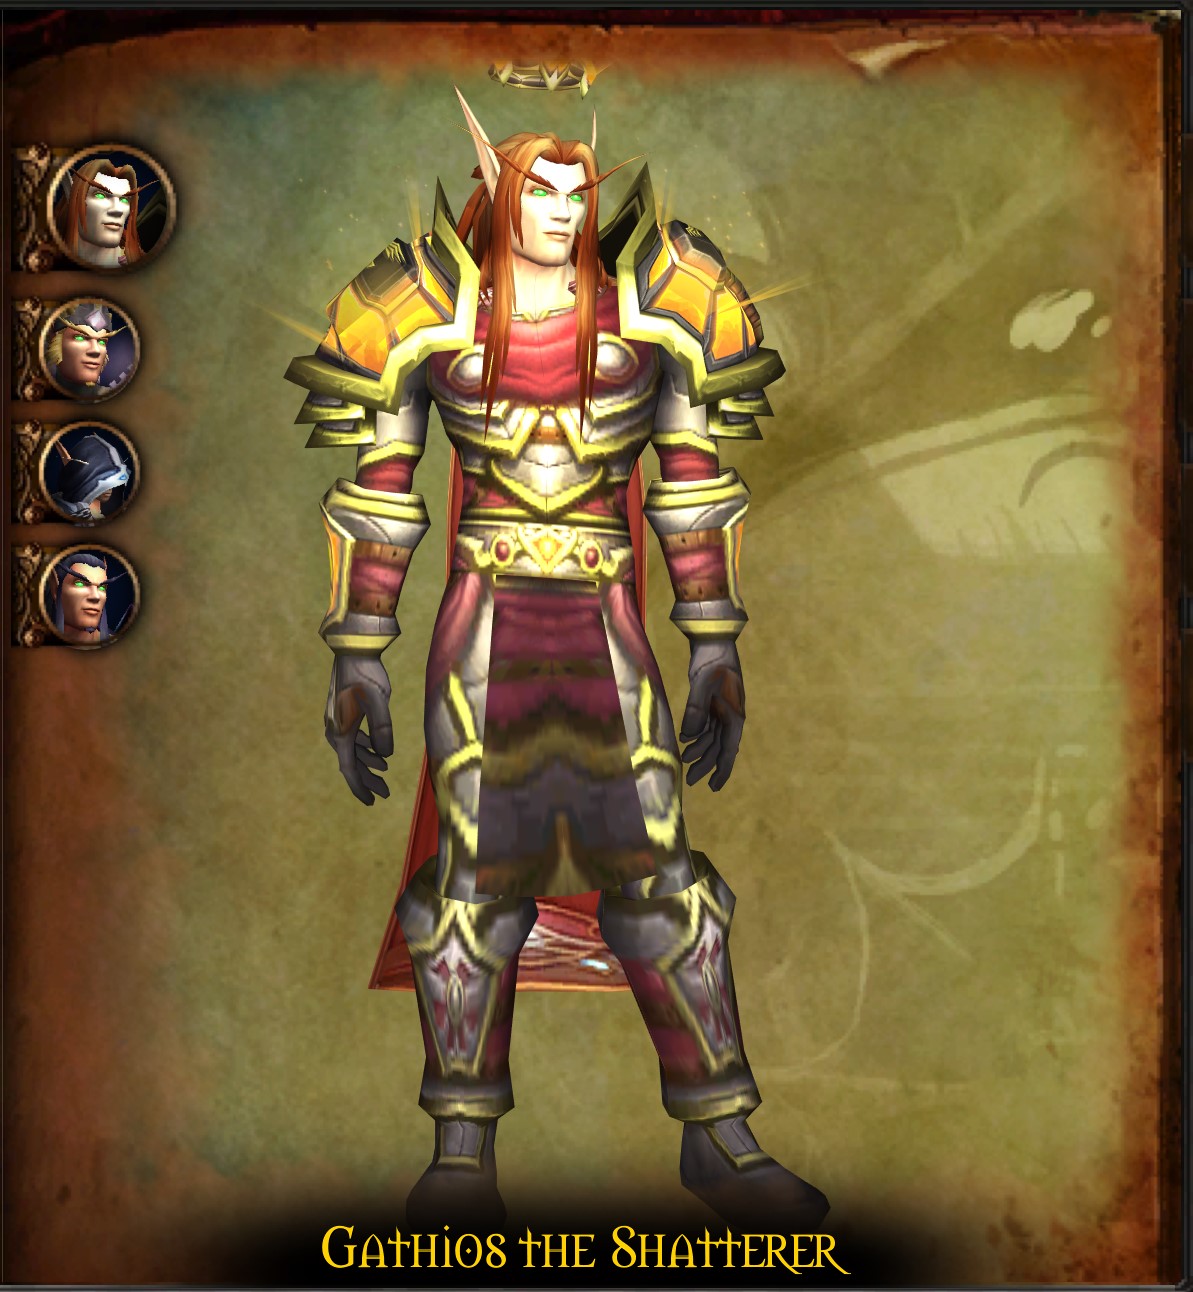
The Illidari Council consists of four enemies sharing one health pool: Gathios the Shatterer, Veras Darkshadow, Lady Malande, and High Nethermancer Zerevor. Each needs a dedicated assignment.
Gathios the Shatterer
A main tank holds Gathios away from the rest of the Council and slowly moves him out of Consecration. Dispel harmful seals and judgments where possible. Melee focus Gathios because he provides the safest sustained target.
Veras Darkshadow
A second physical tank handles Veras. He periodically vanishes, resets threat, and reappears to apply a dangerous poison. Healers watch the poisoned player while the tank re-establishes control after every vanish.
Lady Malande
Maintain Curse of Tongues and assign at least two interrupters to Malande. Circle of Healing must never complete, because all four Council members share health and the heal erases substantial progress. Her reflective shield can punish uncontrolled cleave, so damage dealers stop or switch when required.
High Nethermancer Zerevor
A Mage tanks Zerevor at range by Spellstealing Dampen Magic and maintaining threat with spells. The rest of the raid stays away from him because Arcane Explosion is lethal at close range. Dispel Flamestrike whenever it’s applied.
Use six healers for a first kill. The encounter is won through stable positioning and uninterrupted Malande casts, not by forcing maximum cleave. Bloodlust or Heroism can be used once every tank has established control and the interrupt rhythm is stable.
Illidan Stormrage Strategy
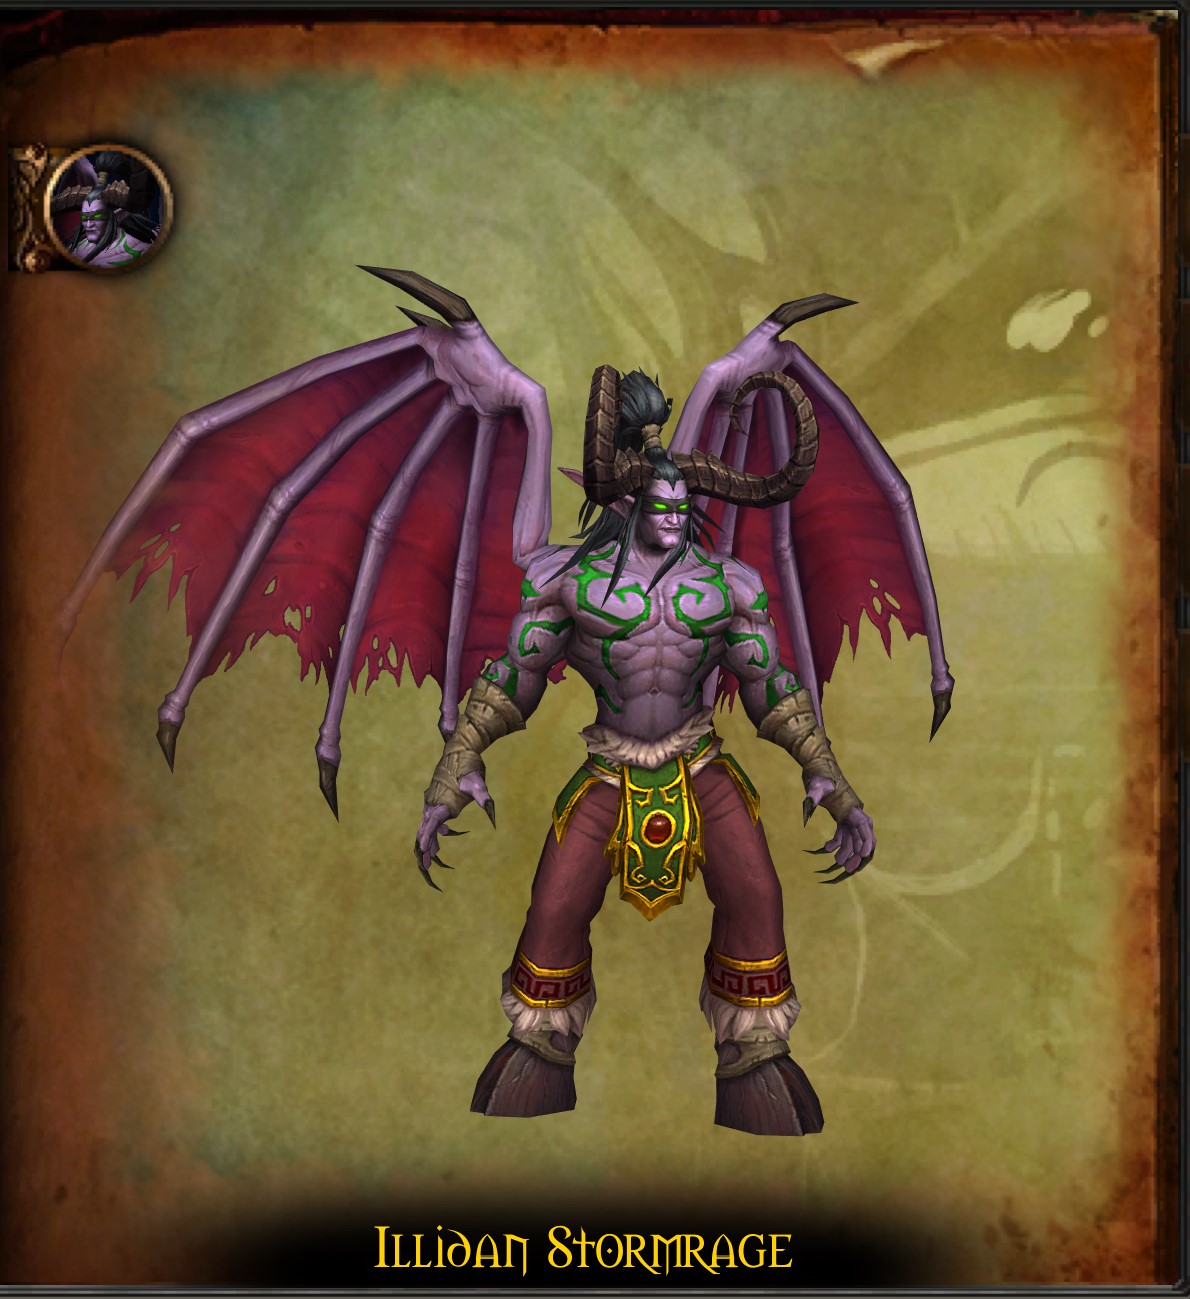
Illidan, I’d say, is the hardest fight - it’s a five-phase encounter that tests every special assignment prepared for the raid. The group needs one main tank, two Fire Resistance tanks, and a Shadow Resistance Warlock tank.
Phase 1: The Betrayer
-
The main tank faces Illidan away from the raid.
-
Shear reduces the tank's maximum health by 60% if it lands. It cannot miss, but it can be dodged, parried, or blocked. Warriors must maintain Shield Block coverage, and Paladins should use an appropriate avoidance setup.
-
Players targeted by Parasitic Shadowfiend move to the assigned edge before the parasites spawn. Kill the adds immediately.
-
Move out of Flame Crash and keep the boss clear of its ground effect.
Phase 2: Flames of Azzinoth
At 65% health, Illidan flies into the air and activates the two Blades of Azzinoth.
-
Each Fire Resistance tank picks up one Flame of Azzinoth and keeps it close to its blade.
-
Never drag a Flame more than 25 yards from its blade. Doing so triggers a charge and a scaling damage effect that usually wipes the raid.
-
Ranged players split into two or three loose groups so healers can cover everyone without stacking the entire raid in one place.
-
Move away from Eye Blast and the resulting trail. Tanks reposition the Flames carefully around Blaze patches.
-
Focus healing on any player struck by Dark Barrage and use a defensive if available.
-
Kill both Flames at roughly the same time, then prepare for Illidan to land.
Phase 3: Agonizing Flames
Threat resets when Illidan lands. Let the main tank regain control before attacking.
-
Repeat the Phase 1 responses to Shear, Flame Crash, and Parasitic Shadowfiend.
-
Spread for Agonizing Flames so its splash damage does not hit several players.
-
Use Bloodlust or Heroism and push Illidan toward 30%. Strong raids may reach Phase 5 without seeing a full Demon Form.
Phase 4: Demon Form
If Illidan transforms, melee players move away from him and the Shadow Resistance Warlock takes control at range.
-
The Warlock maintains threat and survives Illidan's Shadow damage with dedicated healing.
-
Melee remain outside Aura of Dread.
-
When Shadow Demons spawn, kill or control them before they reach their fixated targets.
-
Spread the raid to reduce splash damage and transition cleanly when Illidan returns to normal form.
Phases 3 and 4 repeat until Illidan reaches 30% health.
Phase 5: Maiev Shadowsong
Maiev joins the fight at 30%, but Illidan continues using his earlier ground-phase mechanics.
-
Keep handling Shear, Flame Crash, Parasitic Shadowfiend, and Agonizing Flames.
-
Maiev periodically creates a trap. When Illidan becomes Enraged, the tank kites him over the active trap to remove the Enrage and make him vulnerable.
-
The raid follows the tank without crossing Flame Crash or parasite positions.
-
Continue the trap cycle until Illidan dies.
Usually, the best pulls come from treating every transition as a complete threat reset. DPS should wait for control after Phase 2, Demon Form, and trap movement rather than turning a good attempt into a tank death.
Black Temple Loot Item Levels
Black Temple loot rises above Phase 2 raid gear, with Illidan dropping the strongest items in the instance.
|
Loot Source |
Item Level |
|---|---|
|
Black Temple boss and trash epics |
141 |
|
Tier 6 set pieces |
146 |
|
Illidan Stormrage loot |
151 |
Rare epic gems can also drop inside Black Temple. Trash mobs provide bind-on-pickup epics, crafting materials, and Ashtongue Deathsworn reputation, so some non-boss drops remain valuable even after the raid has several clears.
Black Temple Tier 6 Tokens
Black Temple contains three of the five original Tier 6 armor slots. The remaining two come from the Battle for Mount Hyjal.
|
Boss |
Tier 6 Slot |
|---|---|
|
Mother Shahraz |
Shoulders |
|
The Illidari Council |
Legs |
|
Illidan Stormrage |
Chest |
|
Azgalor in Mount Hyjal |
Gloves |
|
Archimonde in Mount Hyjal |
Helm |
Each token is shared by multiple classes and must be exchanged with the appropriate vendor. Plan token priority before the first clear because Tier 6 set bonuses can be more valuable than a small item-level upgrade on an individual piece.
Black Temple Loot and Rewards
I think it’s no secret that the iconic Black Temple contains several of TBC's most recognizable weapons, trinkets, and cosmetic rewards:
-
The main-hand and off-hand Warglaives of Azzinoth from Illidan. Each glaive has its own low drop chance, and both can be equipped by Warriors and Rogues in TBC.
-
Cursed Vision of Sargeras, Skull of Gul'dan, Zhar'doom, Greatstaff of the Devourer, and Memento of Tyrande from Illidan are all great BIS-tier pickups that many guilds will try to get.
-
Madness of the Betrayer from the Illidari Council.
-
Ashtongue Deathsworn reputation, used for class trinkets and Shadow Resistance crafting recipes from Okuno.
-
Hearts of Darkness, needed for crafted Shadow Resistance gear.
-
Rare epic gems and bind-on-pickup trash drops.
Find more helpful WoW TBC Anniversary guides here: