
The Kortz Center Heist TL;DR
-
Hosts need a Mansion with the GTA$4,700,000 Art Studio upgrade. Crew members can join without owning either property.
-
The heist supports one to four players, although some secondary targets require at least two players.
-
Guard Shipments is the optional prep I would always complete. Glass Cutter and Guard Routes are also useful for having easier runs.
-
Do not fill your bag with secondary loot too early if you expect the alarm to trigger. Taking damage reduces the value of carried secondary loot.
-
Your first Primary Target artwork sale each week pays substantially more
Tired of farming cash? You can buy GTA Online money on PlayHub and skip the grind entirely. Fast and secure delivery from verified sellers with every order.
How to Start the Kortz Center Heist
To host the heist, you’ll first need to own one of the three Mansions introduced with A Safehouse in the Hills and add the Art Studio through the Prix Luxury Real Estate website.
|
Requirement |
Cost |
|---|---|
|
Tongva Estate |
GTA$11,500,000 |
|
Vinewood Residence |
GTA$12,200,000 |
|
Richman Villa |
GTA$12,800,000 |
|
Art Studio |
GTA$4,700,000 |
|
Fine Art Collector discount |
GTA$1,000,000 |
|
Additional GTA+ discount |
GTA$1,000,000 |
|
Crew ownership requirement |
Not required |
The standard Art Studio price is GTA$4,700,000. Eligible Fine Art Collector participants pay GTA$3,700,000, while players with both that reward and the current GTA+ discount can reduce it to GTA$2,700,000. After buying the room:
-
Enter your Mansion.
-
Select the Art Studio directly or travel to Basement Level 2.
-
Watch the introductory cutscene with Mr. Faber, Raf De Angelis, and Yong-Rae.
-
Register as a CEO.
-
Interact with the Planning Board.
-
Start the Kortz Center scope-out.
Yong-Rae creates forged replacements for the paintings you steal, and the Planning Board lets you track optional prep work like entry points and equipment. You can also launch unlocked prep missions by calling Raf from the phone menu instead of returning to the board every time.
Kortz Center Scope-Out Guide
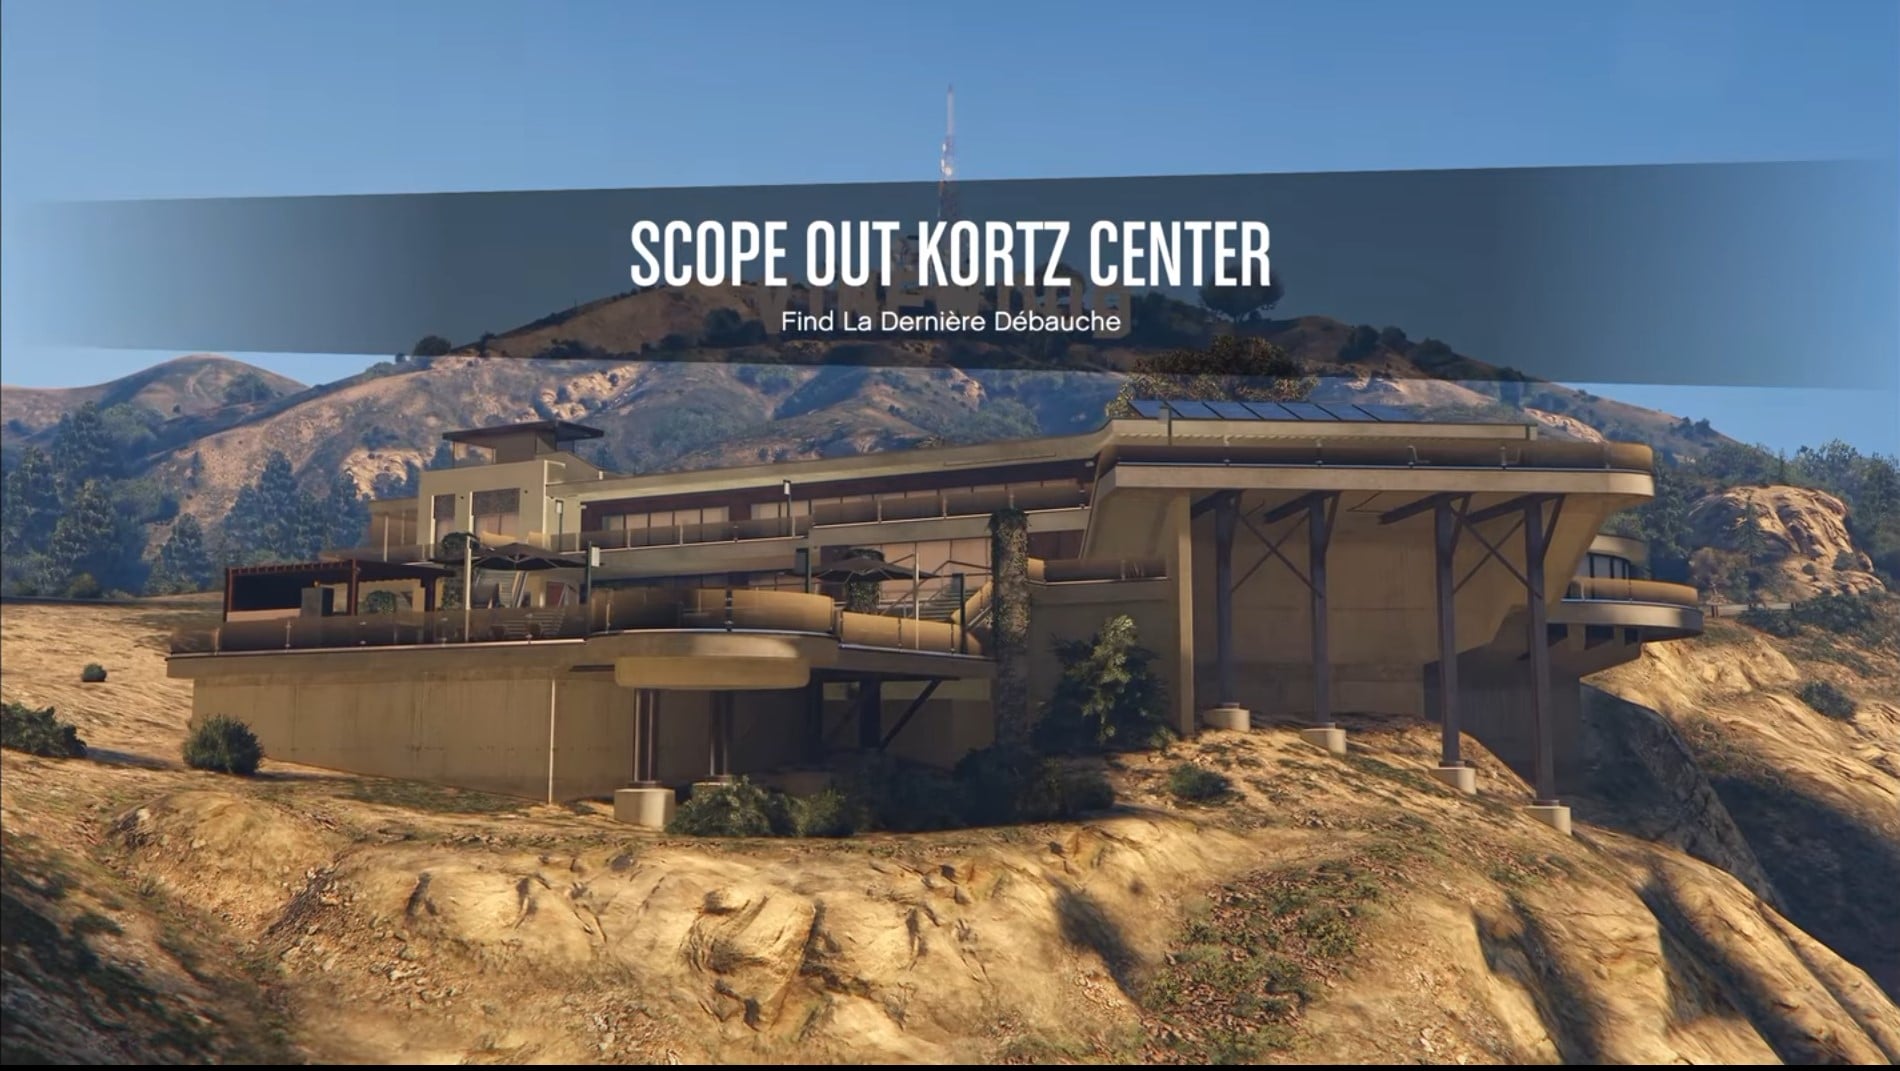
The scope-out works similarly to the Diamond Casino and Cayo Perico missions. Your immediate objective is to enter the Bell Building, reach the security office, upload your Mansion AI, and inspect the camera feeds.
-
Reach the Security Room
Drive to the Kortz Center and enter the exhibition area. Inside, avoid the camera vision cones and make your way toward the staff-only security room.
There is normally one guard protecting the room. Wait until he is isolated, knock him out, and interact with the computer. Once your Mansion AI is uploaded, you can access the CCTV network.
Do not rush this section. Getting spotted can eject you from the building, adding another fairly pointless drive across Los Santos.
-
Find the Primary Target
Cycle through every camera and rotate each feed. The Primary Target appears through the vault camera, plus you can scout out secondary artwork routes and equipment while at it.
The initial Primary Target is La Dernière Débauche, valued at $1,925,000 for the boosted weekly run. Later weekly rotations are set to introduce more different paintings with varied pricings.
-
Scope Out Secondary Targets
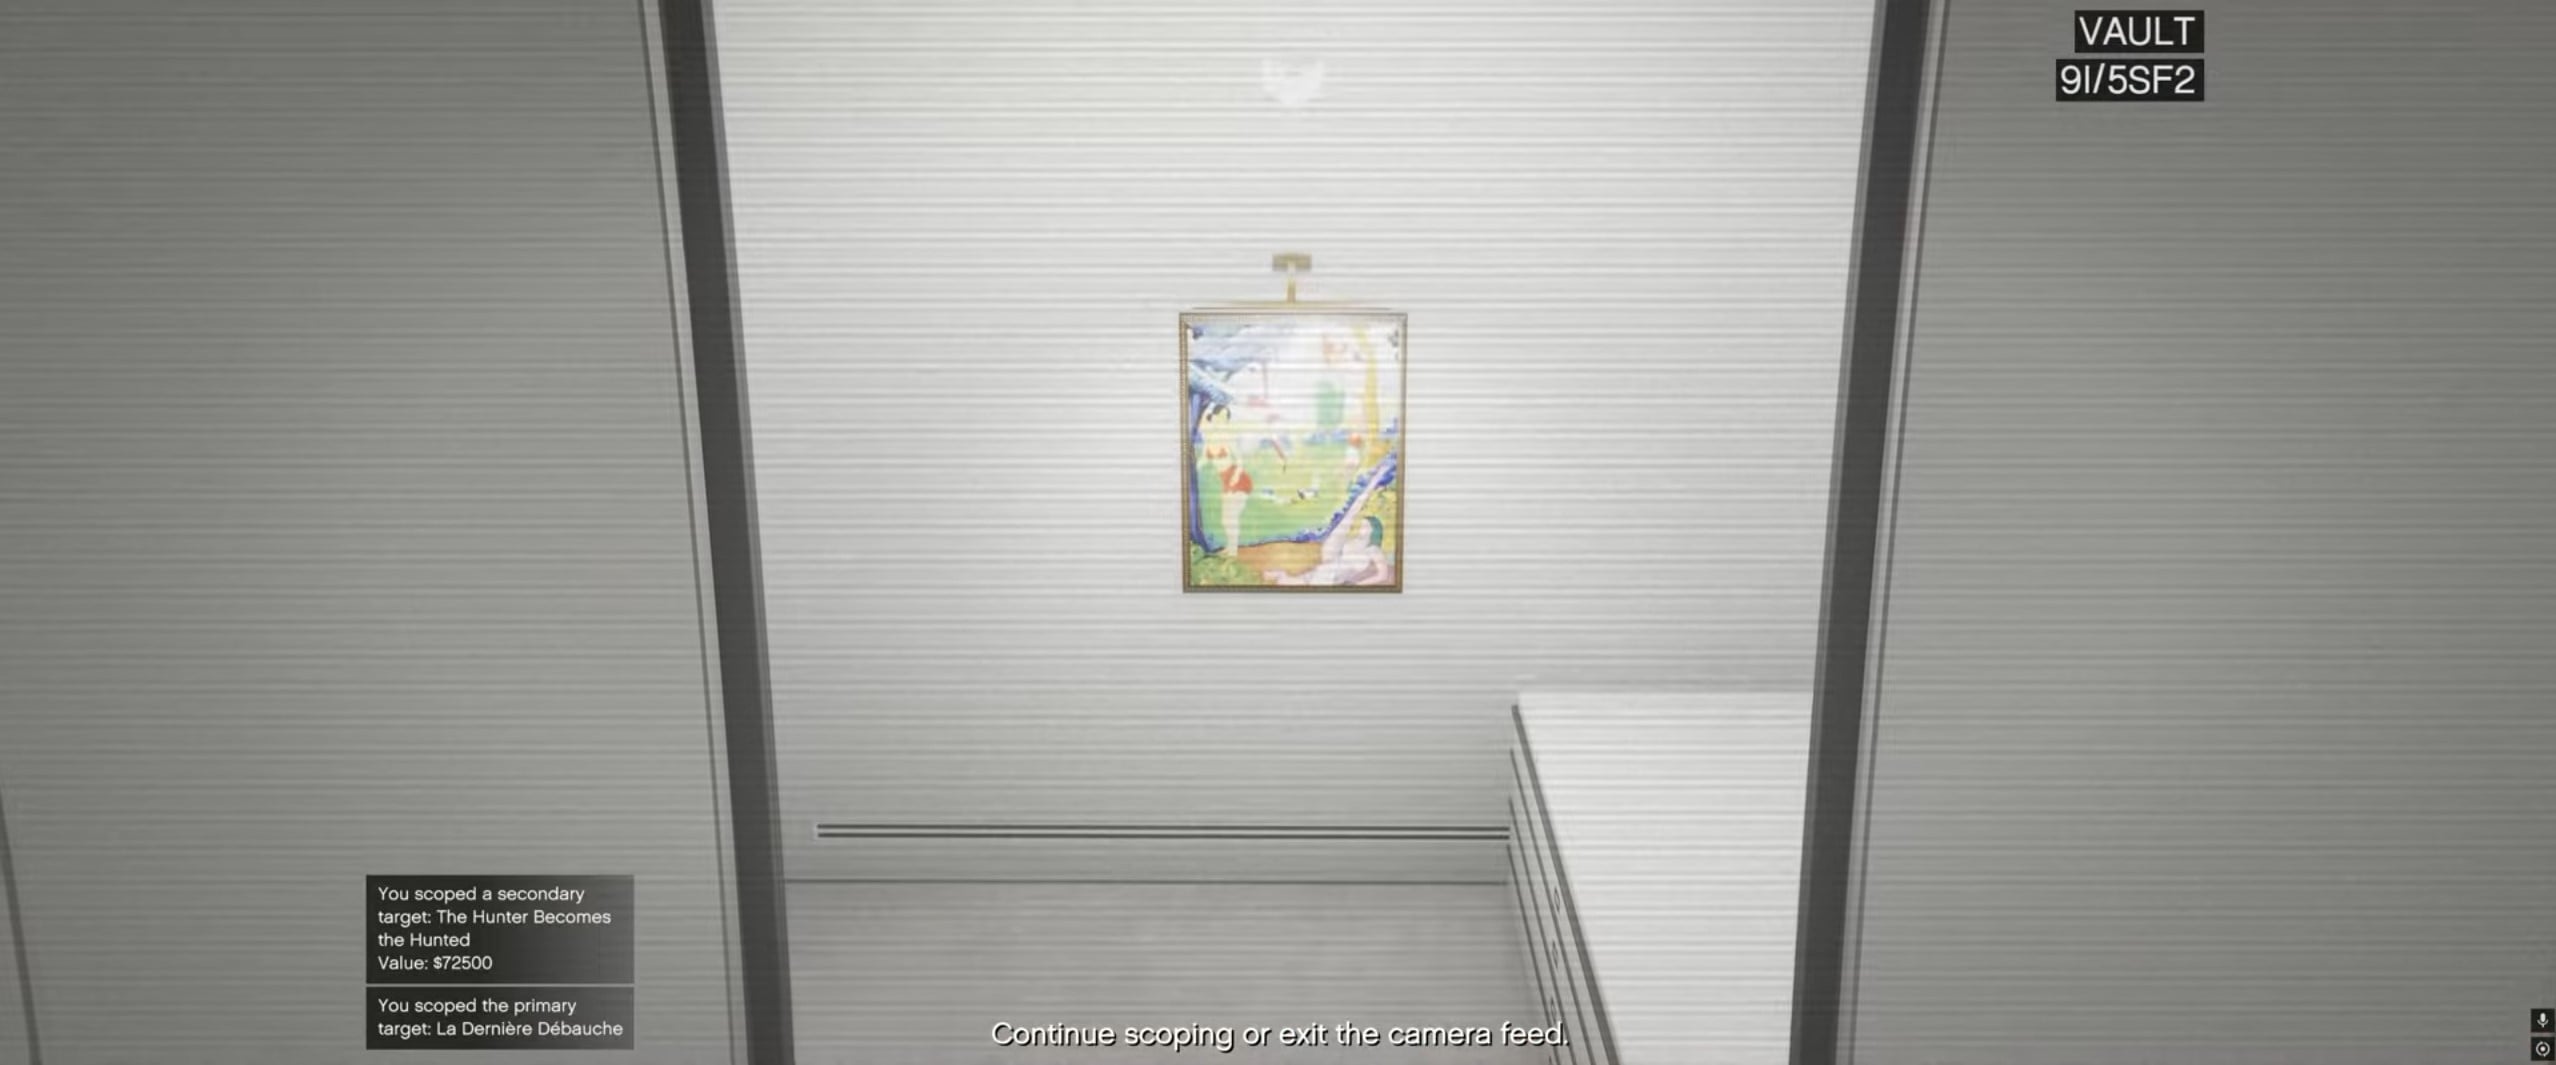
After leaving the security computer, you can continue walking around the gallery and photographing secondary artwork.
Scope as much as possible, even if you are planning to play the mission solo. Knowing all the available loot lets you fill your bag with pricier targets, knowing where exactly to go and what to grab. Solo players can access artwork on the main and basement levels. Certain secured rooms and upper-level targets require two players, so a solo run cannot empty the entire building. Rockstar specifically notes that a crew can access an additional Secondary Target room and carry more duffel bags.
All Kortz Center Entry Points
There are four possible entry points for you to locate:
|
Entry Point |
Location |
|---|---|
|
Staff Entrance |
Outside the Bell Building exhibition entrance |
|
Loading Bay |
Lower parking and delivery area |
|
Sewer |
Inside the hedge maze |
|
Skylight |
On the Bell Building rooftop |
The Staff Entrance is probably the most obvious possible location to photograph, but a risky one at that. The Loading Bay can be identified through the CCTV feed, while the Sewer and Skylight require exploring the outdoor grounds.
You can leave once the required objective of finding one entry point is complete, but I recommend finding all four entrances during the first visit. Several infiltration options and optional preps remain locked until the relevant point of interest has been scoped.
Kortz Center Heist Prep Missions
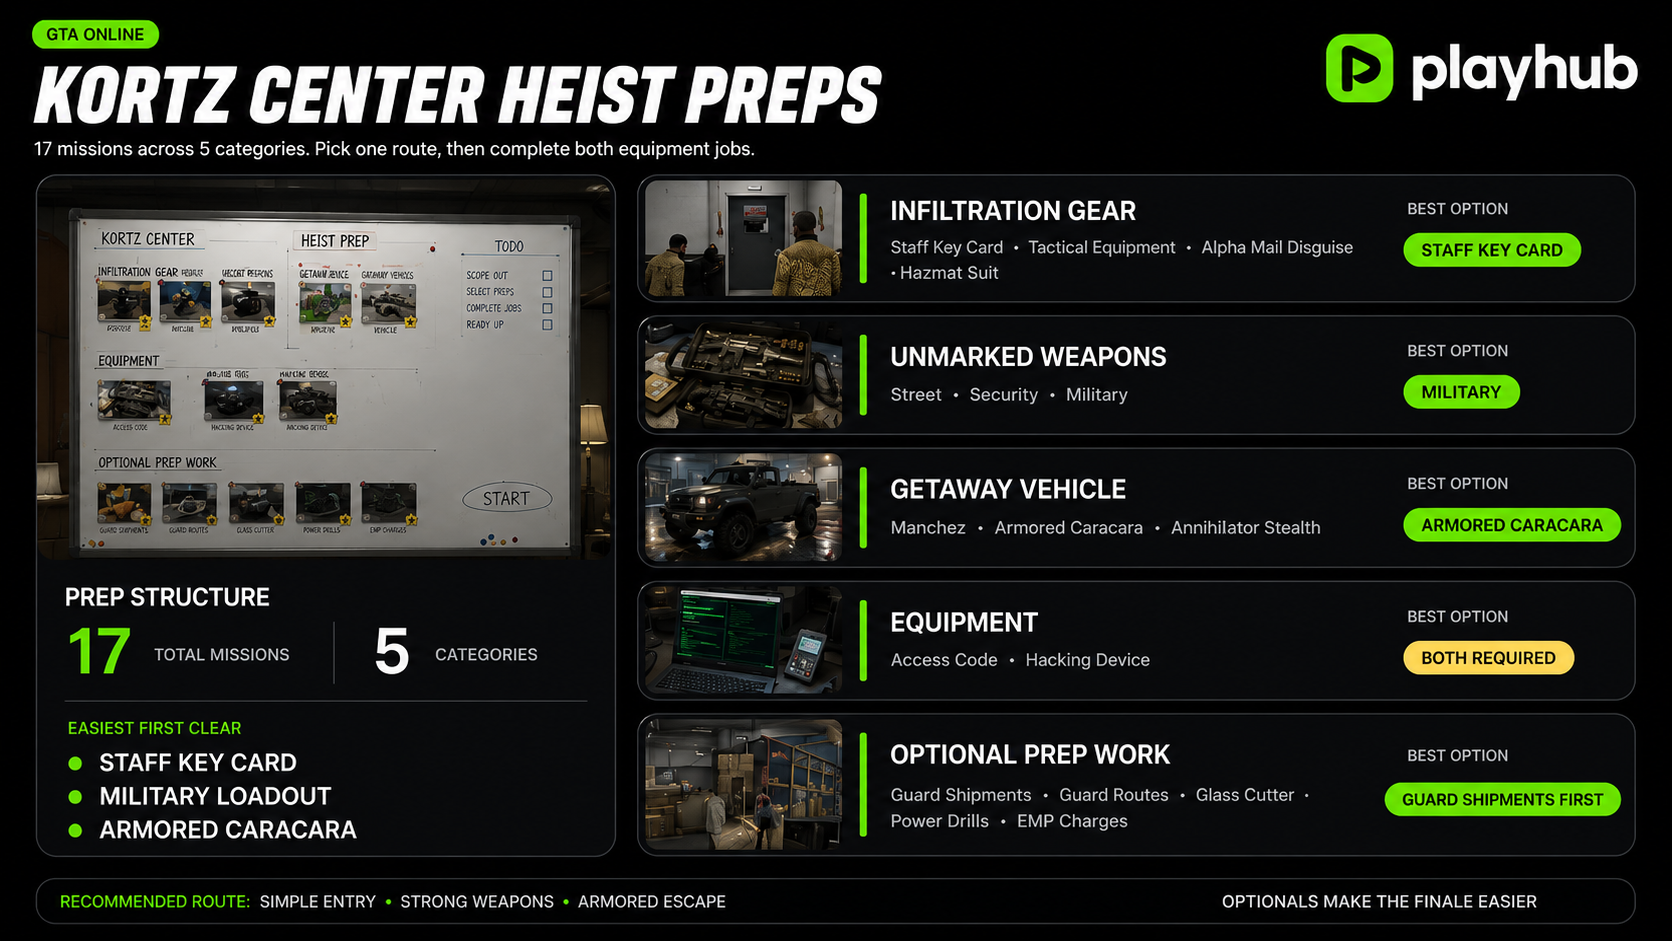
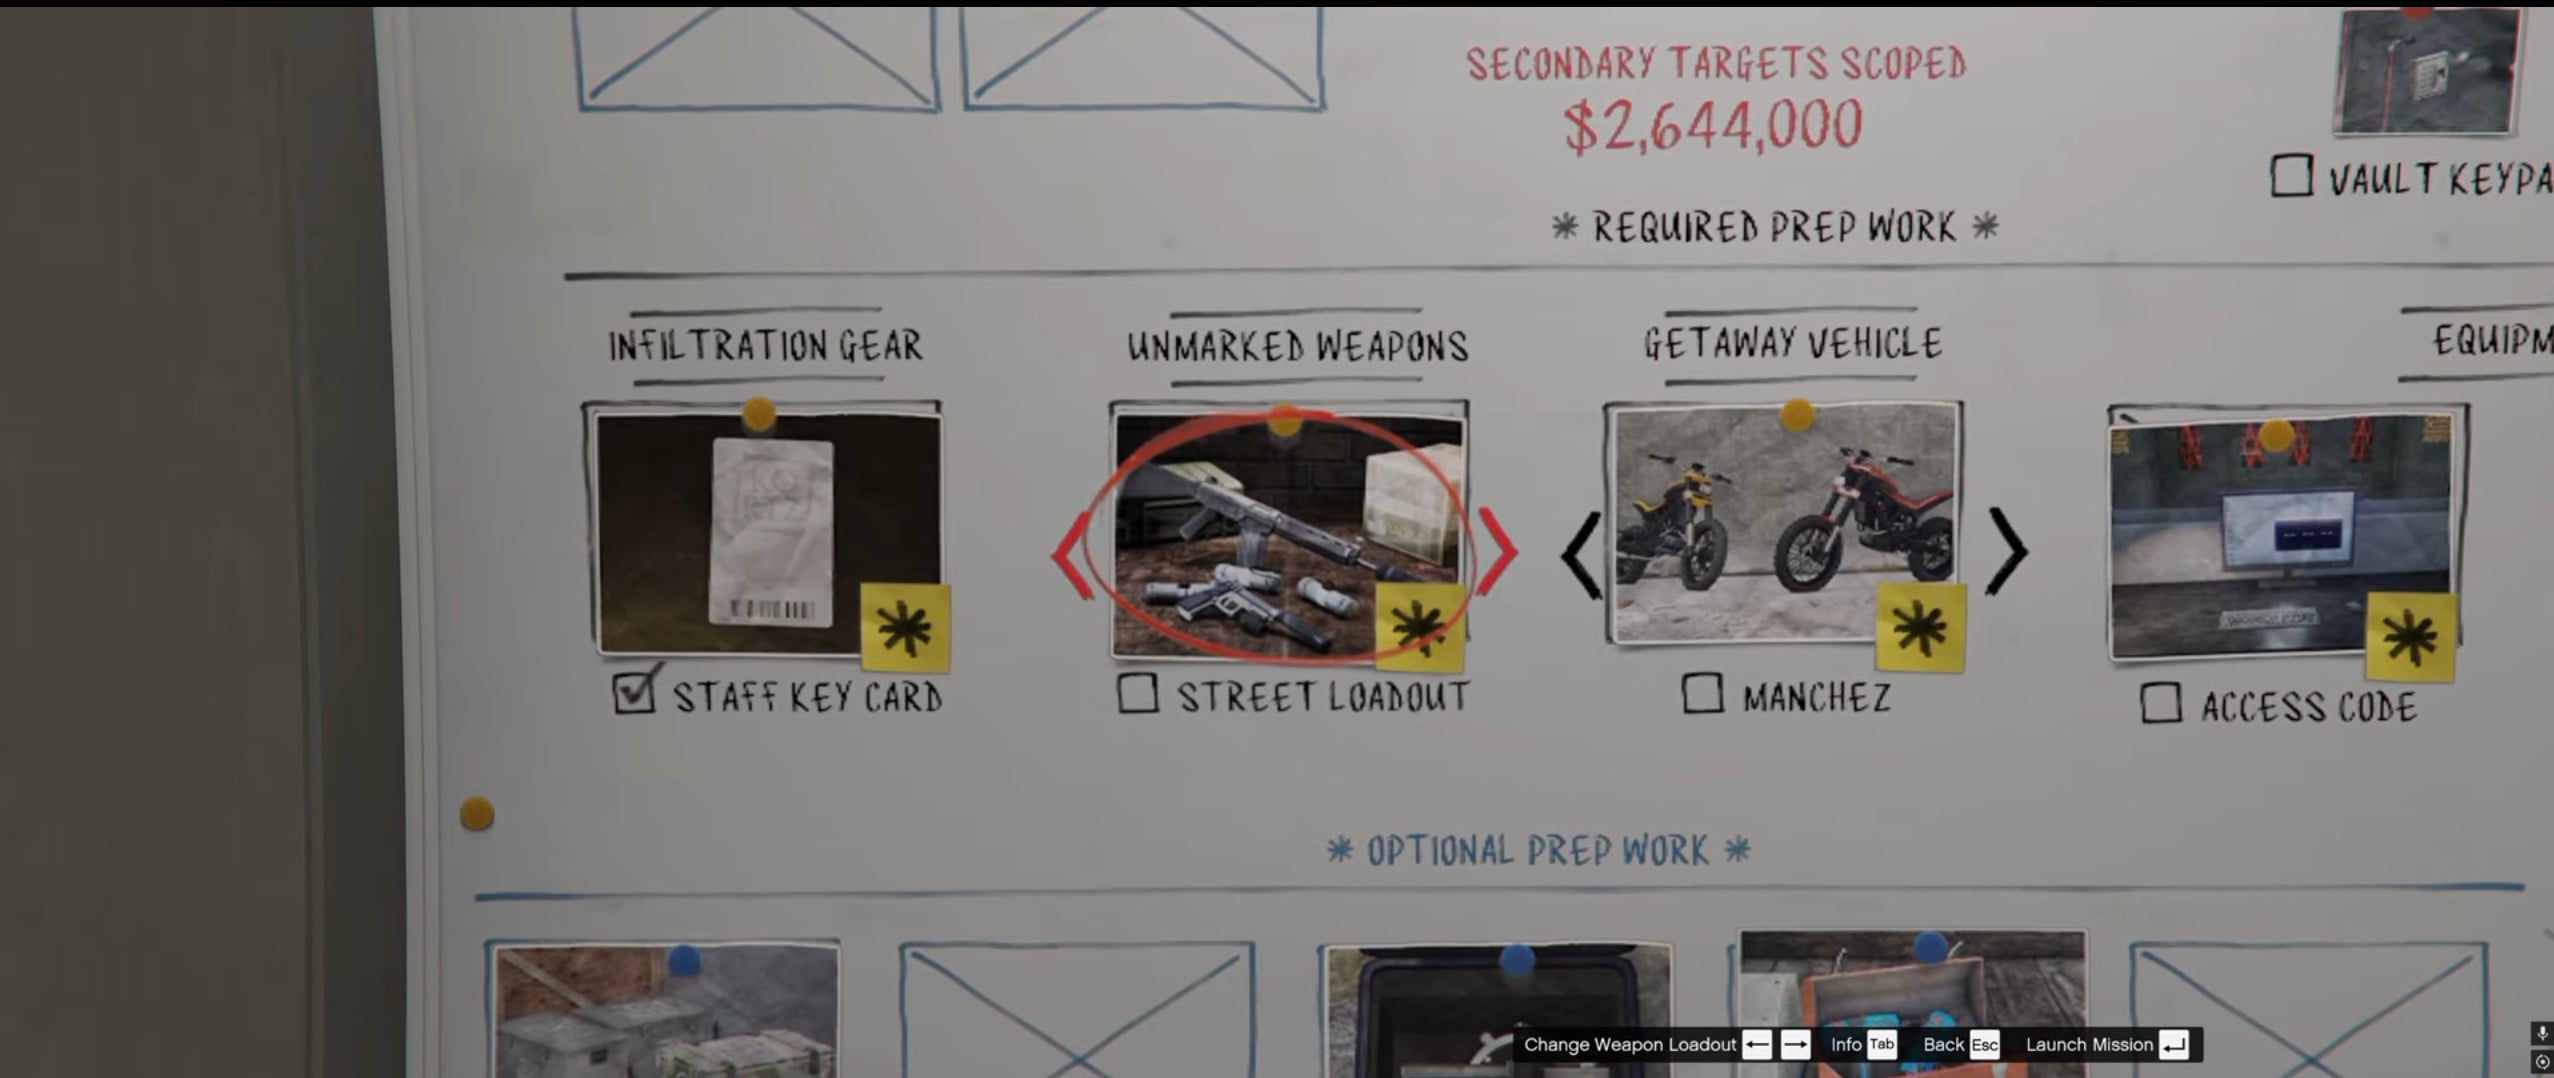
There are 17 available prep missions divided across five categories. You do not need to complete every alternative: choose one Infiltration Gear option, one Unmarked Weapons loadout, one Getaway Vehicle, and complete both Equipment missions. As in any other mission, optional preps are exactly that, although ignoring all five could make the finale needlessly annoying.
|
Category |
Available Options |
Best Option |
|---|---|---|
|
Infiltration Gear |
Staff Key Card, Tactical Equipment, Alpha Mail Disguise, Hazmat Suit |
Staff Key Card |
|
Unmarked Weapons |
Street, Security, Military |
Military |
|
Getaway Vehicle |
Manchez, Armored Caracara, Annihilator Stealth |
Armored Caracara |
|
Equipment |
Access Code, Hacking Device |
Both required |
|
Optional |
Guard Shipments, Guard Routes, Glass Cutter, Power Drills, EMP Charges |
Guard Shipments first |
The Staff Key Card, Military Loadout, and Armored Caracara route below is based on a tested first completion. I can’t say that it’s the best stealth plan, but it works and is probably the easiest one to get if you don’t want to bother with getting the optional gear too much.
Staff Key Card Prep Mission
The Staff Key Card gives you direct access through the Staff Entrance and works well for either a stealth attempt or a run that you don’t mind turning loud halfway through. To complete the prep:
-
Travel to the marked hacker den and clear the enemies outside and inside.
-
Destroy the power box if required to open the Terrorbyte shutter, then enter it.
-
Kill the remaining hacker and collect the key-card cloner.
-
Travel to the Kortz Center.
-
Avoid the camera covering the Staff Entrance and attach the cloner to the keypad.
-
Leave the area.
You receive the copied Staff Key Card once the cloner finishes its work. The mission is mostly a basic shootout followed by one short stealth section. The Alpha Mail Disguise is a strong alternative for a dedicated stealth run. You infiltrate an Alpha Mail warehouse, steal an employee outfit and ID, change the delivery van’s plate at Los Santos Customs, and deliver it to the Mansion. The prep’ll take longer, but it could be worth it if you want to go in and out as quietly as possible.
Military Loadout Prep Mission
The Military Loadout Prep sends you to Fort Zancudo.
-
Enter the air traffic control tower and climb to the control room.
-
Complete the connection hack and go down approximately two floors.
-
Collect the weapon bags.
-
Enter the adjacent server room and delete the security data.
-
Destroy the backup drive.
-
Return the equipment to your Mansion.
A helicopter makes the escape much faster. An Armored Kuruma also works because it lets you park near the objective and absorb most of the incoming gunfire.
Military weapons are a comfortable choice when learning the finale. You can attempt stealth, but you are not stuck with a weak loadout after one camera catches you.
Armored Caracara Getaway Vehicle Prep Mission
The best escape vehicle’s mission, The Armored Caracara, starts around the Vinewood Canals and ends inside the Maze Bank Arena.
-
Travel to the marked location and complete the initial hack.
-
Steal the event outfit and vehicle.
-
Drive to Maze Bank Arena and enter the Arena War event.
-
Shoot the Armored Caracara driver through the windows, eliminate the rear gunner if possible.
-
Steal the Caracara.
-
Exit the arena.
-
Deliver it to your Mansion.
I have to point out that the armored windows are not fully bulletproof, so you can kill the driver without destroying the vehicle. Remove the turret gunner before getting in unless you want to go out loud.
While the point can be made that the Annihilator Stealth is an aerial escape option that’s inherently better, I think the armored vehicle is still better since you can take direct hits without sweating about losing your pillage.
Access Code Prep
This Equipment mission gives you the security code required to enter the vault area.
-
Travel to the marked shipping area and kill the guards.
-
Shoot the container lock to collect the drone.
-
Travel to the vantage point and deploy the drone.
-
Fly it through the ventilation opening to the code generator.
-
Download the access code and fly to the backup system, detonate the drone.
Being detected inside the vent is not an automatic failure. Guards will fire at the drone, but the route is short, and the drone can usually survive long enough to finish both objectives. A helicopter saves time when reaching the vantage point. Alternatively, use the elevator at the marked building.
Hacking Device Prep
The Hacking Device mission starts with you infiltrating an exchange involving IAA personnel and another armed group.
-
Clear the meeting and collect the IAA key card.
-
Travel to the IAA facility.
-
Eliminate the agents outside and enter the building.
-
Disable the generator.
-
Use a flashlight while searching the dark interior.
-
Find the hacking device on one of the desks.
-
Exit into the sewer area.
-
Steal the conveniently parked van.
-
Deliver the device to the Mansion.
You can complete the generator hack normally, but destroying the generator with an explosive is faster. The device location may vary between desks, although the search room is small enough that this barely matters.
Useful Property Bonuses for the Finale
If you have your property network established already, several properties and Mansion upgrades provide hefty heist benefits:
|
Owned Upgrade or Property |
Bonus |
|---|---|
|
Mansion Armory |
Adds a Mk II weapon to each loadout |
|
Mansion Vehicle Workshop |
Improves selected getaway vehicles |
|
Mansion Security Team |
Distracts police and reduces the escape Wanted Level |
|
Bunker |
Adds Special Ammo and upgrades to the Armory’s Mk II weapon |
|
Agency |
Adds more time for stealing the Primary Target |
|
Terrorbyte |
More time for stealing the Primary Target |
|
Darnell Bros. Garment Factory |
Even more time for stealing the Primary Target |
|
Arcade Drone Station |
Makes Nano Drones available during the finale |
Of course, these bonuses are not required, but the extra vault time and improved getaway vehicle are genuinely useful. You can also check out our top 10 GTA Online items worth getting article covering which properties and other things improve your quality of life the most.
Kortz Center Heist Finale Walkthrough
Once the prep is done, the heist itself comes.
Enter Through the Staff Entrance
Select the acquired equipment you’ve acquired from the finale board. In our case, it’s Staff Key Card, Military Loadout, and Armored Caracara, then travel to the Kortz Center. The mission starts with you approaching the Staff Entrance and removing the nearby guard, ideally with a suppressed weapon. Watch the camera timing before using the key card.
Use a stun gun or temporary camera disruption whenever possible. Destroying too many cameras can summon reinforcements or increase suspicion.
Stay Undetected Inside the Gallery
Move through the center carefully and eliminate isolated guards that won’t cause the alarm. Cameras recover after being stunned, so move quickly and confidently between them.
The Staff Key Card opens several otherwise restricted routes, letting you work toward the access bay and basement without immediately fighting the entire security team.
If you are caught, do not restart the mission automatically. The finale remains manageable even with a loud approach, especially with Guard Shipments completed and the Military Loadout equipped.
Do Not Fill Your Bag Immediately
Secondary loot carried in your duffel loses value when you take damage, remember? For that reason, I would avoid filling the bag before reaching the Primary Target unless you are confident the run will remain stealthy. Secure the vault first, then collect nearby paintings and exhibits on the way out.
Reach the Security Door
Continue into the lower section, clear the guards, and complete the all-too-familiar security hacks. Your Access Code is stored in the message thread with your Mansion AI. Open the phone if you forget the sequence instead of repeatedly guessing it while three guards unload into the doorway. Enter the code to unlock the laser-protected vault entrance.
How to Pass the Laser Room
Switch to first-person before entering. It is easier to understand whether the laser will hit you or not this way. Generally, the lasers move in predictable patterns:
-
Wait for the first horizontal beam to rise or move away.
-
Use the spaces between vertical beams.
-
Stop before each new pattern and check the timing.
-
Jump only when the gap clearly allows it.
Touching a laser deals damage but does not end the attempt. Some sections can be crossed by eating one hit and continuing, especially with full health and armor.
Steal the Primary Painting
Complete the vault terminal hack and open the secure room. The Primary Target interaction uses a longer art-removal sequence:
-
Cut or break the securing clips.
-
Remove the painting from its display.
-
Roll the canvas carefully.
-
Finish the final frame interaction.
-
Place the painting into the protective container.
Additional artwork and lockboxes can appear inside or around the vault. Take them if you have available bag space and enough time. Owning an Agency, Terrorbyte, or Darnell Bros. Garment Factory gives you longer to secure the Primary Target.
Escape the Kortz Center
Swipe the key card at the exit and return through the museum. If the alarm remains inactive, collect convenient secondary targets on the route out. If security is already alerted, prioritize the exit instead of crossing three floors for one more painting. Outside, the police will be waiting. Equip armor, use snacks from cover, and push directly toward the Armored Caracara. Once inside:
-
Avoid major highways if police roadblocks are forming.
-
Use narrow streets and alleys to break the line of sight.
-
Lose the Wanted Level.
-
Deliver the artwork to the buyer.
The Caracara can absorb enough damage that the outdoor fight is usually shorter than it would be with other vehicles.
Kortz Center Heist Payout
As per current patch, the payout system mostly rewards the first Primary Target sale of each weekly cycle. Repeating the heist during the same cycle causes buyer fatigue and drastically reduces the Primary Target value. You can also keep certain stolen paintings and display them in your Mansion rather than selling them. Current early-run release figures are:
|
Payout Source |
Estimated Value |
|---|---|
|
First weekly Primary Target |
Up to GTA$1,925,000 |
|
First solo run with secondary loot |
Around GTA$2,000,000-GTA$2,250,000 |
|
Full four-player museum haul |
Reported up to GTA$7,143,000 |
|
Repeat Primary Target during the same week |
Roughly GTA$300,000-GTA$480,000, depending on modifiers |
The higher crew total is not one player’s personal cut. More players can carry more bags and access co-op loot rooms, but the final amount must still be divided.
Also, check out other useful GTA Online guides: