Serpentshrine Cavern Raid Guide TL;DR
-
Serpentshrine Cavern is a 25-player Phase 2 raid located inside Coilfang Reservoir in Zangarmarsh at /way 50.5 41.0.
-
SSC attunement starts from The Cudgel of Kar’desh in Heroic Slave Pens and requires Gruul, Nightbane, and The Mark of Vashj.
-
The raid has 6 bosses: Hydross, The Lurker Below, Leotheras, Fathom-Lord Karathress, Morogrim Tidewalker, and Lady Vashj.
-
Hydross and Leotheras require resistance tanks, with Frost/Nature Resistance for Hydross and Fire Resistance for Leotheras’ Demon Form.
-
SSC drops Tier 5 gloves, legs, and helms, with Lady Vashj also dropping Vashj’s Vial Remnant for Hyjal attunement.
-
Lady Vashj is the main challenge, built around Static Charge movement, Phase 2 Tainted Core passing, add control, and a poison-cloud burn phase.
Tired of farming gold? You can skip the gold grind entirely and buy WoW Classic Anniversary gold on Playhub. Best prices and quick delivery from verified sellers.
Serpentshrine Cavern Location
Serpentshrine Cavern is located inside Coilfang Reservoir in Zangarmarsh at /way 50.5 41.0. The entrance is underwater in the middle of Serpent Lake - swim down through the large pipe into Coilfang Reservoir, then take the raid portal once you are inside. Alliance players usually fly to Telredor, and Horde players will have to fly to Zabra’jin to get as close to the lake. The raid is not linear - the early bosses can be approached in different orders, but Lady Vashj is locked behind the rest of the raid.
Serpentshrine Cavern Attunement
For the classic SSC attunement route, players start The Cudgel of Kar’desh quest from Skar’this the Heretic inside Heroic Slave Pens. You need the Earthen Signet from Gruul and the Blazing Signet from Nightbane, then return to Skar’this to receive The Mark of Vashj. That mark allows entry into Serpentshrine Cavern. Attunement is also account-wide on Anniversary servers, so once you've done it on one character, you won’t have to do it again.
I think the entire attunement thing is both thematically sound and tedious; that’s why the system is gone nowadays. If you want to get to the later content, there’s a pathway you’re forced to take - I.E., Lady Vashj drops Vashj’s Vial Remnant, which is required for The Vials of Eternity and Hyjal Summit attunement alongside Kael’s Vial Remnant from Tempest Keep - here’s the guide for that raid.
Serpentshrine Cavern Loot
Serpentshrine Cavern drops a bunch of valuable stuff - Tier 5 tokens for gloves, legs, and helm slots, and Tempest Keep covers the remaining Tier 5 pieces. Lady Vashj drops especially valuable gear at item level 138, and weapons at item level 141. The important SSC bosses' loot drop-wise are:
-
Leotheras the Blind drops Tier 5 gloves.
-
Fathom-Lord Karathress drops Tier 5 legs.
-
Lady Vashj drops Tier 5 helms.
I think it should be obvious that SSC is mandatory for almost every serious Phase 2 raider. SSC fills in several of the most important tier slots, and the Vashj vial is crucial for further attunement progression.
Serpentshrine Cavern Boss Tactics
Hydross the Unstable
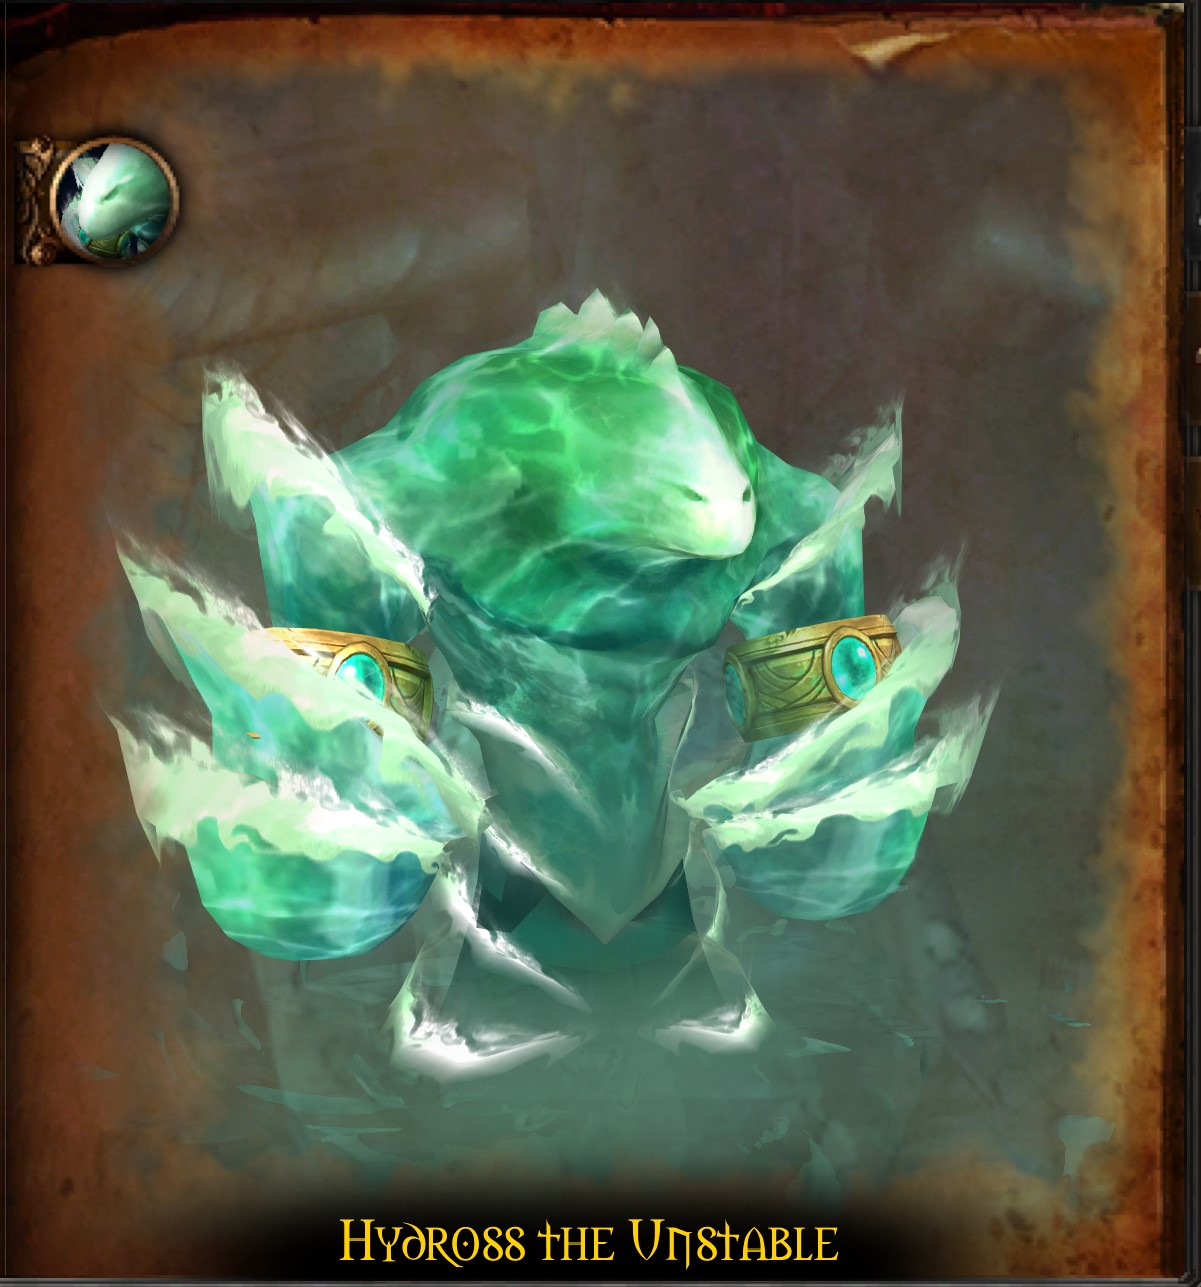
The Hydross fight is built around two boss forms, each having different damage types, so two resistance tanks are warranted, as well as extensive threat control during the boss form transitions, since he drops aggro every time he shapeshifts. Your raid needs a high Frost Resistance tank for his Frost form and a high Nature Resistance tank for his Nature form, although you can probably manage with slightly lower numbers since the tuning is post-nerf based.
Every 15 seconds in either form, the boss stacks damage-increasing debuffs on your entire raid. In order to cleanse them off and not get one shot, your team should make him change his element:
-
The boss always starts in his Frost form while standing near the water beams, and you have full control over his form swaps.
-
When the tank pulls him in between two banners in the middle of the room, the beams disconnect, and Hydross changes into his Nature form.
-
Every time he crosses that line and changes form, four adds spawn for you to cleave, and the raid must let the correct tank regain control before DPS starts again.
So, how the fight goes is you pull, damage him for 60 secs, change his form, DPS for 60 secs, repeat.
The Lurker Below
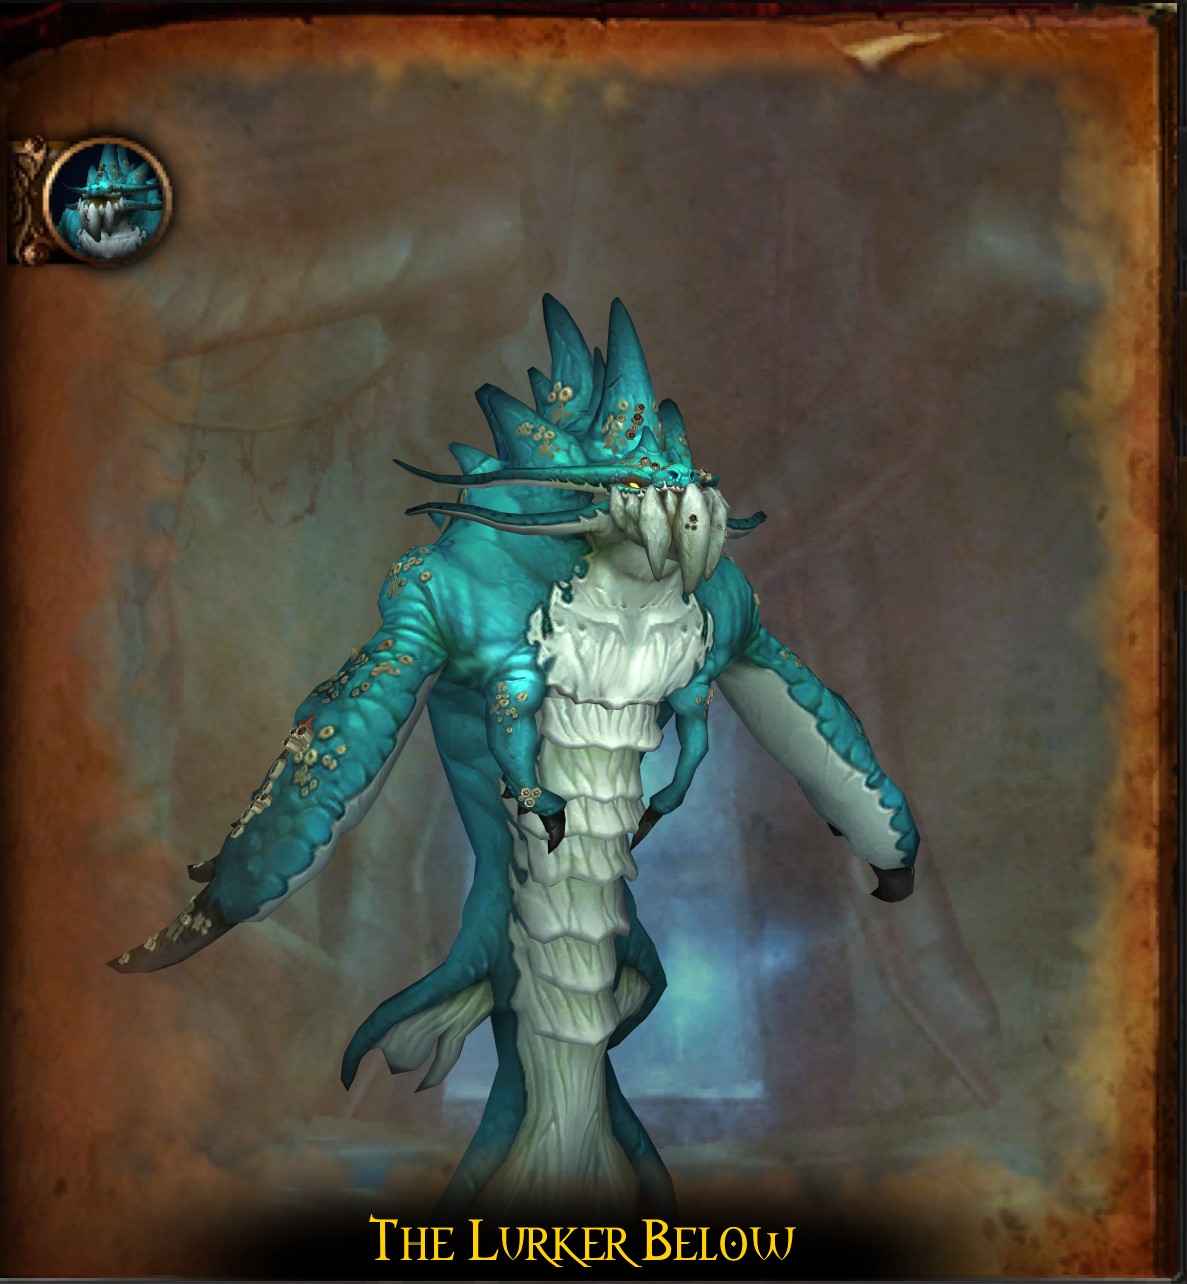
Firstly, Lurker must be summoned by fishing in the center pool, so your raid needs someone with at least 300 Fishing. The fight is pretty easy and consists of two repeating phases. In Phase 1, Lurker stays in the middle of the platform and water attacks. In Phase 2, he submerges and summons adds around the room. Key mechanics are:
-
Spout is the main wipe mechanic that makes Lurker rotate while firing water from his mouth.
-
Players dodge Spout by jumping into the water or moving safely around the platform. Just jumping into water is generally easier.
-
Whirl hits players in melee range and knocks them back, making melee fighting worse than it already is.
-
Geyser targets a random player and knocks back anyone within 10 yards.
-
Submerge starts after about two minutes.
-
Coilfang Guardians spawn near the middle during Submerge.
-
Coilfang Ambushers spawn on the outer platforms during Submerge.
-
Lurker uses Spout once again shortly after resurfacing.
I’d say Submerge phase 2 is the trickier part of the fight, and during it, you’re supposed to do several things to optimally complete it:
-
Tanks should pick up the Coilfang Guardians.
-
DPS should focus on Guardians first because they can cleave the raid down.
-
Coilfang Ambushers on the side platforms can be crowd-controlled.
-
Everyone should expect Spout right after he resurfaces - don’t get hit and win the fight
Leotheras the Blind
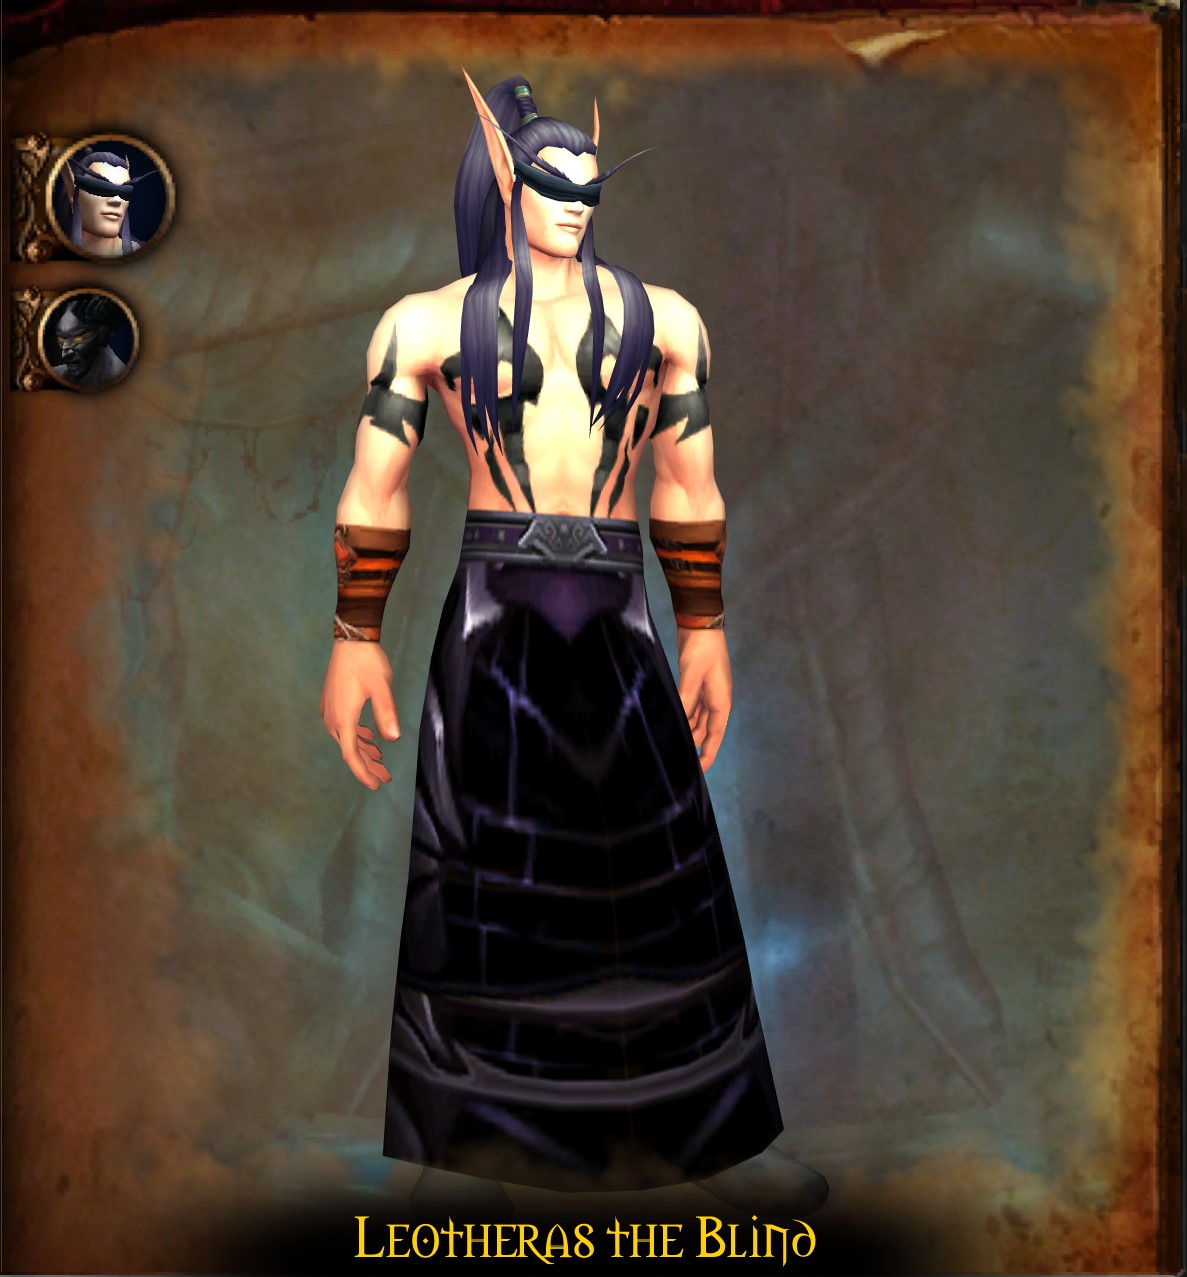
Leotheras the Blind is a two-form fight with repeated threat resets and a strong personal responsibility mechanic. He’s your basic DH, so he switches between Human Form and Demon Form, which is usually handled by a Demo Warlock with high fire res by spamming Searing Pain. Leotheras resets the threat when he changes forms, so DPS needs to slow down after every transition to not get accidentally hit. Here’s everything you need to keep in mind:
-
Human Form uses Whirlwind, which applies a bleed to players it hits.
-
Demon Form uses Chaos Blast on the highest-threat target, which deals Fire damage and increases Fire damage taken.
-
Insidious Whisper spawns Inner Demons for 5 raid members, which you have to kill quickly or get mind-controlled.
-
At 15% health, Leotheras splits into both the Human and Demon forms, which you’ll have to fight at the same time, so assign who tanks who beforehand.
Just like any other fight in TBC, it’s fairly simple, yet it is more complicated than the average Raid Boss mechanic you may find in Classic
Fathom-Lord Karathress
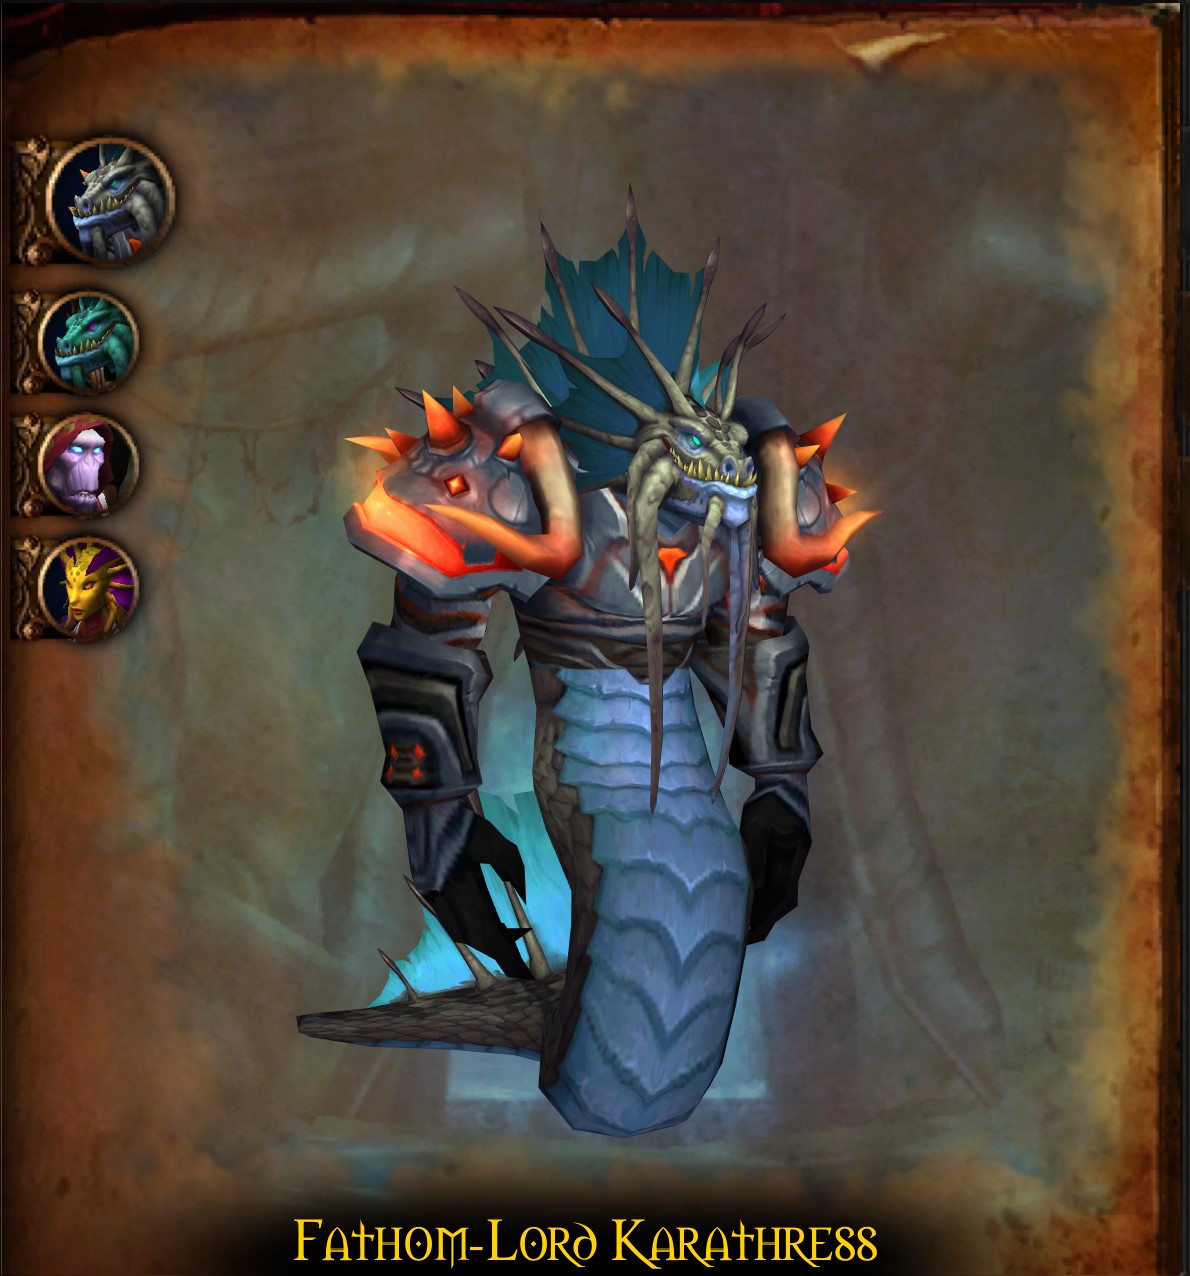
Fathom-Lord Karathress is a 4-boss council-style encounter, similar in structure to High King Maulgar. You fight Karathress and three Fathom-Guards at the same time. The goal is to kill the guards first, then finish Karathress.
From what I’ve seen, there are two common kill orders. Some raids kill Sharkkis first because his pet and sudden threat drops can be annoying. Other groups prefer Tidalvess first because Spitfire Totem creates heavy raid damage and must be handled throughout the fight. Both approaches can work, but the best order IMO is usually Tidalvess, then Sharkkis, then Caribdis, then Karathress. Here’s what each of the guards does:
-
Tidalvess is dangerous because of Spitfire Totem. This totem deals damage to up to 5 players within 45 yards, so it should be killed immediately every time it appears. Tidalvess also deals heavy tank damage through his Shaman-esque abilities. Once Tidalvess dies, Karathress gains Spitfire Totem, which means your raid must keep swapping to it even during the boss burn.
-
Sharkkis works like a Hunter-style boss. He uses Multi-Shot, can Mana Burn random targets, damages random players, and summons a pet. The pet can be a water elemental that explodes when it dies or a spore bat that knocks players back and reduces tank threat. Sharkkis also uses The Beast Within, increasing his own damage and making the pet more dangerous. After Sharkkis dies, Karathress gains The Beast Within. You see the pattern: once one council member dies, the other gets his buff.
-
Caribdis is the healer and control target. She should be tanked away from the other enemies so her healing does not reach them. Her Healing Wave must be interrupted, because one successful cast can undo a large amount of raid damage. She also uses Tidal Surge, which freezes a random player and anyone within 10 yards, so her assigned group should stay spread.
The fight is not complicated on paper, but if the totem lives too long, raid-wide damage spikes. If Healing Wave goes through, the fight drags on for too long, and so forth. Karathress himself is a simple fight once the guards are gone, since all he does is spawn totem and buff himself, but your raid still needs to keep killing Spitfire Totem until the end.
Morogrim Tidewalker
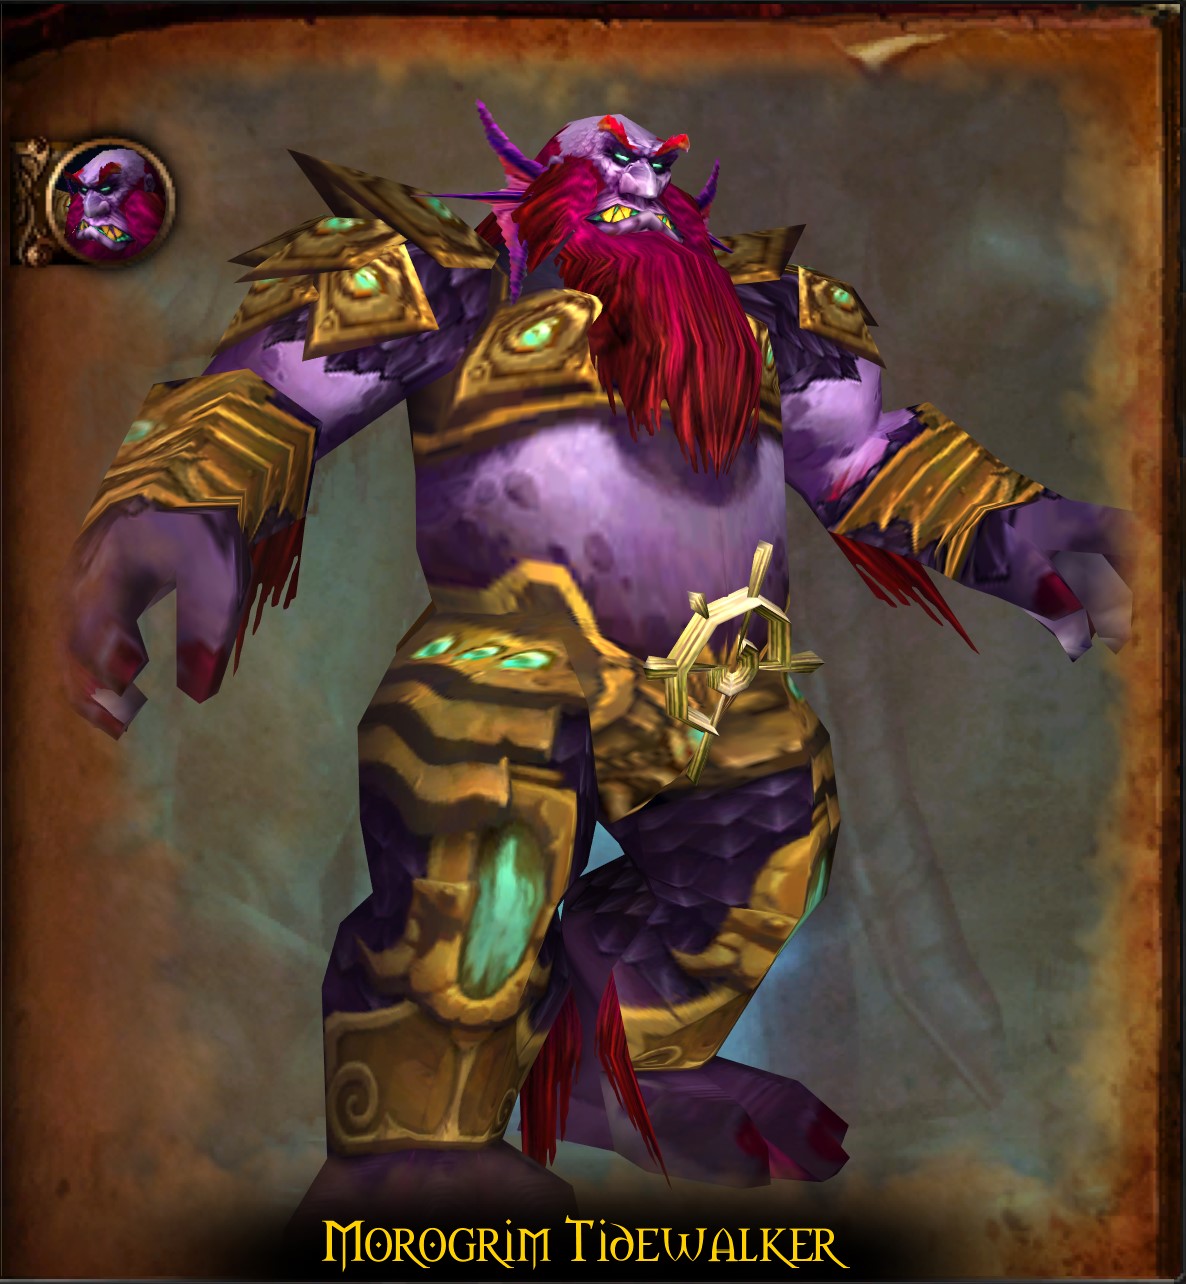
Morogrim Tidewalker is an ad-control fight with a simple boss pattern. The boss himself is not too complex, but the murloc waves can pick off healers if tanks do not threat them up quickly. Most raids tank Morogrim against a pillar, with the whole raid stacked behind him. This keeps his frontal attack away from the group and gives the raid a consistent place to handle murlocs. His frontal attack deals damage and reduces attack speed, so only the main tank should stand in front. The said frontal attack is just one of the many abilities this purple dude does:
-
Tidal Wave is a frontal Frost attack that also reduces attack speed.
-
Watery Grave teleports 4 players into bubbles near the waterfalls.
-
Earthquake deals raid-wide damage and summons two murloc packs with 6 Lurkers each.
-
At 25%, Water Globules begin moving toward players and explode for heavy Frost damage if they connect.
Phase 1 is pretty easy - tank the boss near a pillar, stack the raid behind him, and heal players sent to Watery Grave. When Earthquake happens, prepare for two murloc packs coming from opposite sides of the room. Tanks should collect the murlocs first, then the raid can AoE them down.
At 25%, the fight shifts into its final burn. Morogrim stops using Watery Grave in the same way and instead begins summoning Water Globules from the grave locations. These globules slowly move toward players and explode if they reach them, dealing enough damage to one-shot. Your Phase 2 plan is simple:
-
Move Morogrim toward the corner of the room and keep the raid away from incoming globules.
-
Continue handling Earthquake and murlocs.
-
Pop BL.
-
Burn the boss down before globules and murlocs damage overlap too much.
Lady Vashj
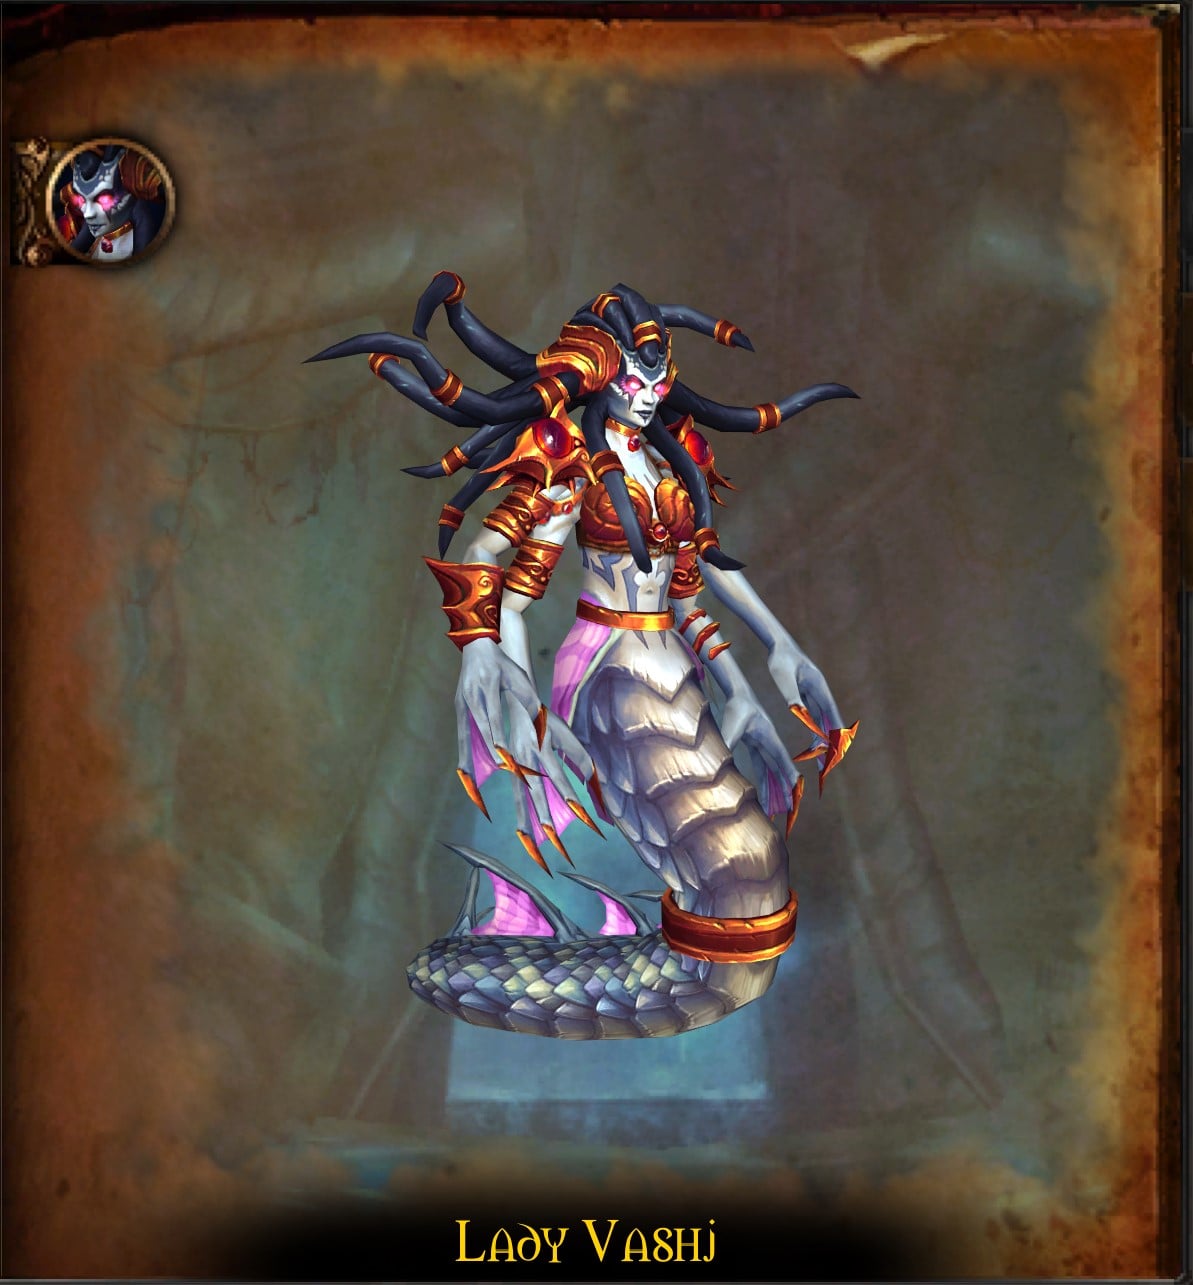
Lady Vashj is the final boss of Serpentshrine Cavern, and I’d say the hardest of the bunch. The fight has three phases, and each phase forces your raid to do something different. The fight starts as a direct boss fight from 100% to 70%:
-
Static Charge targets a random player - the charged player must move away from the raid.
-
Shock Blast stuns the tank for 5 seconds.
-
Entangle roots nearby players and deals damage over time.
-
Multi-Shot is a raid-wide damage
At 70%, Phase 2 begins. Vashj runs to the center, becomes shielded, and starts casting Forked Lightning in random directions. She cannot be damaged normally during this phase - the raid must deactivate four Shield Generators first using Tainted Cores from Tainted Elementals. There are several adds being spawned for you to kill:
-
Enchanted Elementals spawn around the platform and move toward Vashj.
-
Each Enchanted Elemental that reaches Vashj increases her damage by 5%.
-
Coilfang Elites spawn every 45 seconds and should be tanked near the center. They cleave in front of them, so melee should attack from behind.
-
Coilfang Striders spawn every 60 seconds and must be kited; they periodically fear players within 8 yards.
-
Tainted Elementals despawn after 15 seconds and must die quickly, they then drop Tainted Cores.
When someone loots a Tainted Core, they cannot move. That player must throw the core to another player, who then throws it again until it reaches someone near a Shield Generator. Four successful core deliveries remove all four generators and end the phase.
Phase 3 brings back the Phase 1 mechanics, but now Toxic Sporebats begin spawning above the platform. Their poison clouds cover the ground, and the spawn rate increases as the phase continues. This creates the soft enrage of sorts - the longer Phase 3 lasts, the less room your raid has.
Find more WoW TBC Anniversary guides here:
