Tempest Keep: The Eye Raid Guide TL;DR
-
Tempest Keep: The Eye is a 25-player raid in eastern Netherstorm, located at /way 73.6, 63.7.
-
Attunement is required and includes The Cipher of Damnation, multiple Heroic dungeon trials, and Magtheridon.
-
The raid has 4 bosses: Al’ar, Void Reaver, High Astromancer Solarian, and Kael’thas Sunstrider.
-
The Eye drops Tier 5 shoulder tokens from Void Reaver and chest tokens from Kael’thas.
-
Al’ar, Void Reaver, and Solarian test tank swaps, threat control, movement, Arcane damage handling, and add management.
-
Kael’thas is the main challenge, with five phases, legendary weapons, advisors, Mind Control, Phoenixes, Pyroblast, and Gravity Lapse.
Tired of farming gold? You can skip the gold grind entirely and buy WoW Classic Anniversary gold on Playhub. Best prices and quick delivery from verified sellers.
The Eye Raid Location
Tempest Keep is located in eastern Netherstorm. The Eye entrance is on the largest central floating island, inside the main Tempest Keep structure at /way 73.6, 63.7. You’re going to need flying to reach the entrance, unless a Warlock summons you there. The nearest flight master is Harpax in Cosmowrench at /way 65.2 66.8.
Tempest Keep: The Eye Attunement
Attunement is required to enter The Eye. The process begins with the long Shadowmoon Valley questline that starts with The Hand of Gul’dan. Alliance players start it in Wildhammer Stronghold, while Horde players start it in Shadowmoon Village. This chain eventually leads through The Cipher of Damnation.
After The Cipher of Damnation is complete, you receive a Letter from Shattrath and can continue the Tempest Keep attunement through Khadgar and A’dal. From there, you complete several Trial of the Naaru quests. Here’s how the entire path looks:
-
Complete The Hand of Gul’dan and The Cipher of Damnation in Shadowmoon Valley.
-
Speak with Archmage Khadgar in Shattrath.
-
Pick up The Tempest Key and speak with A’dal.
-
Complete Trial of the Naaru: Mercy in Heroic Shattered Halls.
-
Complete Trial of the Naaru: Strength in Heroic Steamvault and Heroic Shadow Labyrinth.
-
Complete Trial of the Naaru: Tenacity in Heroic Arcatraz.
-
Kill Magtheridon for Trial of the Naaru: Magtheridon.
-
Return to A’dal and receive The Tempest Key.
This attunement is much longer than the SSC one, so finish it way before the raid night. It’s account-wide on Anni servers, though, so you won’t have to do it per character.
Tempest Keep: The Eye Loot
The Eye drops Tier 5 shoulders and chest tokens. Void Reaver drops the shoulder tokens, and Kael’thas Sunstrider drops the chest tokens. Boss and trash epics are item level 128, Tier 5 tokens are item level 133, and Kael’thas drops are item level 138.
Kael’thas also drops Verdant Sphere, a quest item that rewards a strong neck slot option, and possibly Ashes of Al’ar, one of the most famous and sought-after mount drops in World of Warcraft.
Tempest Keep: The Eye Boss Tactics
Al’ar
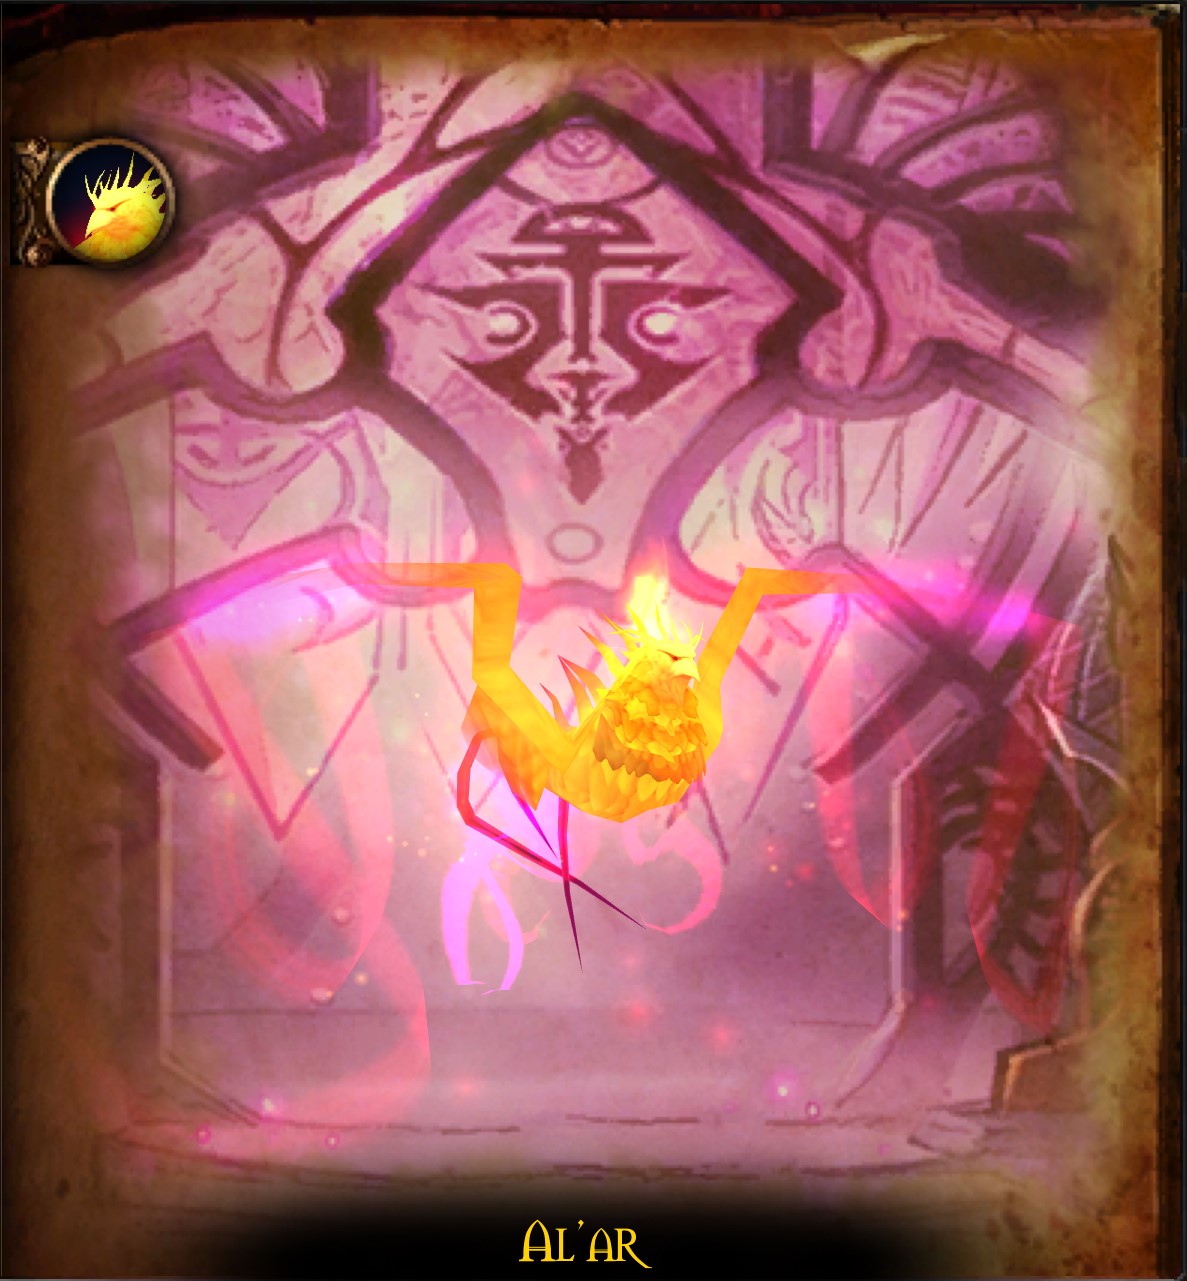
Al’ar is the first boss of The Eye and is a two-phase fight. In Phase 1, the boss moves between upper platforms. When you pull Al’ar, she lands on the left platform first. She cannot move freely during this phase, but a tank must always be in melee range. If nobody is in melee range, Al’ar will start spamming Flame Buffet, which can quickly wipe the raid. Here’s how phase 1 unfolds:
-
Al’ar starts on the left platform.
-
She moves clockwise between platforms.
-
A tank must always be in her melee range.
-
Ember of Al’ar spawns when Al’ar leaves a platform - remember, they explode when they die, hitting players nearby.
-
Flame Quills is another wipe mechanic to watch out for - Al'ar flies upward as a tell; all melee should jump down immediately and raid repositions to platform 1 before she lands.
When Al’ar reaches 0%, Phase 2 starts. She respawns in the middle of the room and deals AoE damage around herself. This part of the fight adds more room movement and tank swaps. Phase 2 key mechanics are:
-
Flame patches appear on the ground.
-
Melt Armor hits the tank and forces a tank swap every 1 minute.
-
Dive Bomb targets a random player, dealing heavy AoE damage near the landing point - so move out of the raid.
-
Two Ember adds spawn after Dive Bomb.
You can either kill the Embers or assign a tank and a healer to just tank them indefinitely while your team bursts down Al’ar, either way works.
Void Reaver
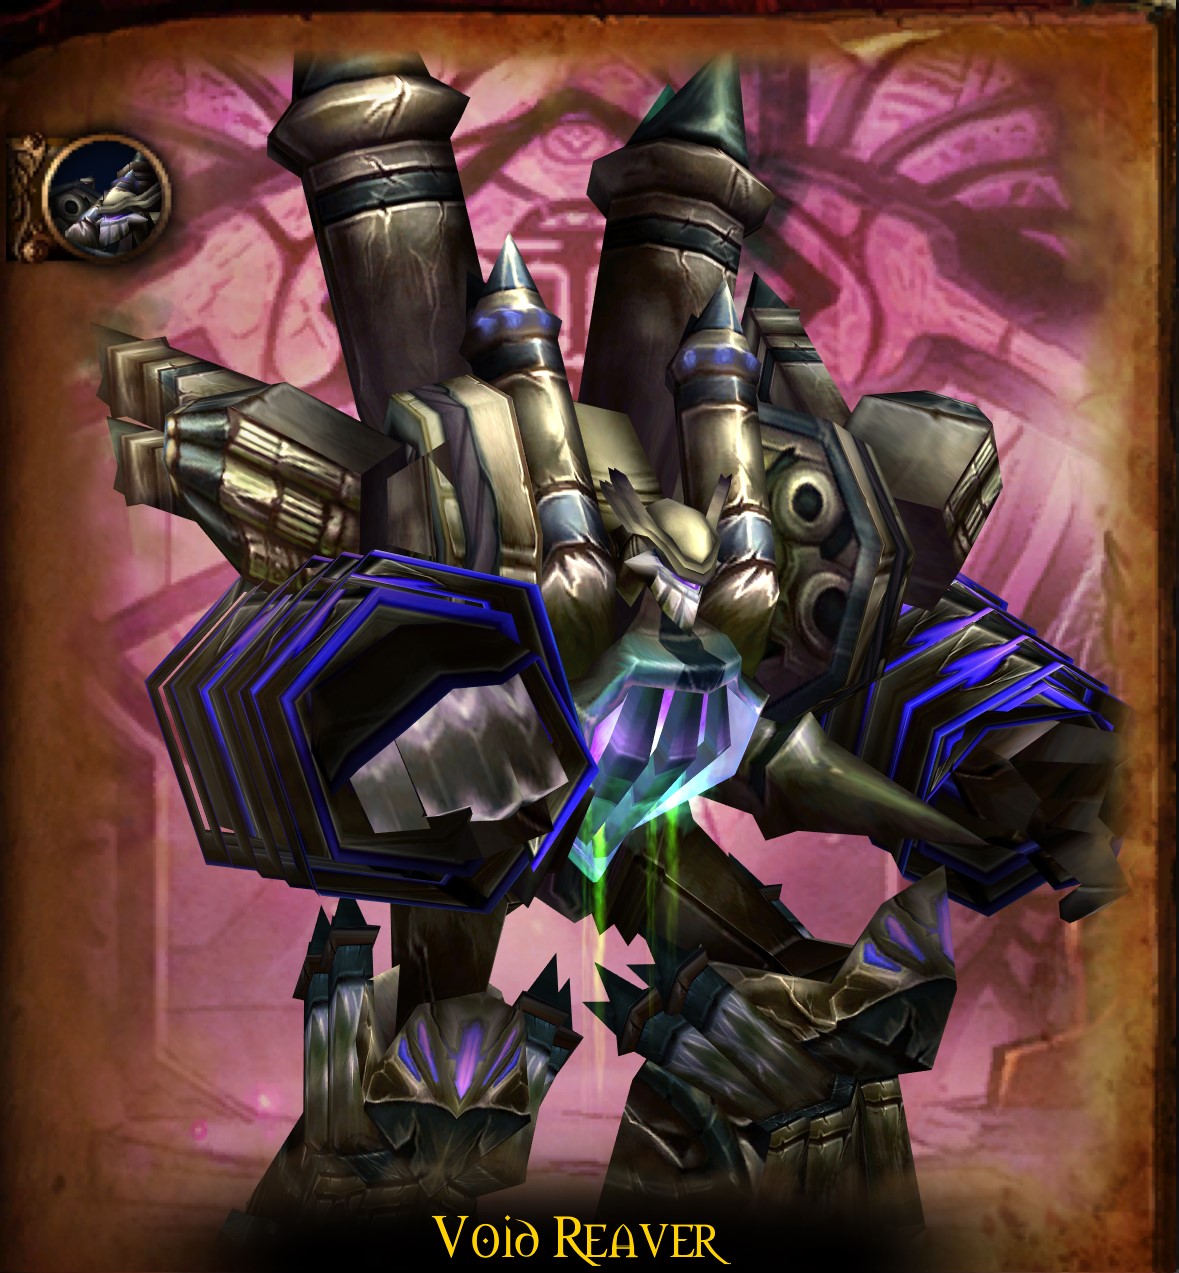
Void Reaver is usually the simplest boss in The Eye. He’s your classic early WoW boss - he has just one phase, a small ability set, and no add waves. The fight is mainly about threat management because Void Reaver uses Knock Away on its current highest-threat target and cannot be handled like a normal taunt-swap boss. His attacks are:
-
Arcane Orb targets a random ranged player’s location, traveling there slowly and silencing players hit for 6 seconds.
-
Pounding deals repeated Arcane damage to players near the boss.
-
Knock Away punts the highest-threat target and reduces their threat.
-
Void Reaver is passively immune to taunt.
The tank plan is the most important part of the fight. You want at least three tanks building threat from the start. When the current tank gets hit by Knock Away and loses threat, the next tank should already be high enough on threat to take over naturally. Once again, keeping threat up is crucial, and failing to do so is the only way you can wipe on this boss.
High Astromancer Solarian
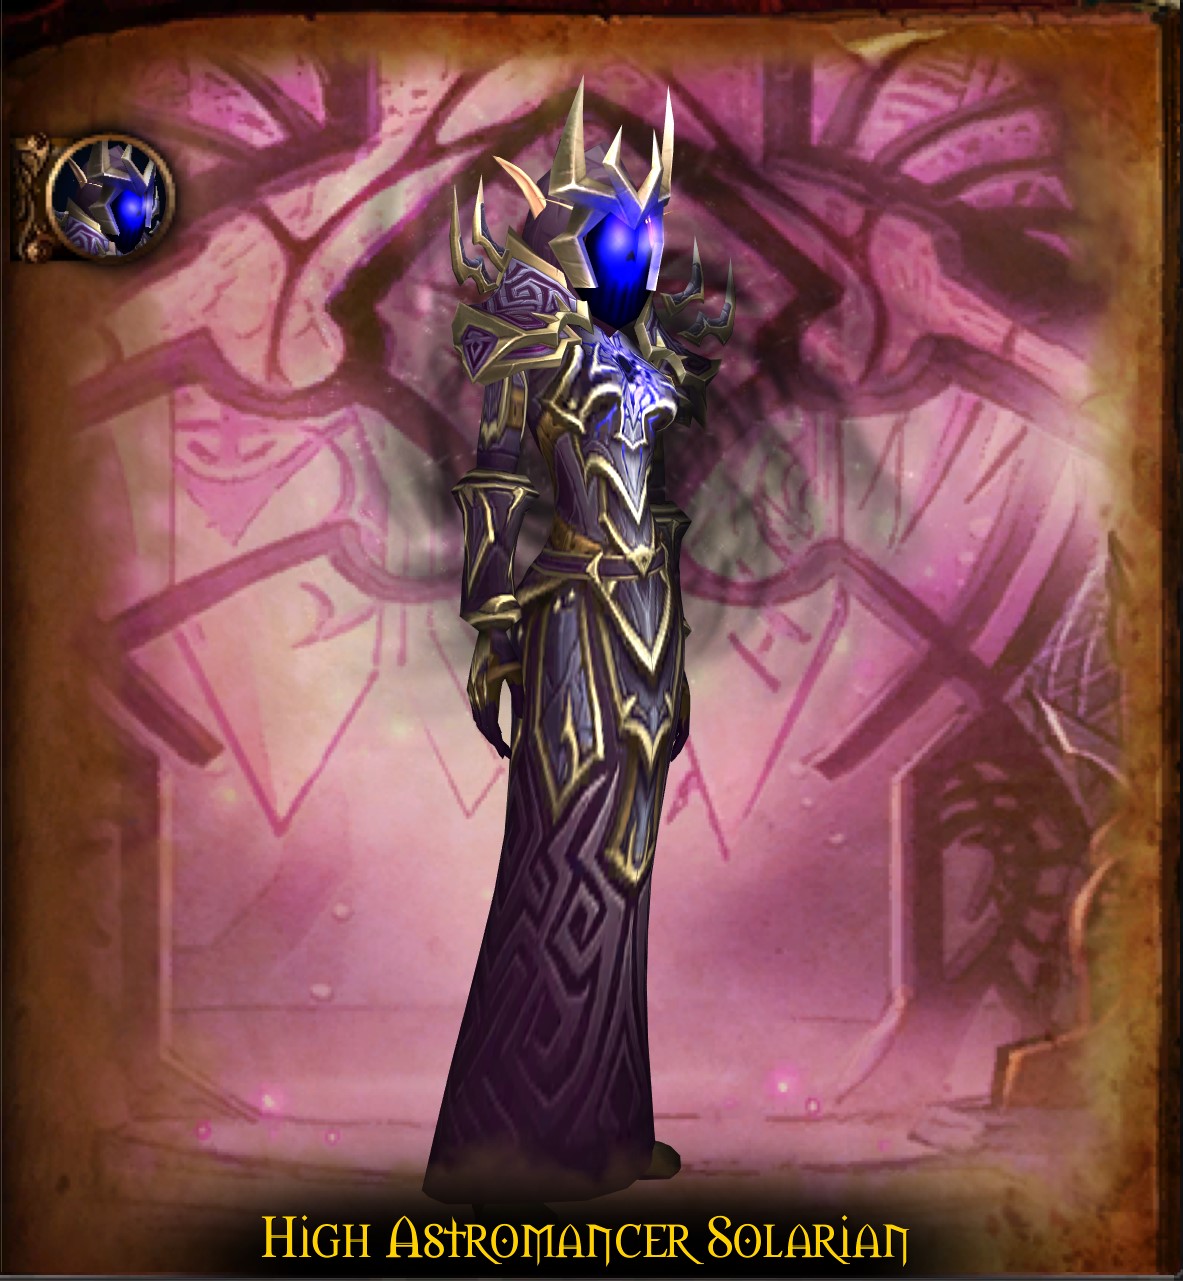
High Astromancer Solarian is an Arcane damage-heavy fight with add waves and a final Voidwalker phase. He’s going to have his post-nerf state on Anniversary servers, as confirmed by the official post, so the fight is going to be easier, but still pretty tough. Some raids use additional Arcane Resistance sources during progression because Solarian applies Mark of Solarian, which reduces Arcane Resistance by 15 per stack. Violet Badge can also help players survive heavy Arcane damage during progression.
The main mechanic in the TBC Anniversary style version is Wrath of the Astromancer. It targets a random player, makes them take increased Arcane damage, and then jumps to the nearest player after a short delay. What you have to do is to have the player to run out of group and have another player soak the damage with them. The rest of the mechanics are:
-
Arcane Missiles targets random players and deals heavy Arcane damage.
-
Blinding Light deals raid-wide Arcane damage every 20 seconds.
-
Wrath of the Astromancer jumps to the nearest player after a short delay.
-
Mark of Solarian reduces Arcane Resistance by 15 per stack.
-
Portals spawn add waves every 50 seconds.
-
At 20%, Solarian transforms into a Voidwalker.
At 20%, Solarian transforms into a large Voidwalker. This phase is much simpler - this form’s only threat is Psychic Scream, so Tremor Totem and fear protection help a lot. The main danger of the fight is the soak phase; pass it, and you're done.
Kael’thas Sunstrider

Kael’thas Sunstrider is the final boss of The Eye and the main reason this raid is considered to be hard. This is a five-phase encounter, and is easily one of the hardest challenges you have faced at this point in the game.
In Phase 1, you fight Kael’thas’ four advisors one at a time. Their death locations are important because they resurrect in the same spots during Phase 3. The advisor's abilities are:
-
Thaladred fixates on random players and slowly walks toward them. He can kill players very quickly if he reaches them, so the fixated player must run away immediately. Melee should generally avoid attacking him because a sudden Fixate target swap can kill them before they react. Kill Thaladred toward the back of the room if possible, but his movement makes perfect placement difficult.
-
Lord Sanguinar is much simpler. He is a simple right-clicking advisor with a 30-yard AoE fear. Tank him near a left corner of the arena, and use Fear Ward or Tremor Totem to keep the tanks stable. He should die in a said controlled location because he returns there in Phase 3.
-
Grand Astromancer Capernian is usually tanked by a Warlock using Searing Pain. Nobody should stand in melee range because she uses Arcane Burst, which deals Arcane damage and knocks back nearby players. She also casts Fireball and Conflagration, so the raid should stay spread and at max range. Melee should not attack her, and she should die in the right corner of the room.
-
Master Engineer Telonicus places a Remote Toy on random players. This debuff periodically stuns the target over 60 seconds, which can be dangerous if it lands on a tank before the next phase. If a tank gets it near a transition, slowing DPS down can be safer than pushing the phase with a stunned tank. Telonicus should die near Sanguinar in the left corner
In Phase 2, seven legendary weapons spawn and attack the raid. Once killed, they become lootable for 60 seconds. Players need to grab the right weapon for their role because these weapons are used to counter major mechanics later in the fight:
-
Tanks take the sword and shield, especially Phaseshift Bulwark.
-
Healers should take Cosmic Infuser.
-
Casters have to take Staff of Disintegration.
-
Hunters need to grab the Netherstrand Longbow.
-
Melee should also keep Infinity Blade ready for Mind Control breaks.
Most weapons can be stacked and AoE’d down, but not all of them. Devastation has Whirlwind, so it should be tanked slightly outside the main group. Netherstrand Longbow should be handled by a Hunter or assigned ranged tank away from the raid so Multi-Shot does not cleave the entire team down.
Two minutes after the weapon phase begins, Phase 3 starts, and all four advisors resurrect where they died in Phase 1. This is the hardest part of the fight because everyone has to reach their assignments fast, and BL should be used.
-
Ranged focus Thaladred first.
-
The Sanguinar-assigned tank picks him up near his death spot.
-
The Warlock tank picks up Capernian.
-
An off-tank picks up Telonicus.
-
Melee avoid Thaladred and Capernian entirely and focus on Sanguinar, then Telonicus instead.
-
Casters should help kill Sanguinar after Thaladred dies.
-
Everyone uses legendary weapon effects as needed.
You have three minutes to kill the advisors before Kael’thas joins the fight. If too many advisors are alive when Kael enters, the raid will likely wipe.
After the advisor phase is done with, Phase 4 starts, and Kael’thas enters the fight directly himself. This phase has several dangerous mechani cs happening at the same time, so the raid needs clear priorities and assignments to finish the fight.
-
Mind Control must be broken with Infinity Blade.
-
Fireball must be interrupted.
-
Flamestrike creates a visible ground effect that players must leave, or they’ll get oneshit.
-
Phoenixes need to be kited away from the raid.
-
Phoenix Eggs will spawn after Phoenixes die, which you must destroy within 15 seconds, otherwise the birds will respawn.
-
Kael’thas’s Shock Barrier prevents interrupts.
-
Pyroblast follows Shock Barrier and hits extremely hard.
-
Arcane Disruption deals raid-wide Arcane damage and disorients players.
The most dangerous sequence is Shock Barrier into Pyroblast. Kael’thas shields himself, becoming immune to interrupts, then starts casting Pyroblast. Pyroblast deals around 50,000 Fire damage, so the tank cannot just eat repeated casts without help. The tank can use Phaseshift Bulwark to absorb the first Pyroblast, while the raid burns through the barrier and interrupts the next one.
At 50% health, Kael’thas starts the final Phase 5. He stops using Pyroblast and Mind Control, instead dishing out Gravity Lapse, Netherbeam, and Nether Vapor. During Gravity Lapse, the raid is pulled to Kael’thas and thrown into the air.
-
Gravity Lapse teleports everyone to Kael’thas.
-
Players can fly for 30 seconds.
-
Netherbeam chains between nearby players, doubling in damage with each bounce.
-
Nether Vapor clouds reduce maximum health by 10% per stack.
-
Phoenixes still spawn outside Gravity Lapse.
-
Fall damage can kill players after the flying effect ends.
As soon as Gravity Lapse starts, spread out in the air. Do not stack near other players, because Netherbeam chains and its damage ramps up very quickly. Avoid black Nether Vapor clouds, its max health reduction stacks are lethal.
Melee should not try to attack Kael’thas during Gravity Lapse. It is safer to spread, avoid clouds, control altitude, and resume damage when the raid lands. Do not fly too high near the end of the 30-second window, or you can fall and die when the effect ends.
The final phase plan is:
-
Spread immediately after Gravity Lapse starts.
-
Avoid Nether Vapor clouds.
-
Stay away from other players during Netherbeam.
-
Keep a safe height before Gravity Lapse ends.
-
Resume normal damage after landing.
-
Continue handling Phoenixes - either by swapping your DPS attention to them, or by letting your tanks iccupying them while you finish the boss down.
-
Finish Kael’thas
The entire fight requires an awful lot of coordination and understanding assignments, so that’s where little mistakes turn into multiple wipes.
Tempest Keep: The Eye Mount
The mount every player want to get from Tempest Keep is Ashes of Al’ar. It drops from Kael’thas Sunstrider, the final boss of The Eye, and is a 310% speed flying mount with a distinct look.
Find more WoW TBC Anniversary guides here:
