
MW4 DMZ Blueprint Farming TL;DR
-
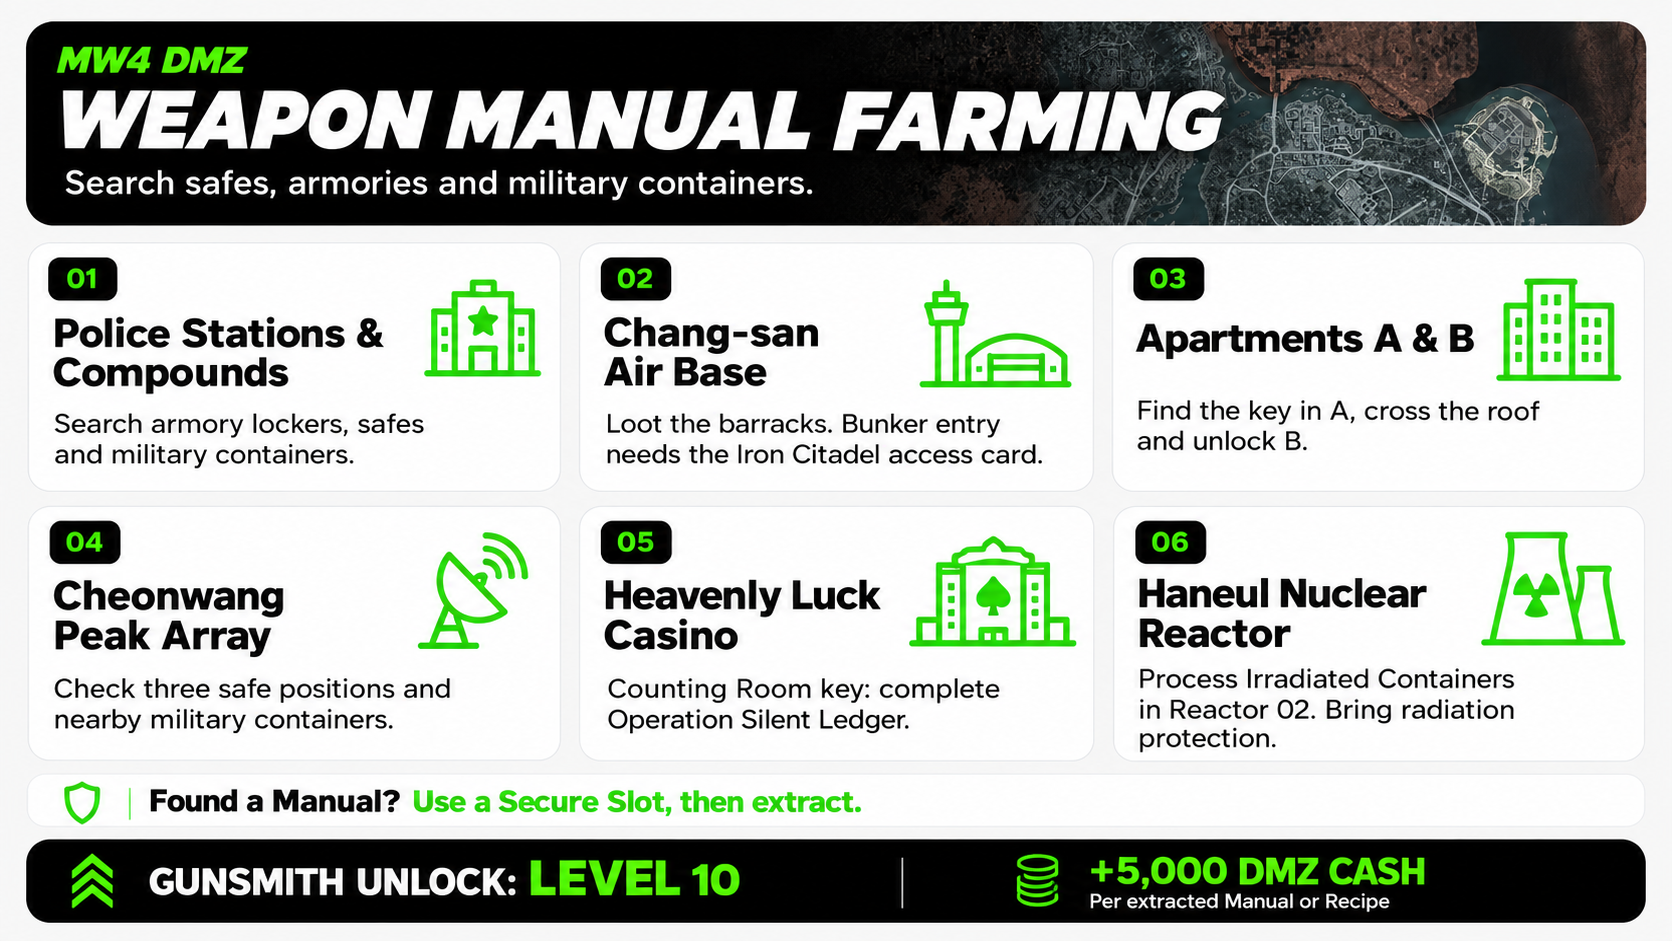
Search safes and military containers for Weapon Manuals. Infinity Ward points to these places as the best sources.
-
Police Stations are always worth stopping by. Locked armories and other loot rooms are primary places for consistently finding manuals.
-
Chang-san Air Base, Apartments A/B, and Heavenly Luck Casino have many containers, and you have a small chance of finding a manual in each one.
-
Take Irradiated Containers to Reactor 02 at Haneul Nuclear Reactor. Bring radiation protection for the trip.
-
Extract with the Recipe or a Manual when you find them; don’t be greedy. Bringing backpacks with safe pockets is definitely worth it for the manual runs.
Have some skins you weren't able to get? You can buy stacked Call of Duty accounts on Playhub with lots of legacy rewards - all delivered safely and quickly.
How Weapon Manuals Work in MW4 DMZ
People try to get a Weapon Manual to unlock purchases of its base weapon at the FOB. Bringing home an M4 doesn’t do the same thing: you can use the gun you extracted, but once you lose it, you can’t just buy another one at your base. The Gunsmith opens at DMZ level 10 - once you have access to it and the right Manual, you can spend DMZ Cash on replacements rather than keep searching Hajin for your preferred gun. The official FOB guide covers the unlock system and weapon purchases in detail. There are also manuals for gear like backups and such called Recipes, and they’re just as worth bringing out as the weapon schematics are.
Best Places to Find Weapon Manuals
Safes and military containers are the main targets, as confirmed in Infinity Ward’s DMZ developer AMA, but they’re not the only source. Armories and locked rooms are worth the targeted farming trip, but you can actually find manuals and recipes in any container type. :
It’s important to understand that there’s still no guarantee you’ll leave with a Manual even from the locked room with a bunch of military containers, let alone the one you want. When hunting for manuals, here are the locations to go to:
|
Location |
What to loot |
What you need to get extra loot |
|---|---|---|
|
Police Stations |
Armory lockers, weapon cases, and other military containers |
Find the station’s armory key spawned somewhere inside |
|
Compounds |
Safes, lockers, military containers, and tents |
Enough ammunition to clear the defenders |
|
Chang-san Air Base |
Surface buildings used in Iron Citadel; bunker weapon storage |
Bunker access card for the underground route |
|
Apartments A/B |
Apartment B’s rooftop safe and interior containers |
Apartment B key, found while searching Apartment A |
|
Cheonwang Peak Array |
Three safe positions and nearby military containers |
No room key for the circuit below |
|
Heavenly Luck Casino |
Counting Room containers and inner vault |
Counting Room Vault key |
|
Haneul Nuclear Reactor |
Processed Irradiated Containers and the DRC locker |
Radiation protection and the relevant container or key |
|
Moving train |
Bags, cases, supply crates, and military lockers |
Reach it before another squad empties it |
Police Stations and Compounds
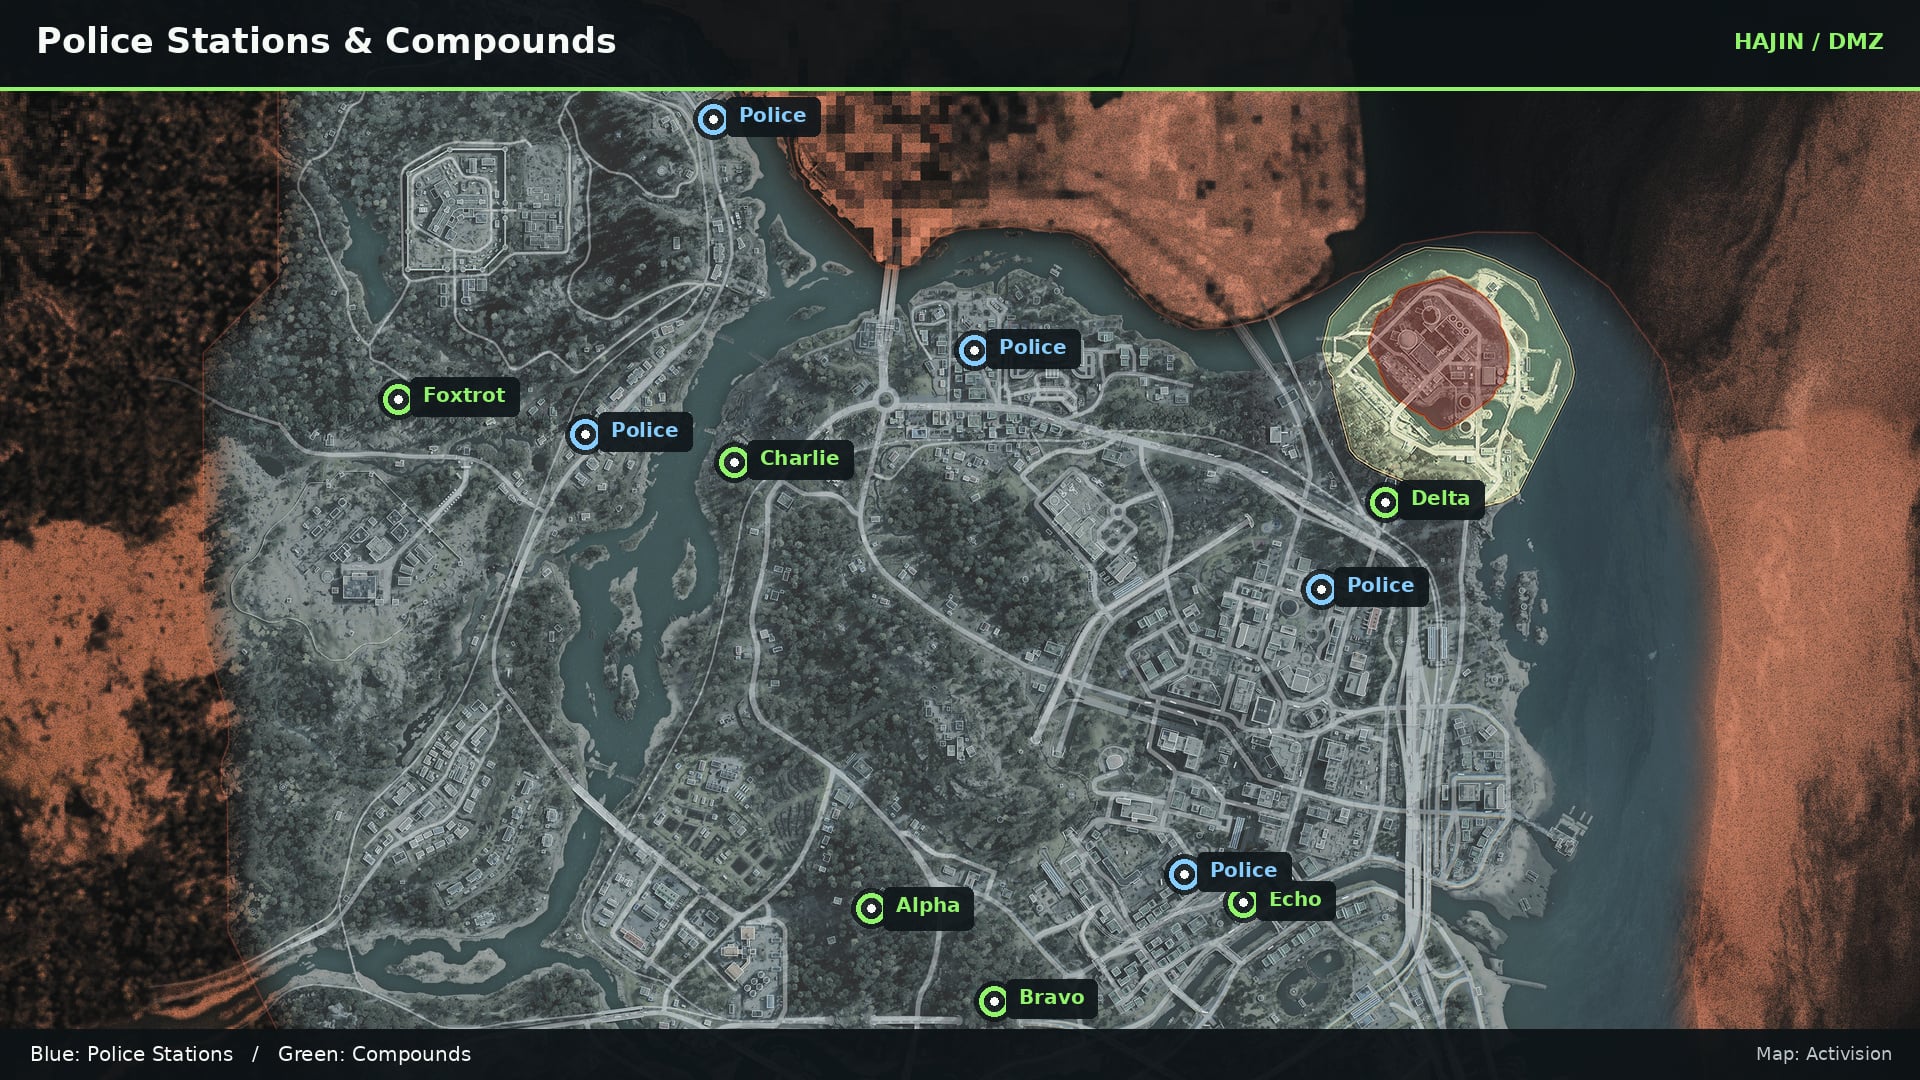
Police Stations are the first suggestion when you’re short on keys and replacement gear. Search the accessible rooms before worrying about the armory. Its key can spawn inside the station, so desks and bags are worth opening. Check upstairs as well as the ground floor, then look for the armory entrance below. The layout changes between stations, but the core principle stays the same.
Once you’re inside the armory, make sure to search every locker and case. But if the key hasn’t turned up after searching the station, move on. There’s no reason to keep circling the same rooms while reinforcements eat through your ammunition. Compounds give you another place full of military container spawns, sometimes with a safe and enough equipment to replace what you used getting in. Try not to fight all enemies at once - your target is the loot containers, after all. Clear only the AI blocking the buildings you want to loot - fighting reinforcements won’t get you any more manuals.
I think it’s kind of obvious, but keep all keys you find along the way, including Black Market Weapons Locker keys. Read the location and floor directions back at the FOB, then bring the key when your next quest route or whatever takes you near there.
Chang-san Air Base: Surface Buildings and the Bunker
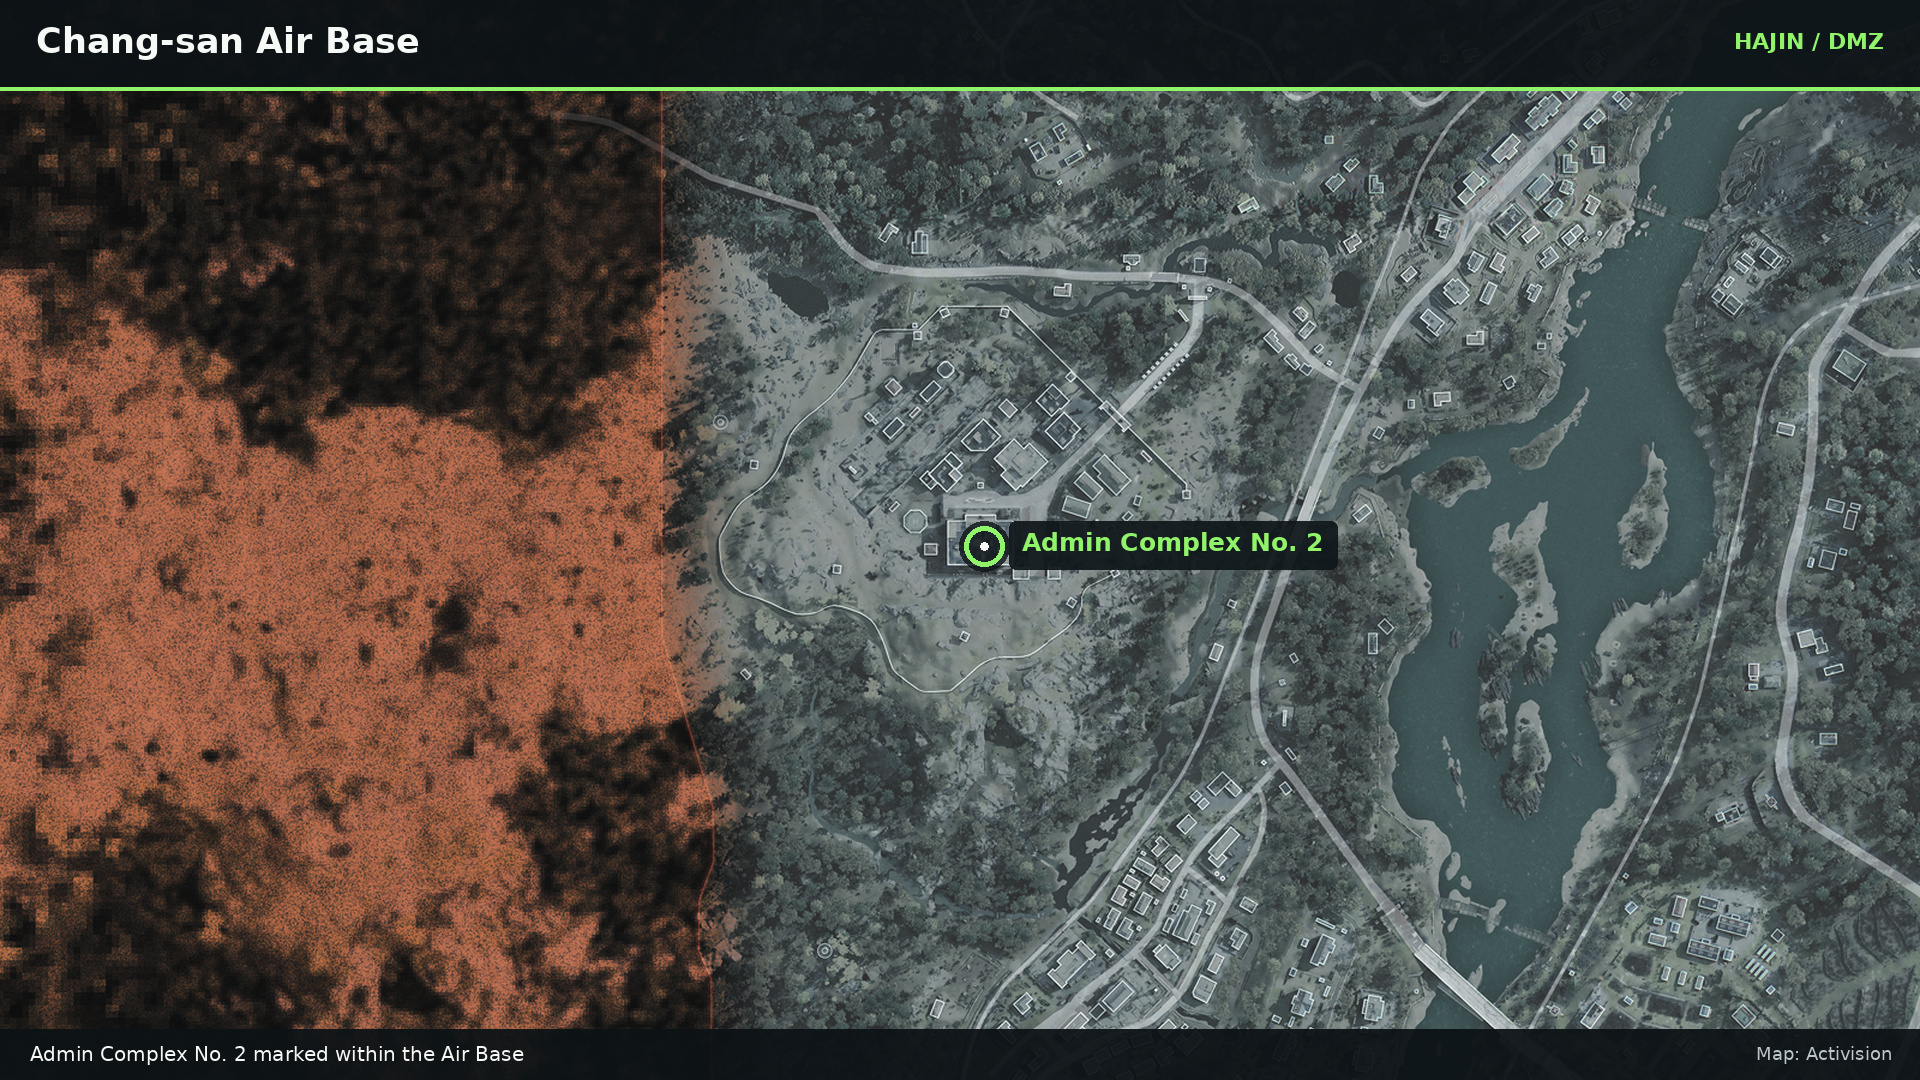
There’s a quick little loop you can do around there that makes the whole zone trivial to approach. A short Air Base run covers the outer barracks buildings around the opening keycard objective in Operation Iron Citadel. Use the perimeter gap near that initial search area, then loot through the interiors. Check military crates and lockers first, then bags and medicine cabinets while you’re inside; manuals can be anywhere. Once you find some good loot, you can just extract and repeat the run without completing the quest objective. You can potentially avoid fighting altogether or just take down a couple of aggroed NPCs with your knife to avoid creating unnecessary noise.
The Supreme Leader’s Bunker needs its own access card, awarded through Iron Citadel. The entrance route goes through Admin Complex No. 2 and down into the bunker. A lot of containers here, all with an increased chance of finding manuals.
Apartments A and B
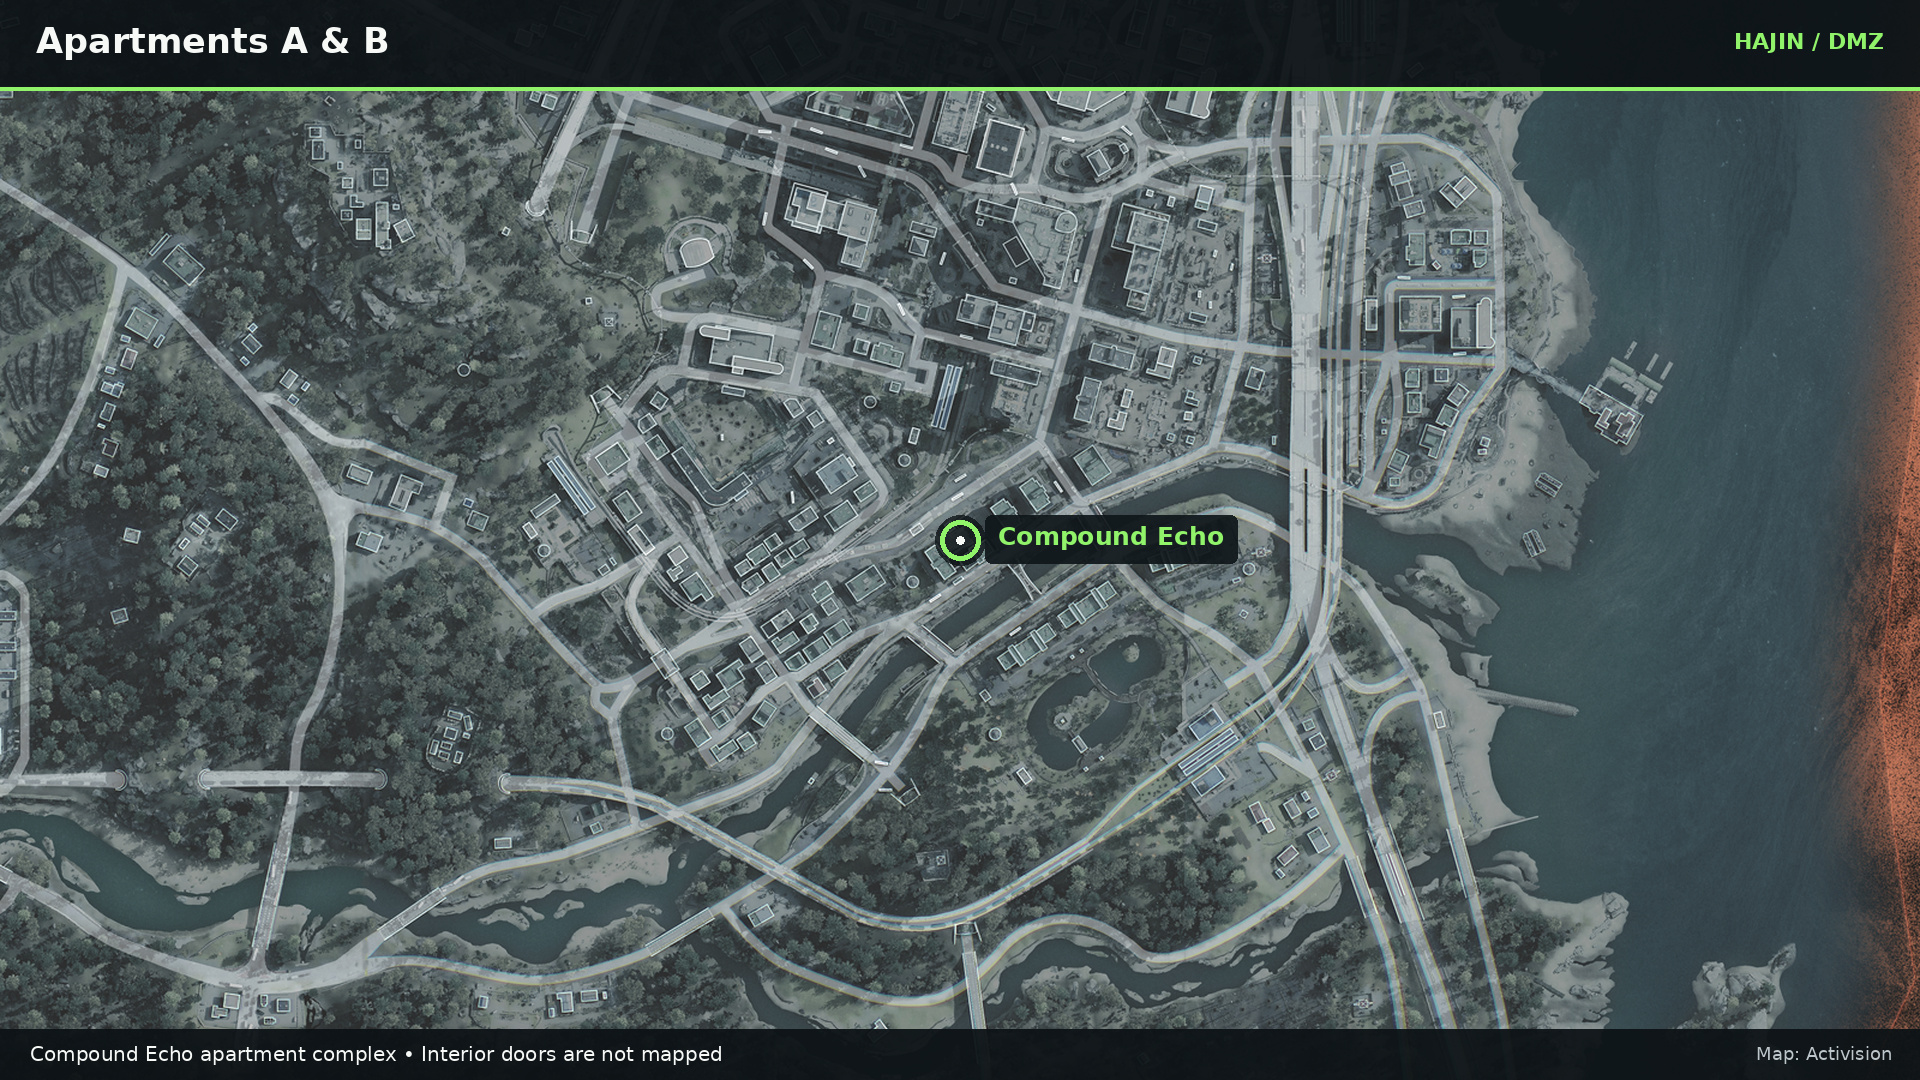
The apartments around Hajin River Heights, near Compound Echo, are useful because you can find the key and use it during the same visit. Apartment A is where you look for a key, and Apartment B has the locked loot. The rooftop crossing leaves you vulnerable to enemy fire, so check the neighboring roof before committing to it. The route works like this:
-
Enter Apartment A from below.
-
Search the floors for the Apartment B key, opening every container you find.
-
Cross from the roof to Apartment B.
-
Unlock Apartment B’s rooftop door. Search the military containers and weapon locker inside.
The key is the weak point of this run. If Apartment A has already been looted, just loot somewhere else or extract altogether.
Cheonwang Peak Array: Three Safe Positions
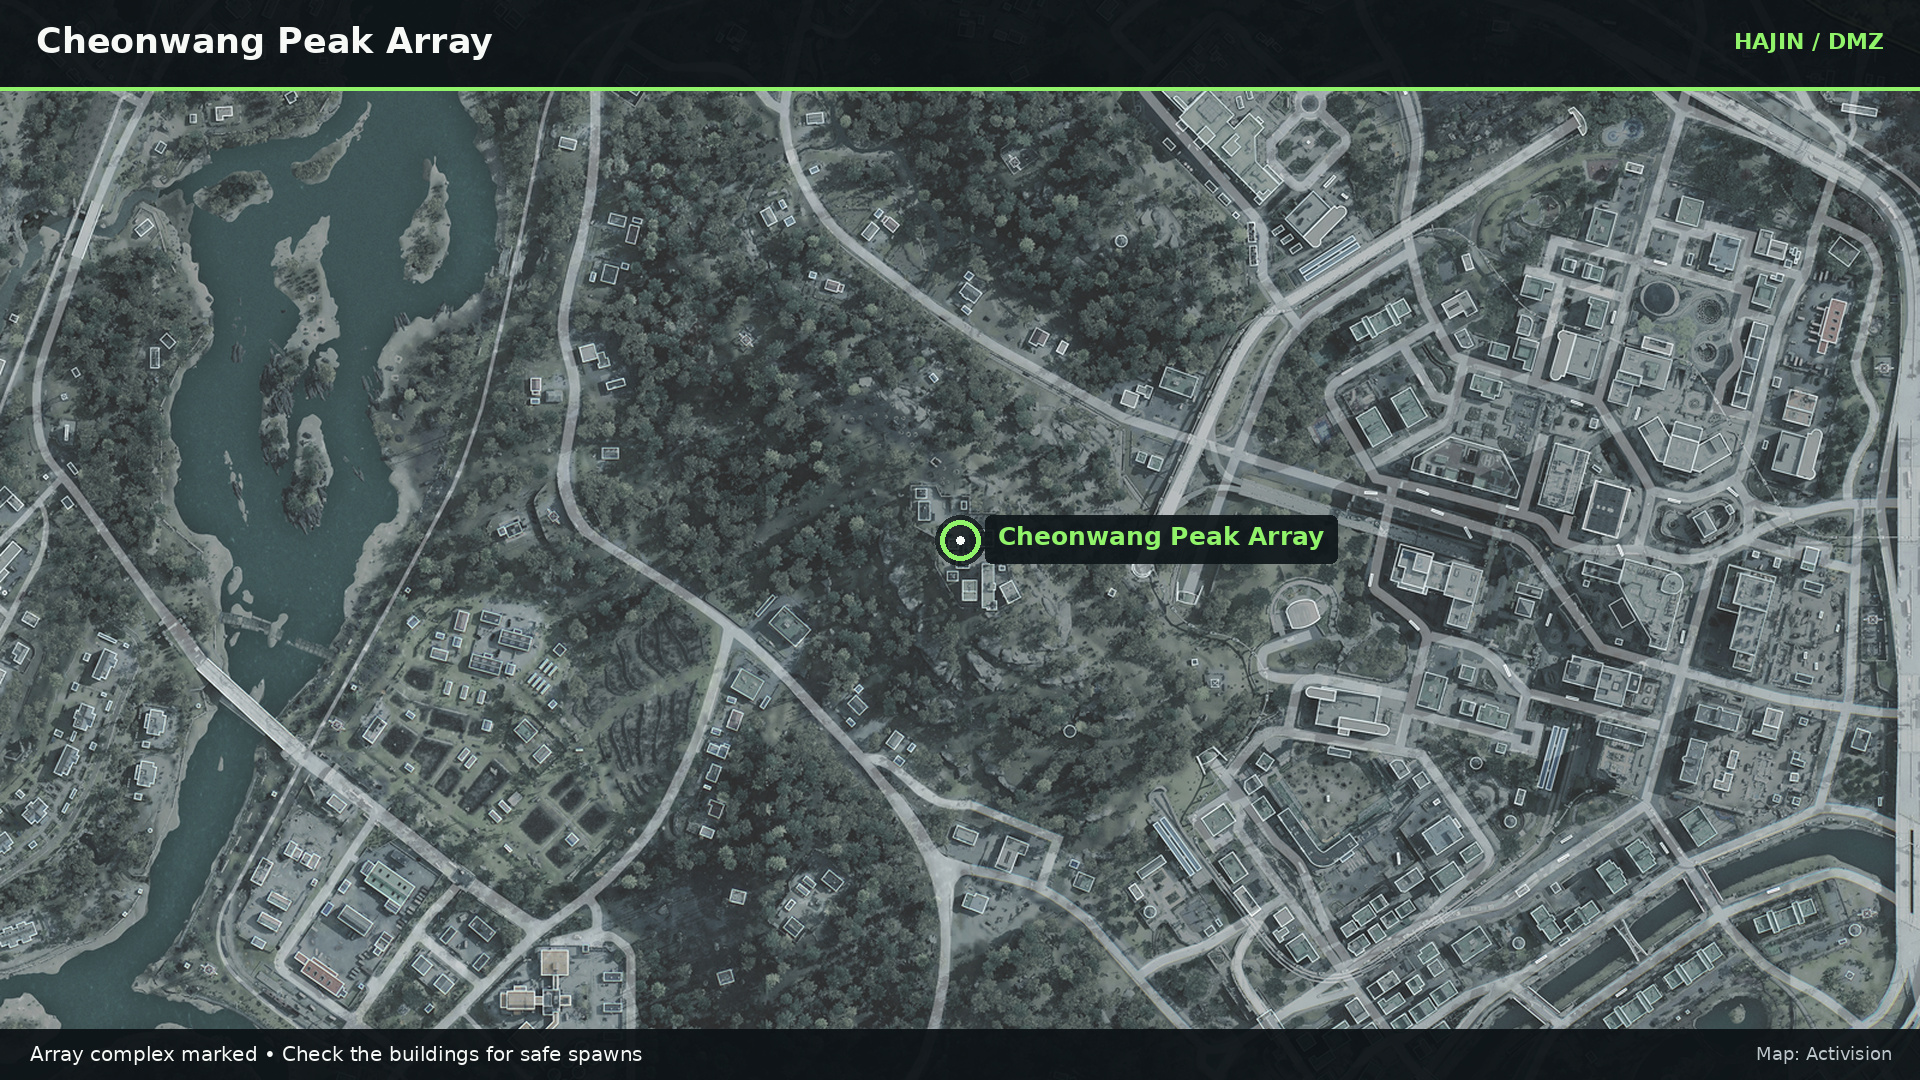
Cheonwang Peak Array is a good option when you’re down on room keys. There are three safe positions to check, with military containers and server equipment to loot along the way. That also makes it worth visiting when you need electronic ingredients for FOB upgrades: a run without a Manual can still be well worth your time. Check these buildings for the best yield:
-
Main tower building: Fourth floor, near the server equipment.
-
Neighboring L-shaped building’s upper floor, reached by the rear stairs.
-
Smaller building in the complex: there’s another safe position beside weapon storage.
Open the military containers between safes rather than sprinting straight past them. I’d also make room for the electronic parts needed for my next upgrade. Selling a component for Cash and then spending another raid looking for the same thing is an annoying way to slow yourself down.
Heavenly Luck Casino: Counting Room Vault
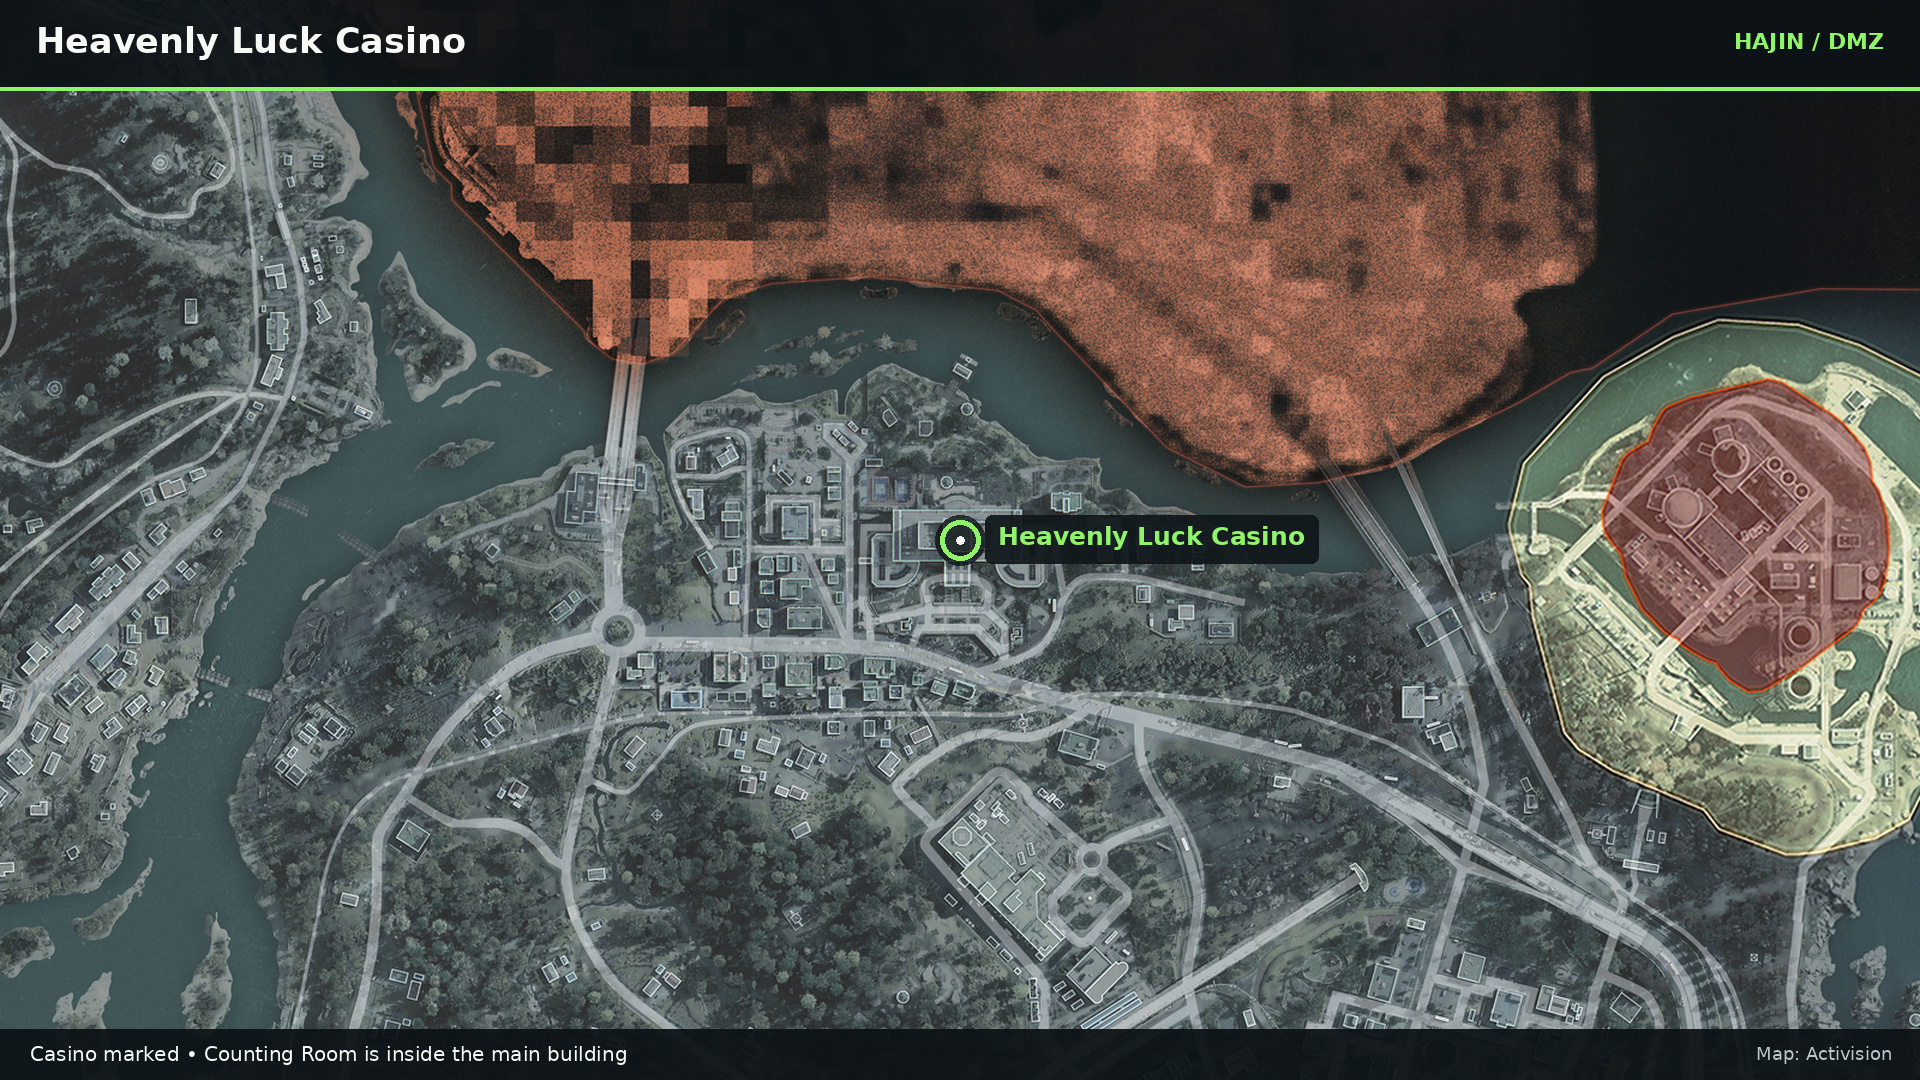
Operation Silent Ledger rewards the Counting Room Vault key. Bring it to Heavenly Luck Casino in Cheongun Village and use it on the main-floor Counting Room. This is a different room from the basement vault drilled during the story mission, so don’t head downstairs just because the key says “Vault.” From the front entrance:
-
Turn right into the corridor with cages.
-
Take the left doorway before the main slot-machine area.
-
Continue through security and the offices to the Counting Room.
-
Unlock it and search the containers and inner vault.
The gameradars’ Counting Room walkthrough shows that entrance route. The lockers, cases, and safes make it worth spending the key; manuals are something often found here. There are actually two keys in this area, so don’t mix them up - Vault Armory is another casino lock, but it’s located in an underground parking area. This location is definitely on the riskier side with how many people are doing quests and looting here.
Haneul Nuclear Reactor: Irradiated Containers
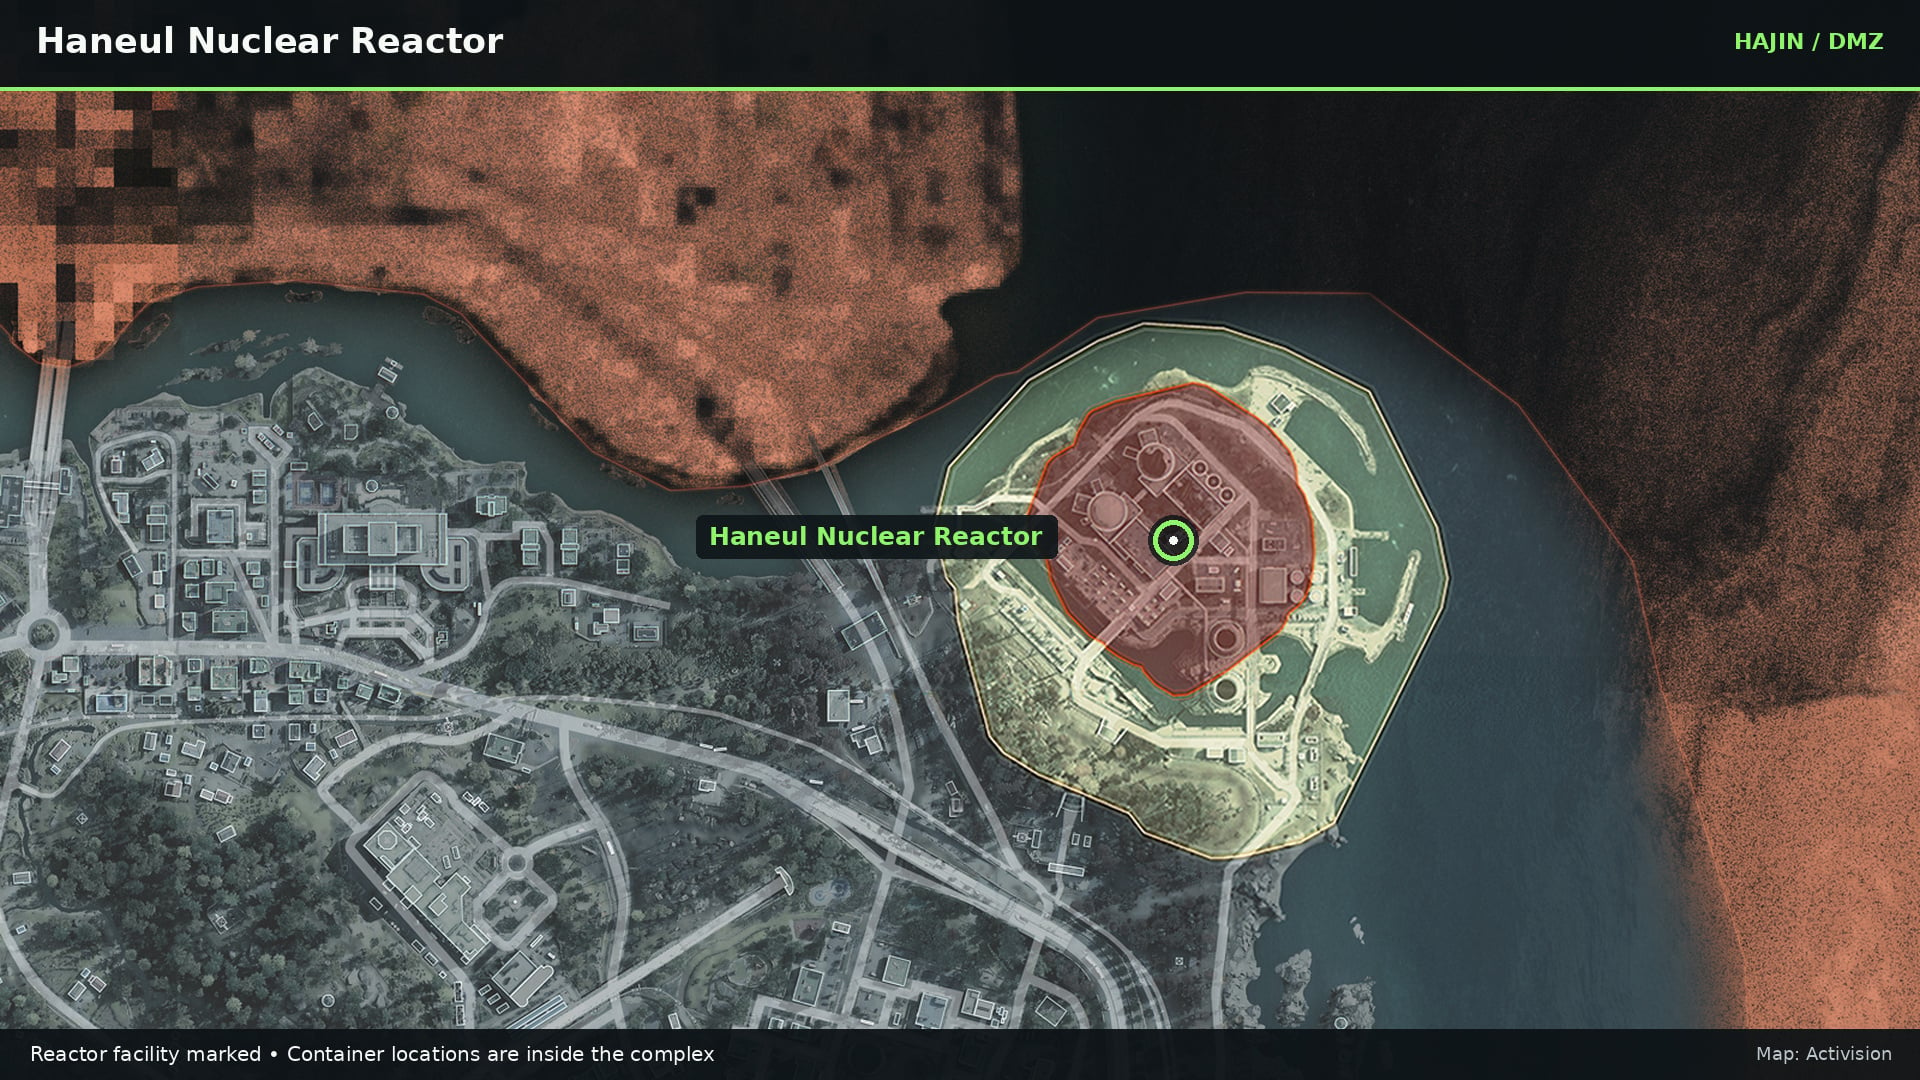
An Irradiated Container is worth keeping for a properly equipped reactor run. Take it to the decontamination station inside Reactor 02 at Haneul Nuclear Reactor. Processing it can get you Manuals alongside Recipes and high-tier gear. Pack a Gas Mask, radiation protection, and healing before deploying. Fire Stations are worth checking for radiation supplies if you still don’t have any. To open the container:
-
Reach the processing room in Reactor 02.
-
Use the control panel, then select Process Radioactive Material at the machine.
-
Cover the entrance while it runs. A squadmate can watch the approach while you handle the interaction.
-
Search the processed container and leave.
There’s also a Reactor DRC Locker underwater beneath Reactor 02. Its key comes from Fallen Ember and opens an Elite Weapons Locker. Bring it if you already know the way down and have enough protection left.
The Moving Train
You can’t reliably farm the Train, but it’s worth the stop if it happens to be near you and it’s still not looted. Search bags and smaller containers through the carriages, then the supply crates and military lockers toward the front. Manuals can spawn outside weapon cases, so don’t skip closed bags and such.
Best Weapon Manual Farming Routes
For a Manual run, I want a bunch of concentrated container spawns to cut the travel time. Keys you have are an excellent factor to help you decide where to go first; then nearby safes and armories decide whether there’s a second stop on your route. The reactor is the exception because its protection requirements make you plan your entire run around it.
|
Run |
Route |
|---|---|
|
No key |
Nearby Police Station, its armory if the key turns up, then a Compound |
|
Keyed room |
Use a key, then check nearby safes or military containers if there are any |
|
Reactor |
Process an Irradiated Container at Reactor 02; add the DRC locker if equipped |
Just don’t forget to put a new Manual in a Secure Slot if your backpack has one. That keeps it from dropping on death, and not doing so is a costly mistake. In addition to the unlock, Manuals and Recipes also award 5,000 DMZ Cash on extraction, so you can make some extra that way.
Recipe Rewards from Orders and Story Missions
What’s interesting is that you don’t have to find every Recipe in a loot container. Some Order pages unlock them as rewards:
|
Recipe |
How to unlock it |
|---|---|
|
Flash Grenade |
Complete Human Intel 1/2: Hunter, Triage Protocol, and No One Left |
|
DDOS |
Complete Underground 1/2: Eye in the Sky, Watch for Bumps, and Triangulation |
|
Decoy Grenade |
Complete Underground 1/2 |
|
Night Vision Goggles |
Complete Underground 1/2 |
|
Recon Drone |
Complete Counterfeit 1/2: Hostile Force, Robbery, and Execute Intel |
|
C4 |
Complete Orders Page 11: Information Power, Arms Deal, and Friendly Face |
|
3-Plate Armor Vest |
Complete The Grid 1/2: I’m Over Here, Worth Every Penny, and No Time |
|
Large Backpack |
Complete Hornet’s Nest 1/2: Goliath, Click, Boom, and Navigate With Care |
|
Defibrillator |
Complete Operation Critical Extraction |
Finish all three Orders on a page to claim its Recipe rewards. The Defibrillator is a separate Story Mission unlock: its Printer requirement requires you to complete an Operation Critical Extraction. What I think might be confusing is that you can also find these Manuals and Recipes in regular containers just like any other. So it’s not impossible that you’ll have the item unlocked for crafting before getting its recipes as a reward from the Order.
Check out other helpful MW4 articles here:
