March on Quel’Danas TL;DR
- Belo’ren is all about executing the mechanics of your assigned colors. The boss's real health bar is its egg.
- L’ura is a more layered fight designed around Crystal’s barrier management, raid-wide damage, and strict movement around the Darkwell.
- Dawn Crystals are the key to surviving L’ura’s biggest moments, especially in Stage Two when Midnight starts covering the room.
BoEs, consumables, and day-to-day expenses are set to drain your gold super fast. You can skip the gold grind and cover expenses entirely - just buy WoW gold on Playhub. Quick delivery and lots of offers to choose from.
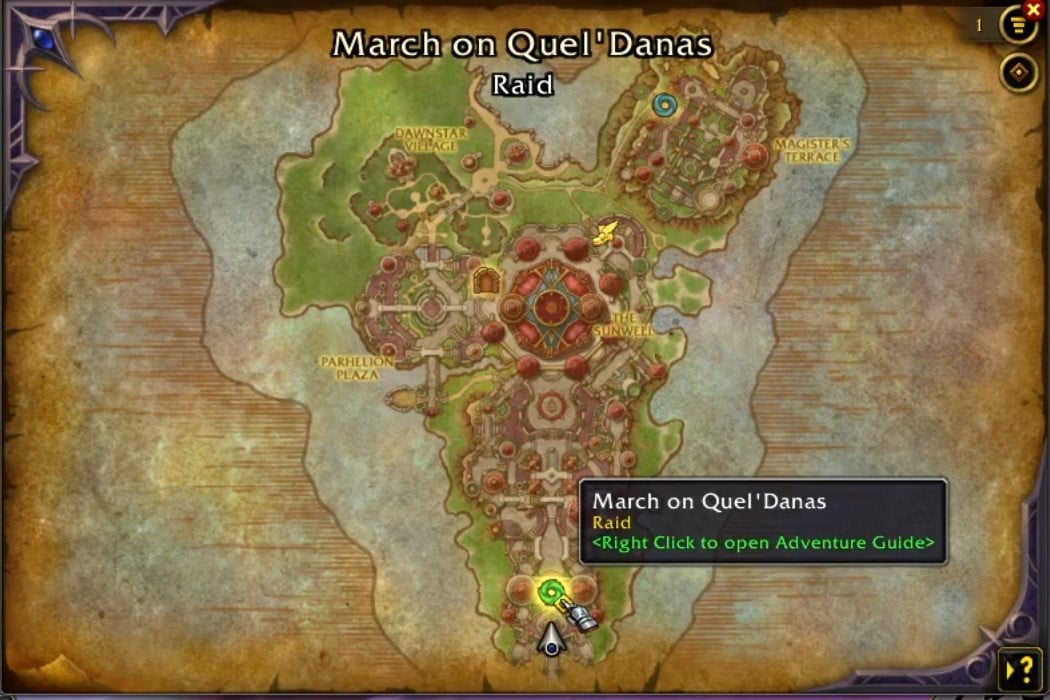
March on Quel'Danas Location
The March on Quel'Danas raid takes place on the Isle of Quel'Danas, just north of Silvermoon City in Quel'Thalas. The entrance is near the Sunwell, at /way 52.6, 85.0
March on Quel’Danas Raid Overview
Thematically, the raid is about fighting void-infused light creatures. The mechanics reflect that in full - void splashes and orbs are flying around, there are a lot of mechanics revolving around light and void, and so on. What’s unusual about the raid is that it’s a 2-boss end of a tier raid, which is kind of unusual - and the bosses are harder than what you’d expect from a 2-boss raid.
Belo’ren, Child of Al’ar Boss Tactics
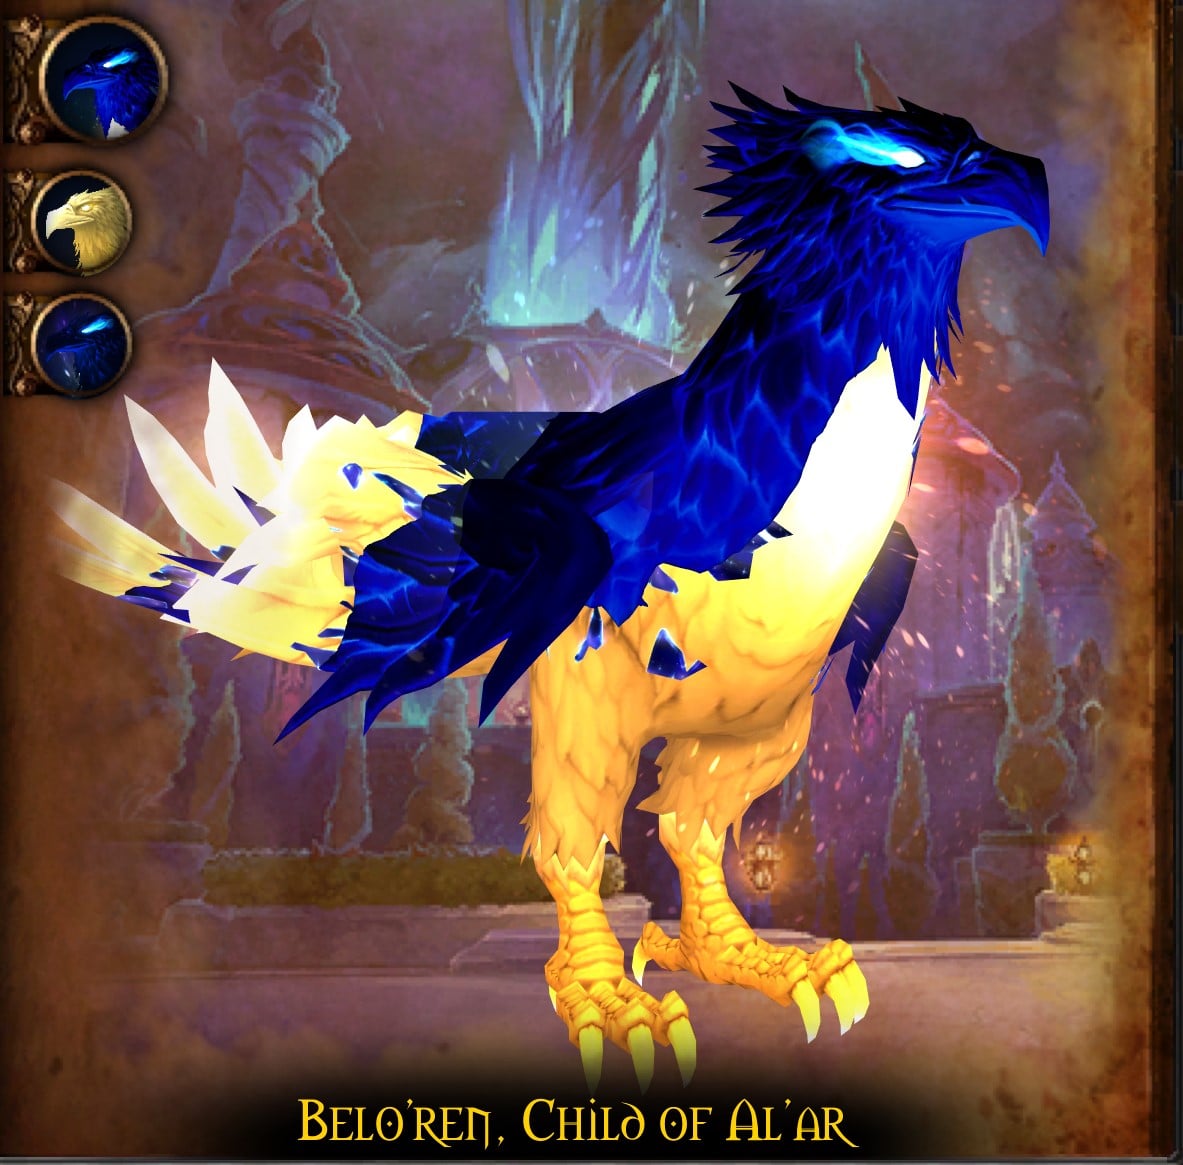
Belo’ren is a two-stage encounter built around players doing tasks according to their assignments, adding control, and a rebirth DPS check.
Stage 1: Phoenix Reborn
The whole fight starts with Voidlight Convergence - this deals raid-wide damage and infuses players with either a Light Feather or a Void Feather. It splits the raid group in half, essentially, colored either gold or purple, and each should interact with their color’s mechanics while avoiding the other color entirely. Your team should be ready for this, since most of the time you do something wrong, you die. The optimal thing to do here is to split by color and stay on the different sides of the boss, even though that formation will probably break down later.
The dives from the embers are also deadly. Light Dive and Void Dive split damage between all players hit, so you want a soak group of appropriate color to stack on the player targeted by a huge circle. After the hit, the ember leaves behind two large puddles, so always bait these toward the edges of the arena to keep the floor playable. Another thing you should do is drop them somewhat close to each other, since they both spawn adds.
The biggest priority in this phase is handling said adds - Embers of Belo’ren.
-
Light Embers cast Light Eruption, and only players with Light Feather can interrupt it. Void Embers work the same way for Void Eruption and Void Feather. If you fail to interrupt them, the team takes huge damage.
-
When you down them, they leave an egg behind, and that egg has to die within 15 seconds. If it hatches again, your raid takes another burst of damage and Embers respawn.
Radiant Echoes is the flashiest attack of the bunch - two lines of Void and Light bubbles start flying towards each other across the battle, dealing massive damage to whoever comes in contact. Players need to touch the bubble of their color - the bubble will dissolve, and you’ll create an opening for your team. On Mythic, bubbles also deal raid-wide damage when coming in contact with the bird.
Guardian’s Edict is the tank mechanic of the phase. Belo’ren throws out Light Edict, Void Edict, or both at once with Voidlight Edict. These cones need to hit valid targets of appropriate color. If they miss, the boss gains a damage buff, and that’s a wipe.
Eternal Burns is the healer check of the fight. Holy Burn and Void Burn absorb a large amount of healing and keep ticking until they are healed off. Healers need to identify these targets fast because they can fall over while the raid is already dealing with ember explosions, echo movement, and raid-wide damage from Immortal Flame.
Near the end of the phase, Belo’ren uses Death Drop. It goes airborne, then crashes into the middle of the arena. Move away from the center before impact, since distance reduces the damage.
Stage 2: Ashen Shell
After he falls, Belo’ren retreats into an ashen egg and starts Rebirth. This is a DPS check - deal as much damage to as many as possible before the phoenix gets reborn, using Bloodlust is recommended there. During this phase, Incubation of Flames keeps filling the arena with delayed Light and Void. You should stand in the zone of your color. After the bird respawns, the phases repeat until you kill the egg completely - keep in mind that it keeps the health bar through phases, so your damage is preserved.
Heroic Difficulty Changes
Heroic adds Infused Quills, which gives the boss extra targeted pressure. After a delay, Light Quill or Void Quill fires in a line and hits the first player in sight. The best way to handle these is to have the targeted void players stand still, while the light ones should intercept their beams with theirs.
Mythic Difficulty Changes
Mythic makes Radiant Echoes much harder to deal with. If an echo comes into contact with Belo’ren, it bursts for raid-wide Holy or Shadow damage. That puts pressure on the raid to create openings not only for themselves but for the bird, too.
This version of the fight adds much more room pressure. Feather assignment matters more, echo movement matters more, and mistakes chain into each other much faster. The core loop stays the same, but the punishment for poor positioning goes way up.
Midnight Falls, L’ura Boss Tactics
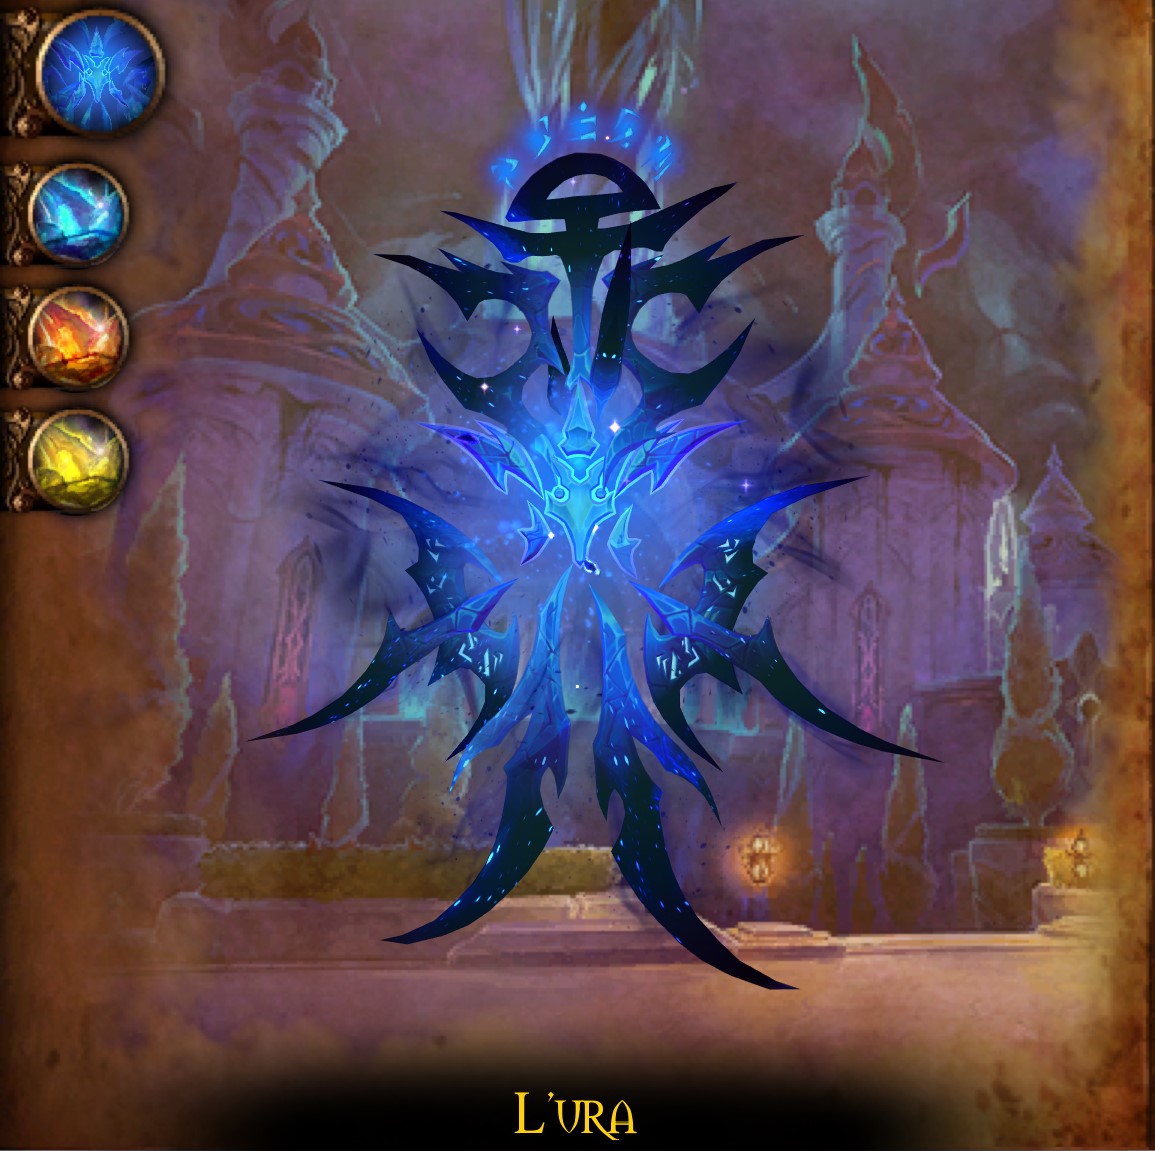
L’ura is the main coordination fight in this raid - and it’s an end-of-tier fight, so be prepared for a tough challenge. To quickly sum it up, this encounter is designed around surviving a steady stream of Cosmic and Shadow damage pressure while managing crystals, handling shield objects, and using Dawn Crystals at the right moment. The fight has three distinct stages, and each one asks your raid to do something different.
Stage One: The Final Toll
The phase starts with Death’s Dirge - L’ura marks players with Dark Runes, then fires a sweeping laser that activates any rune it hits. Once activated, the rune becomes either Dark Toll, which is a local burst around the target, or Dissonant Dirge, which is a raid wipe essentially.
It’s a memory game (yeah, I know) - the boss will show you the order in which the beam should hit which note, the beam always goes clockwise, so place some markers on the ground around the boss so that the beam hits the runes in order - that’s it, you’re golden.
Safeguard Prism is the next major mechanic. L’ura creates Safeguard Matrices that reduce her damage taken by 33% each. These matrices try to gain Safeguard unless they are interrupted. Your raid team should assign interrupts immediately and remove every Safeguard stack possible. When the fortification finally breaks, Disintegration hits the whole raid, so have healing ready for that transition.
The crystals are the main mechanic of stage one.
-
Kill Midnight Crystals before they reach Cosmic Fracture, because that detonation is brutal and leaves a heavy damage-over-time effect behind.
-
Dusk Crystals are the opposite - heal them up to full, so they transform into Dawn Crystals instead of exploding.
Once you get Dawn Crystals, players can carry them. The carrier takes constant Holy damage from Glimmering, so healers have to stay on them - the crystal can cast Dawnlight Barrier, which creates a dome that reduces damage taken by 99% for players inside.
There is a second catch with Dawn Crystals. If they are hit directly by Shadow or Cosmic effects, they erupt Tears of L’ura. Those tears need to hit at least one player each. If one lands without catching anyone, the raid gets hit by Naaru’s Lament. So the goal is to protect it from bad hits and be ready to cover the tear impacts if they happen.
Outside of the crystal mechanics, Stage One keeps pressuring the raid with Heaven’s Glaives, Heaven’s Lance, and Shattered Sky. Glaives are a movement check - stay clear of them. Heaven’s Lance is the tank mechanic, and Impaled stacks force tank swaps. Shattered Sky is pure sustained healing pressure, and it makes every other mistake feel worse.
Also, what I think is worth mentioning is that nobody should ever forget where the Darkwell is. It is an instant death zone.
Intermission: Infinities Foreseen
Once the intermission starts, L’ura starts the Black Aperture inside the Darkwell, and the whole raid takes steady Cosmic damage while dodging projectiles like it’s some bullet hell.
Extinction Ray is the main mechanic here. The beams hurt on impact, but the real wipe risk is letting them hit Oblivion’s Mirrors. If a beam hits a mirror, it reflects the effect to the entire raid, wiping everyone. At the same time, Death Shutter sends rings of void outward from the center. You need to move through the safe space without drifting into the Darkwell itself.
Stage Two: Midnight Falls
Midnight applies stacking Shadow damage and a movement slow to players left in darkness, so Dawn Crystal carriers become torchbearers for the team. Their light creates the safe zones, so everybody should stack together.
The Dark Archangel is one of the main damage spikes in this phase. This is a great place to spend Dawnlight Barrier, especially if it overlaps with Shattered Sky or Dark Meltdown. Black Tide adds even more floor pressure, and Dark Constellation forces players to dodge both star impacts and the connected patterns between them.
Heroic Difficulty Changes
Heroic’s biggest added pressure point is Light Siphon. L’ura creates portals that drain energy from players standing near them. If the portal expires before it has been charged enough, it triggers Stellar Implosion, which wipes the entire raid. Your raid leader should assign players to each portal.
Mythic Difficulty Changes
On Mythic, L’ura splits the raid between two realms with Dark Schism, and players from different dimensions will damage each other on collision, usually instantly killing each other. The two versions of L’ura are also linked through Dimension Link, so damage dealt to one transfers to the other.
Mythic also changes Death’s Dirge into Death’s Requiem during Stage Two. Instead of the laser activating the runes, collisions between marked players do it, which requires a great deal of team movement sync.
Check out our other WoW Midnight articles:
