Kowakujō Main Quest Guide TL;DR
-
Kowakujō is the newest Season 4 Reloaded round-based Zombies map in Black Ops 7.
-
The map takes place in Takeo’s cursed family castle inside the Dark Aether.
-
The Wonder Weapon of this map is the Nekomancer, which is basically a supernatural cat weapon. Zombies has peaked.
-
Main Quest rewards include the Purified Takeo Operator Skin, a Calling Card, 10,000 XP, and a unique Calling Card variant if completed before Directed Mode arrives.
You can buy ranked-ready Call of Duty accounts on Playhub and get straight into the fray. You can also get accounts with prestige rewards and the rarest camos, all delivered safely and quickly.
Kowakujō Main Quest Walkthrough
Kowakujō brings the Zombies to Masaki’s Castle. The whole place is twisted by the Dark Aether, surrounded by lava, packed with Scorched Zombies, and tied directly to Takeo’s soul lore. So yeah, not exactly a relaxing castle tour.
The main story setup is simple enough. The crew needs to free the final Shadowsmith and recover the World Seed before the Dark Aether situation gets worse than it already is. As always, the actual gameplay path starts with basic map progression, then moves into unlocking Pack-a-Punch, the Wonder Weapon, and eventually the later Main Quest steps, leading to a boss fight.
Step 1: Unlock Pack-a-Punch
Your first job on Kowakujō is unlocking Pack-a-Punch. As per usual, the later steps involve using it, so it’s non-skippable.
-
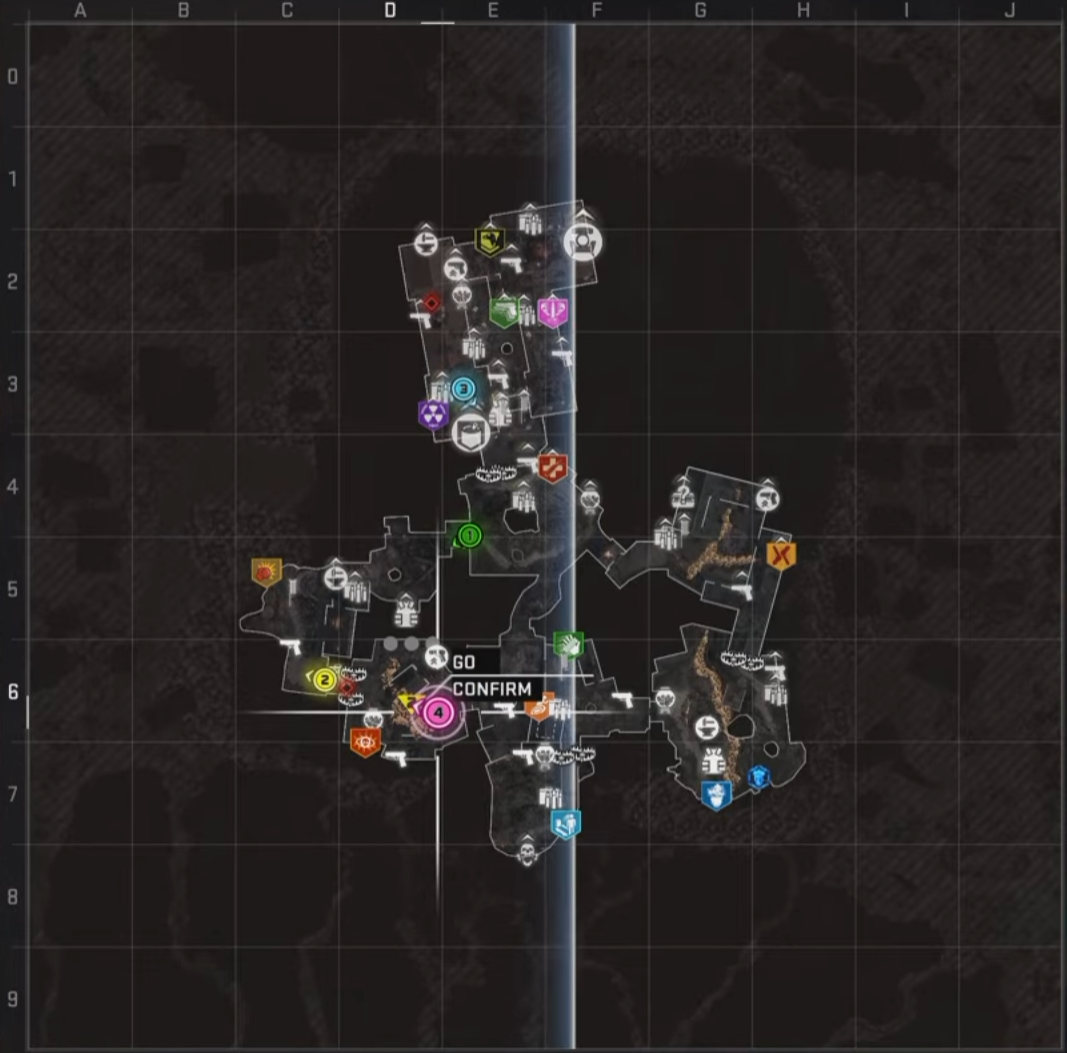
At the very start, follow the on-screen objective to recapture two Wards. One Ward is near the Training Area, and the other is in the Kitchens. Stand inside the marked circle and survive until the progress bar fills. The order does not seem to matter, so pick whichever route you like.
-
Once both Wards are recaptured, head toward the Central Courtyard. You’ll find a gate blocked by two red Gate Glyphs. Interact with both glyphs to remove them and open the route leading deeper into the castle.
-
From there, enter the War Room and interact with the golden sigil. This triggers an Oni fight. - It has heavy armor, hits hard, so take it seriously.
-
Kill the Oni, then pick up the Shogun’s Hanko drop. Take that item to the golden dragon door and use it to open Shogun’s Sanctum.
-
Inside Shogun’s Sanctum, you’ll find the World Seed. Kill the marked zombies near it until the World Seed powers up. Once that step is done, the Pack-a-Punch machine appears in the Sanctum.
As per official patch notes, Pack-a-Punch tiers cost 5,000, 15,000, and 30,000 Essence. Get at least one weapon upgraded before you start pushing the Nekomancer steps.
Step 2: Prepare the Parts Needed for the Nekomancer Wonder Weapon
The Nekomancer is Kowakujō’s Wonder Weapon, and yes, as you can deduce from its name, it is a cat-themed weapon. I’m not even going to pretend that sounds anywhere near normal, but it's Zombies, they always come up with something outlandish. Before starting the Nekomancer chain, you should have a few things ready:
|
Item |
Why You Need It |
|---|---|
|
PhD Flopper |
Required to drop the suspended cage in one of the steps |
|
Death Perception |
Helps highlight the creaky floorboards later |
|
Pack-a-Punched weapon |
Makes Abomination and Oni fights much easier |
|
Upgraded Armor |
Keeps you alive |
|
Kazimir |
Useful if zombies overwhelm the paw print step |
PhD Flopper is the important one here because one part of the quest requires diving to prone near a suspended cage. Death Perception is not strictly required, but it makes the stealth step much easier.
Step 3: Collect the Three Nekomancer Parts
To begin the Wonder Weapon build, you need three parts across the map. They are not too bad once you know where to look, but Kowakujō’s layout can make everything feel more annoying during early runs. The three confirmed parts are:
-
The Bell is found at the Stables.
-
The Cat Statue is in the Kitchens, sitting on a barrel.
-
The Long Statue is between the Storage Rooms and the Workshop, and it should show a “Remove” prompt when you walk up to it.
Once you have all three parts, head to the Workshop. Look for the crafting table near the Vulture Aid machine and build the Maneki-Neko. This gives you the key item needed for the next part of the quest. Also, yes, we are building a lucky cat statue to unlock a cat weapon.
Step 4: Drop the Suspended Cage
After building the Maneki-Neko, make sure you have the PhD Flopper equipped. Then head to the Tenshu Entrance and look for the suspended cage.
Dive to prone next to the cage with PhD Flopper. If done correctly, the impact will knock the cage down. Pick it up.
Step 5: Melt the Cage in Lava
With the cage collected, throw it into lava. The cage melts, and the cat inside will swim away. That starts the next part of the Nekomancer quest - now, you need to track the cat by following the glowing paw prints across the ground.
Keep your eyes on the floor, because the prints can be easy to miss if you’re sprinting around like you’re late for exfil. This is one of those steps where rushing usually makes it take longer.
Step 6: Follow the Glowing Paw Prints
After the cat escapes, glowing paw prints will appear somewhere nearby.
-
Find them, then kill zombies around the prints.
-
Doing this spawns the next set of paw prints.
-
Keep repeating the process until the paw prints form a full shape on the ground.
Step 7: Throw the Maneki-Neko Into the Shape
Once the paw prints create the full shape, throw the Maneki-Neko into the center. If you did it correctly, the cat will appear. Then an Abomination spawns and eats the cat.
Kill the Abomination to free the cat. This is why you really want Pack-a-Punch ready before starting the full weapon quest. The Abomination is pretty tough if you don’t have the decent enough tool to deal with it.
Step 8: Sneak Up on the Cat
After the Abomination dies, the cat will appear again somewhere near the creaky floorboards. You should hear it purring nearby. This is where Death Perception helps a lot. With the perk active, the floorboards are easier to spot. Avoid stepping on them and slowly sneak toward the cat.
If you step on the wrong floorboard, you may mess up the attempt and need to reset the encounter. Once you get close enough, pick up the cat.
Step 9: Bring the Cat to the World Seed
Carry the cat back to the World Seed in Shogun’s Sanctum. This is the same room where you unlocked Pack-a-Punch. Place the cat near the World Seed, and it will jump onto the seed. Now get kills near the World Seed to charge it until it pulses red. Once it does, melee the seed to free the cat. After that, the Nekomancer drops and can be picked up. At this point, you have the fully crafted Wonder Weapon. it’s abilities are:
The Nekomancer has three confirmed abilities:
-
Spirit Bolt: Fires supernatural projectiles
-
Hairball: Uses the cat’s special attack
-
Neko Punch: Hits enemies with a close-range burst
Nekomancer is tied to the Main Quest objectives, so you should build it as early as possible. Based on the previous Zombies maps, it is also likely going to be your best answer to later special enemies, especially if the boss fight leans into World Seed or soul-based mechanics.
Step 10: Continue the Main Quest After Nekomancer
This is where the guide becomes a live update section.
Right now, the confirmed public steps end at obtaining the Nekomancer. The full post-Nekomancer Main Quest path is still being uncovered, so I would not recommend adding random “confirmed” puzzle steps until the community has solved them cleanly.
What we do know is that the broader quest revolves around the World Seed, the final Shadowsmith, Takeo’s curse, and Nyxara’s undead forces. The map also has Oni, Scorched Zombies, Hellhounds, lava hazards, and a final Main Quest reward set already attached to completion.
For now, after getting the Nekomancer, I’d prepare like this:
-
Pack-a-Punch your main weapon.
-
Keep the Nekomancer on one player at all times.
-
Buy armor upgrades.
-
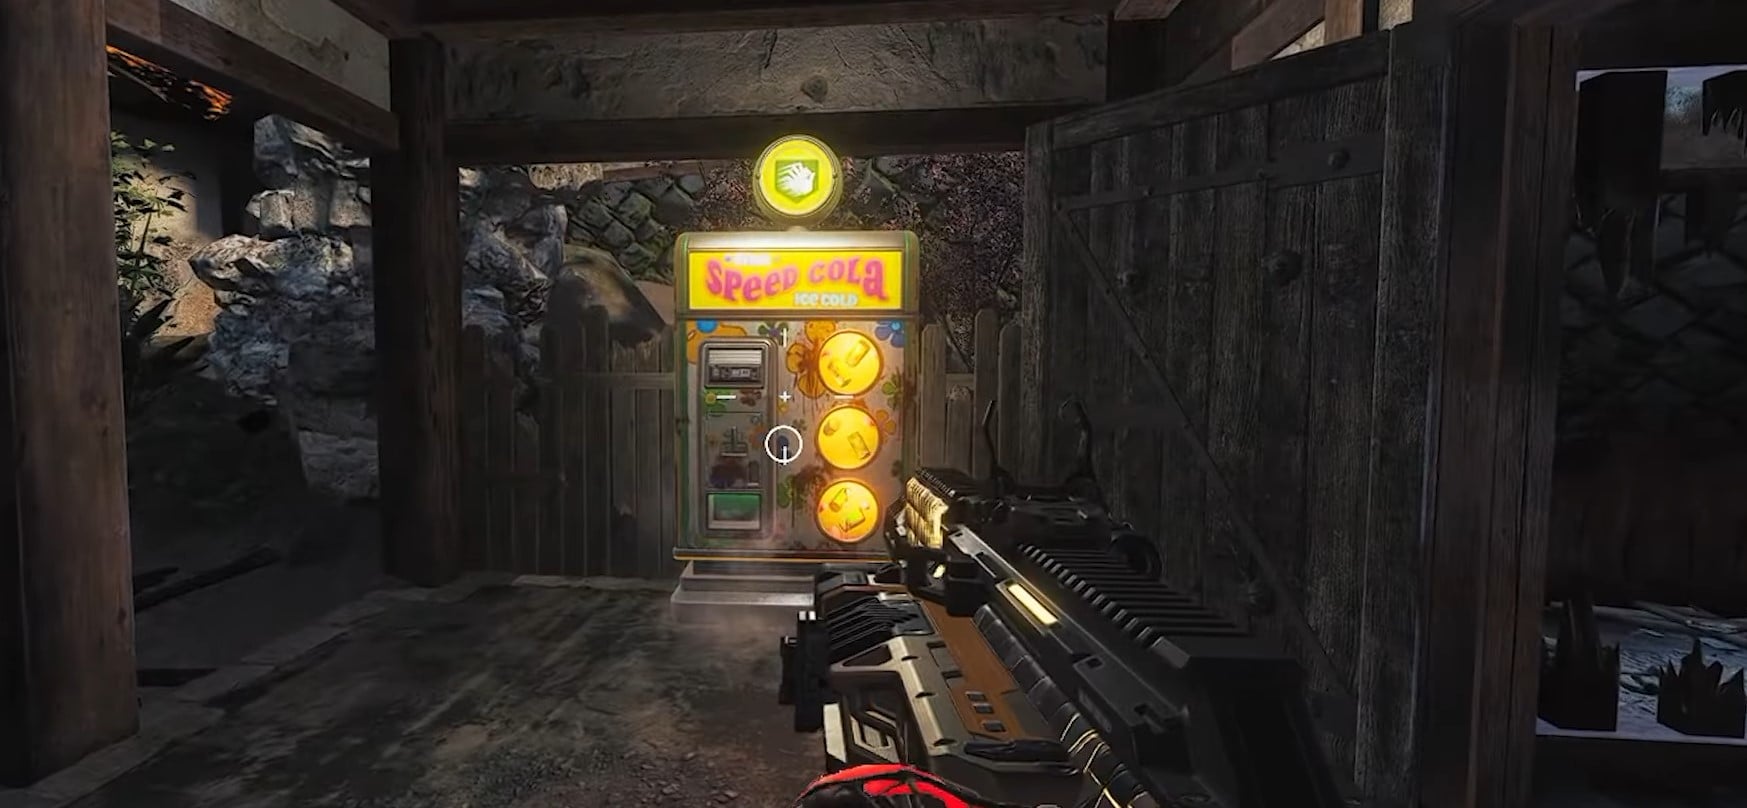
Grab PhD Flopper, Jugger-Nog, Speed Cola, and Death Perception.
-
Keep a panic tool like LT53 Kazimir ready.
-
Search Shogun’s Sanctum, lava areas, and Takeo-related rooms for new interactions.
The most likely next steps will involve using the Nekomancer on quest objects, powering the World Seed further, or triggering shrine-style interactions around the castle. That is not confirmed enough to write as a full walkthrough yet, so I’d rather keep this guide accurate than make up nonsense and call it a day.
Best Setup for Kowakujō Main Quest Runs
Honestly, you do not need a perfect setup to start the quest, but there are some things you can use to make the runs much easier. Here is what I’d get before pushing objectives past Pack-a-Punch:
|
Slot |
Item |
|---|---|
|
Main weapon |
Reliable AR, SMG, or shotgun of your preference |
|
Second weapon |
Nekomancer once built |
|
Perks |
Jugger-Nog, PhD Flopper, Death Perception, Speed Cola |
|
GobbleGum |
Hellping Hound, Perkaholic, Phoenix Up, Idle Eyes |
|
Equipment |
Decoys, LT53 Kazimir, or Molotovs |
The new PPSh-41 can also be a great Mystery Box pull. It has a large magazine, fast fire rate, and full Pack-a-Punch support, which makes it fit the map’s close-range castle fights pretty well.
Hellping Hound is also worth using. It summons a friendly Hellhound for five minutes, which can help during all of the Nekomancer quest steps. It will not complete the quest for you, obviously, but one less problem chasing you is still nice.
Kowakujō Cursed Mode Rewards
Cursed mode returns on Kowakujō, and it is basically a hard mode - it limits your HUD, removes all Main Quest guidance, and starts you with only a pistol. I would not recommend starting Cursed mode until you know the map and all of its objectives well. Kowakujō Cursed mode includes these unique rewards:
-
Flame Cipher Pack-a-Punch Camo
-
Toxic Cipher Pack-a-Punch Camo
-
Blood Cipher Pack-a-Punch Camo
Kowakujō Main Quest Rewards
Completing the Kowakujō Main Quest gives you the standard pack of Zombies completion rewards, plus a limited variant if you finish before Directed Mode arrives.
|
Reward |
Requirement |
|---|---|
|
Purified Takeo Operator Skin |
Complete the Main Quest |
|
Calling Card |
Complete the Main Quest |
|
10,000 XP |
Complete the Main Quest |
|
Unique Calling Card Variant |
Complete before Directed Mode arrives |
The Purified Takeo skin is the big one here. Kowakujō is clearly his map, so getting a Takeo-themed reward makes sense. If you care about limited Zombies flex rewards, try to finish before Directed Mode goes live.
Check out other useful Call of Duty articles:
