The Voidspire Raid Guide TL;DR
-
Imperator Averzian is a tile-control fight where you must stop three claimed tiles in a row and focus his adds.
-
Vorasius is a DPS check built around Slam soaks, wall breaks, and surviving Void Breath.
-
Fallen-King Salhadaar focuses on killing Void Orbs, managing puddles, and surviving a high-damage arena-wide beams phase.
-
Vaelgor & Ezzorak require balancing bosses' HP, coordinating Gloom soaks, and strong intermission control.
-
Lightblinded Vanguard is a three-boss cleave fight heavy with tank swaps and dangerous AOE damage phases.
-
Crown of the Cosmos is the final fight, centered on Alleria Windrunner, with Sentinel management, movement-heavy mechanics, and a challenging final phase.
BoEs, consumables, and day-to-day expenses are set to drain your gold super fast. You can skip the gold grind and cover expenses entirely - just buy WoW gold on Playhub. Quick delivery and lots of offers to choose from.
The Voidspire Location
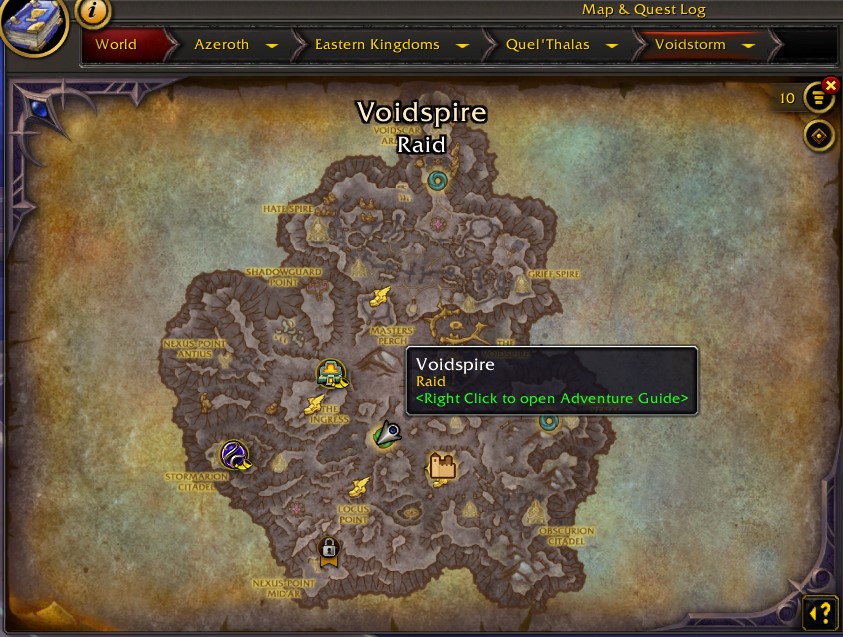
The raid sits in Voidstorm, and the entrance is at the /way 45.4 64.0. That makes it the core raid hub for early Midnight progression.
The Voidspire Bosses
There will be 6 bosses total, each with unique drop pools and mechanics. The full boss lineup is:
-
Imperator Averzian
-
Vorasius
-
Fallen-King Salhadaar
-
Vaelgor & Ezzorak
-
Lightblinded Vanguard
-
Crown of the Cosmos
The Voidspire Bosses Tactics
Imperator Averzian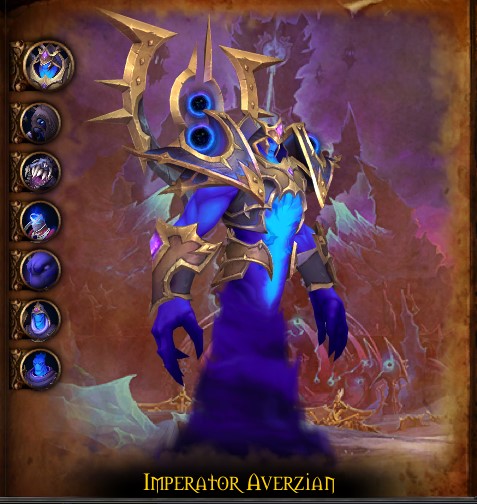
Imperator Averzian is a tic-tac-toe board control fight and a damage check 2 in 1, and the one you’ll want to BL on pull. The room is split into nine tiles. The boss will periodically spawn 3 servants in 3 tiles, and you’ll have to kill them before they claim their tile. The third shaper always survives, and whenever they do claim said tile, your goal is to not let them claim 3 in the same row, otherwise your group will get insta-killed.
Once the surviving Voidshaper becomes active, the add phase starts. Make sure to Interrupt Pitch Bulwark every time, because a successful cast gives nearby enemies a large absorb shield. Voidmaws are lower priority, but you cannot completely ignore them. When they drop low, they try to run to a portal and heal back to full.
Tanks need to keep Averzian away from claimed tiles. If he steps on them, he gains a large damage buff and heavy damage reduction. His attacks also stack Blackening Wounds on tanks, decreasing their max health - swap tanks at around 8 to 10 stacks. of Blackening Wounds. You’ll also need to keep your eyes on the claimed tiles, which will periodically overcharge, and a player will need to soak them, otherwise they’ll deal a massive amount of raid-wide damage.
Vorasius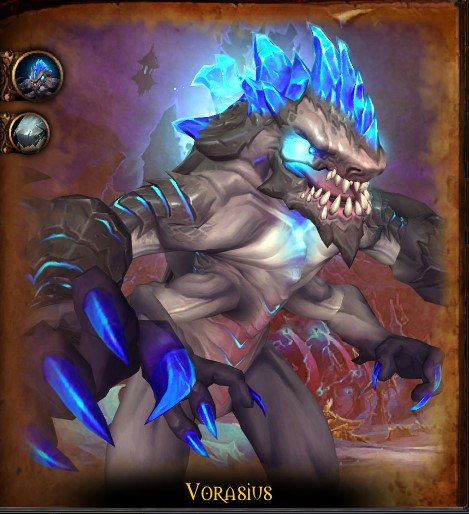
Vorasius is mostly a single-target encounter with brief add summoning phases and a hard DPS check built in. Lust on pull is the standard play.
The encounter opens with Vorasius casting Primordial Roar - it pulls everyone inward, and every player needs to run against that pull until the cast finishes, otherwise you’ll fall to death. When it ends, it deals raidwide damage and knocks the whole raid back.
The next mechanic is Shadowclaw Slam:
-
Vorasius marks an area, and the current tank must soak it. If nobody soaks the Slam, it wipes the raid.
-
The first two Slams in every cycle also spawn walls, and they both apply Smash, which increases the tank’s physical damage taken by 150 percent for two minutes.
-
Since Smash stacks, the same tank should take the first two Slams with large cooldowns, then the other tank taunts immediately after the second one.
Each Slam also creates Aftershocks that radiate outward in rings. The raid needs to let the first ring explode, then step into the safe gap behind it.
Those first two walls are part of another raid-wiping mechanic. Vorasius later casts Void Breath, a sweeping frontal that crosses the arena from one side to the other. The side where he holds a glowing orb in his hand tells you where the swipe will begin. The breath then slowly travels across the room. To survive it, the raid needs both walls broken ahead of time so everyone can move through to the safe side.
Walls are destroyed by Blister Creep adds from Parasitic Expulsion. These adds fixate random players, and when they die, they explode. If you are fixated, your job is to bring the ad directly onto a wall and kill it there. If you get hit while kiting it, use personal defensives because the melee swings can hurt. Once the add dies, move out of the blast. On Heroic, each wall needs two explosions instead of one, so players need to call which wall they are taking their add to.
When Void Breath is about to happen, both walls must already be broken. If even one side is not ready, people get trapped, and the fight usually ends there. After the breath finishes, the boss essentially resets into the next cycle. The raid should rotate back toward the middle so it does not get trapped by the next set of crystallized walls, and the tanks repeat the same soak pattern again.
Fallen-King Salhadaar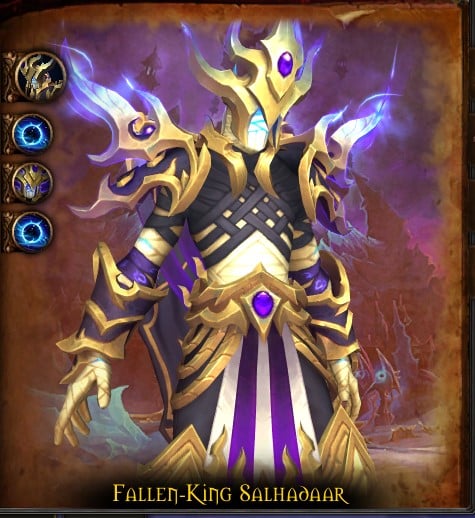
Fallen-King Salhadaar is a mostly single-target boss that requires you to prioritize his adds and forces your healers to constantly swap targets. You can Bloodlust on pull or save it for the damage amp phase later, depending on how your group wants to pace the fight.
The main mechanic of the boss is the pair of Concentrated Void Orbs that come out of portals and slowly travel toward the boss. If either orb reaches him, he casts Reckless Infusion, dealing huge raidwide damage and applying a one-minute dot that will usually wipe the raid soon after. The tanks should prevent this by positioning near an active portal and slowly dragging the boss away from both orbs. The rest of the raid then hard swaps and kills the orbs ASAP.
Tanks also need to watch the timing of Shattering Twilight.
-
When Salhadaar casts it, he stays still for the hit, which makes it much easier for orbs to catch him if he was not already moved far enough away.
-
Shattering Twilight is a tank buster that deals large Cosmic damage and then sends spikes out from the tank’s position.
-
The targeted tank should move away from the raid before the hit, so that the spikes are easier to dodge.
-
On Heroic, that hit then bounces to multiple random players, and those players also send spikes out after a short delay, so the whole raid has to stay alert and midn their positioning.
The active tank is also managing Instability throughout the fight. This is a stacking dot that starts getting dangerous at around 10 stacks, so that is the moment to taunt swap.
The next major mechanic is Despotic Command. Several players get circles that deal heavy ticking damage to everyone within 5 yards, and when the debuff is removed, it drops a puddle of Torturous Extract. Marked players need to move to the edge of the room quickly and be dispelled there so the middle stays clear. Once dispelled, they also receive a large healing absorb, so healers need to burst heal these targets immediately.
Salhadaar adds more raid pressure with Twisting Obscurity, which places a 23-second dot across the raid. Healers need to heal through it while also paying extra attention to players still carrying healing absorbs from Despotic Command.
Room floor management gets even harder with Fractured Projection. The boss spawns multiple images across the arena, and each one starts casting Shadow Fracture. If that cast finishes, it drops a large permanent void puddle. Every image needs to be interrupted, or CCd, to make it despawn.
At 100 energy, Salhadaar begins Entropic Unraveling. For the next 20 seconds, he takes 25 percent increased damage while sending out rotating beams that everyone has to dodge. This is a good Bloodlust moment if your group wants to play around the damage amp, though some raids still prefer to Lust on pull because the movement in this phase can reduce value for stationary caster specs.
One important detail here is boss positioning. Before Entropic Unraveling starts, the tanks need to place him well because once the cast begins, he cannot be moved. When the phase ends, he drops a permanent void puddle where he is standing. Right after that, he follows up with another Void Convergence and two more orbs, and the whole cycle repeats.
Vaelgor & Ezzorak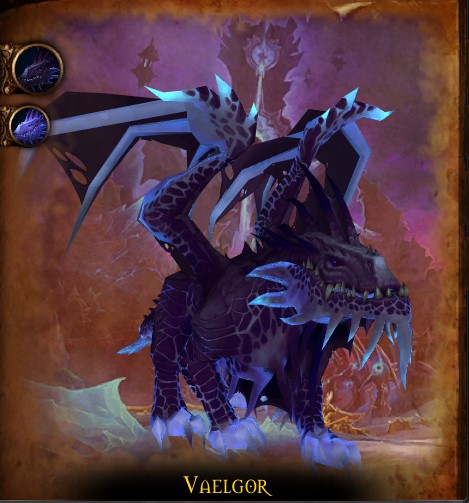
Vaelgor and Ezzorak is a two-target dragon fight. The dragons cannot be tanked on top of each other because Twilight Bond triggers an enrage if they are too close. That same enrage also happens if their health differs by more than 10 percent, so the raid needs to balance damage throughout the fight. Once again, Bloodlust on pull is the recommended play.
Because the dragons cannot be stacked, the raid should be split in half. One tank takes the grounded dragon slightly off to the side, and the raid positions between the two bosses for cleave. Nobody should stand behind either dragon because both use tail swipe style abilities that knock back and apply AoE bleeds.
Each dragon has its own dangerous tank pattern. Vaelgor uses Veilwing, which hits hard and ramps up each time it strikes the same target. That pattern resets when it hits a new target. After that, he also uses Hail Swipe, which punishes anyone behind him with a bleed. Ezzorak uses Rackfang, another heavy physical hit that also applies a healing absorb. It ramps the same way until it hits a new target. After each Rackfang, Ezzorak follows with Impale, a cone-shaped tail lash that applies a bleed and stuns anyone struck for three seconds. To keep those tank mechanics under control, the tanks swap bosses after each Gloom cast.
One of the first raid mechanics is Dread Breath. A player gets marked with a large cone that deals Shadow damage, leaves a dot, and fears anyone hit for 15 seconds. The marked player should move away from the raid immediately, and healers should be ready to dispel the fear quickly if anyone gets clipped.
Soon after that, Ezzorak casts Void Howl. This puts a purple circle effect on players that later spawns Void Orbs. Those orbs cast Void Bolt until they die, so the raid should stack up before they spawn to group them tightly, then nuke them down. Their casts can also be interrupted or crowd controlled while the raid finishes them off.
During the Dread Breath sequence, Vaelgor also uses Null Beam:
-
This is a frontal channel aimed at the active tank for four seconds, knocking them back the whole time and applying a stacking dot.
-
When the channel ends, it creates a Null Zone that tethers every player and starts pulling them inward.
-
The strength of that pull depends on how long the Null Beam was soaked. Every player needs to snap their tether by exiting the large blue circle.
-
Each snap causes raidwide damage, and the final snap, which should be the tank, hits much harder than the rest. So the raid should break first, then wait until the group is stable before the tank breaks last.
-
On Heroic, that final snap also applies Null Zone Implosion to the raid, which adds even more healing pressure.
After Dread Breath comes Gloom. Ezzorak sends out a moving orb of darkness in a frontal direction. If it reaches the edge of the arena with no soaking, it deals massive Shadow damage and leaves a large Gloom Field. Players can reduce both the damage and the field size by soaking the orb as it travels, up to five total soaks. Each soak gives Gloom Touch, a stacking 12-second dot. On Heroic, players who soak also take 500 percent increased damage from the next Gloom for one minute, which means you need two separate groups of five players rotating the mechanic. You know the orb has been soaked enough when its beam changes from purple to blue.
The active tank should aim the Gloom toward the side of the arena where the grounded dragon is standing. That makes the field easier to manage and also helps the next boss swap happen more cleanly.
After this set of mechanics happens twice, the dragons reach 100 energy and enter the intermission. They fly up and cast Midnight Flames, which deals constant Shadow damage to the entire raid. At the same time, a Radiant Barrier spawns that absorbs some of that damage and also spawns an add called Manifestation of Midnight. The raid needs to burn this add quickly because every 30 seconds it gains more attack speed.
During the intermission, a player also gets Shadow Marked. That target takes damage over time and then detonates after six seconds, hitting anyone within 8 yards. Marked players need to move away from the group before the explosion. Once the add dies, the dragons land and repeat the phase one pattern.
Lightblinded Vanguard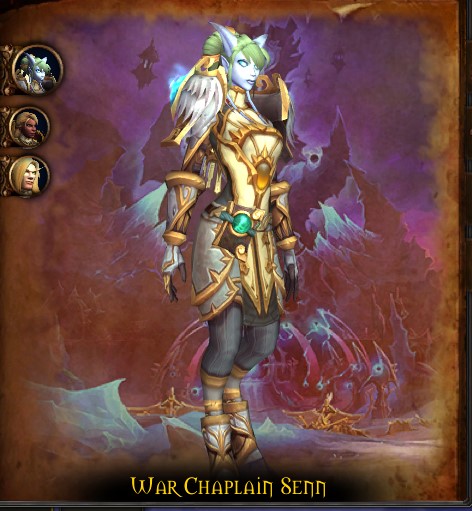
Lightblinded Vanguard is a three-target cleave fight against Commander Venel, General Bellamy, and Sen. Bloodlust on pull is the recommended opener, but there is one important catch. Bellamy and Sen will bubble and be immune on BL, so the raid should open on Venel first and then roll cooldowns into full cleave once all three are active. The general damage plan is to cleave evenly while leaning slightly harder into Bellamy since she has the highest health pool.
Venel also uses Avenging Wrath during the opener, which increases his damage done by 30 percent while also making him take 20 percent increased damage for 20 seconds. Even so, the raid should keep cleave pressure on the whole group because all three bosses need to die around the same time. If one dies too early, the survivors start stacking Retribution Aura, gaining 5 percent increased damage each time.
All three bosses need tanks, though only two of them have standard tank-buster abilities.
-
Commander Venel uses Judgment on his target, dealing heavy Holy damage and causing that tank to take 200 percent increased damage from the Final Verdict that follows.
-
General Bellamy has a similar pattern, but her Judgment increases damage taken from Shield of the Righteous instead. Once these Judgment casts go out, the tanks need to taunt and swap their bosses so the buffed follow-up does not hit the same target.
Positioning is a huge part of the fight because each boss has an energy bar. When one reaches 100 energy, they use their signature ability and then leave a large permanent Consecration pool under themselves. Bellamy hits 100 first, then Venel, then Sen. Because of that order, the raid should slowly rotate around the room, and tanks should drag the other bosses out of each new pool as they appear.
Bellamy’s signature is Aura of Devotion. It reduces allies’ damage taken by 75 percent while they stand inside the circle, so the tanks need to pull the other two bosses just outside that zone. At the same time, Bellamy casts Divine Toll, sending waves of shields across the room. These deal large damage and silence anyone hit.
Bellamy also throws Avenger’s Shield at several players throughout the fight. It deals large upfront damage and leaves a 15-second dot. Marked players should spread away from the raid and use a defensive CD to reduce the splash pressure. Healers then need to dispel the debuff. Bellamy also contributes constant raid damage passively, pulsing every two seconds, and that damage ramps by 25 percent every time any boss uses their signature ability.
Venel is the next boss to hit 100 energy. He casts Aura of Wrath, which increases Holy damage dealt by 100 percent for 15 seconds inside the zone. Again, the tanks should pull the other bosses to the edge or outside of that space. During this window, Venel targets three players with Execution Sentence.
-
Each target gets a soak circle, and the damage is split among everyone inside it.
-
The raid needs to divide itself evenly between the three circles so nobody dies.
-
Those circles cannot overlap because anyone struck gets a short increased damage taken debuff, which would make the next overlap lethal.
After the impact, Divine Hammers spiral out from each soak point, so players need to move again right away. Venel also uses Divine Toll occasionally outside this phase, which is an unavoidable raid-wide damage that healers need to heal up quickly.
Sen is the final boss in the cycle. Her signature is Aura of Peace, which protects all allies within 40 yards and silences anyone who attacks into it.
-
The raid should stop the damage until tanks drag the other two bosses outside the circle.
-
After that, Sen mounts up and charges a random player. The target only needs to sidestep.
-
Right after the charge, Sen puts Sacred Shield on herself. That shield makes her immune to interrupts, so the raid must burst it down fast before her Blinding Light cast finishes.
-
If that cast succeeds, it deals huge raidwide damage and disorients the raid, which very often ends the pull.
Sen also uses Searing Radiance during the fight, channeling heavy AoE damage for 15 seconds. Her last major mechanic is Tyr’s Wrath, which places a large healing absorb on the three closest players to her every five seconds during the channel.
Crown of the Cosmos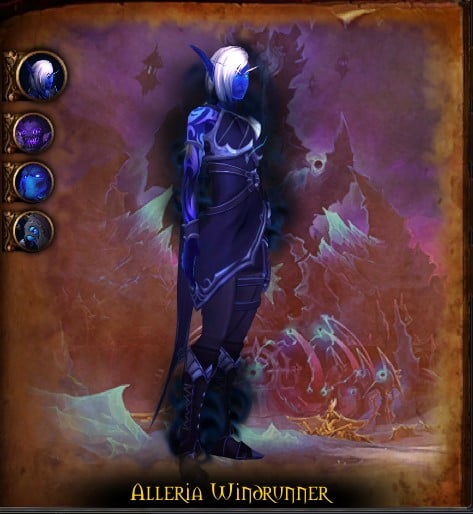
This boss was not present on Beta, so the info is based on Wowhead’s datamines.
Stage One starts with Alleria anchored by three Undying Sentinels. Tanks need to stay in melee of the Sentinels to stop Echoing Darkness from stacking and wiping the raid. Silverstrike Arrow is the key mechanic here. It clears Void effects from anything it passes through, which makes it useful, but it is also a dangerous line attack that can easily cleave the raid if the marked player aims it badly. Meanwhile, Void Expulsion and Grasp of Emptiness keep forcing movement, and Null Corona should be healed through rather than dispelled right away.
After the Sentinels fall, the fight moves into the Crushing Singularity intermission. This is a healing check with overlapping Silverstrike Barrage, Orbiting Matter pulls, Singularity Eruptions, and stacking Stellar Emission damage.
Stage Two is the final stretch. Silverstrike mechanics come off CD faster, cosmic pulls keep dragging players out of position, and tank damage ramps through repeated Gravity Collapses.
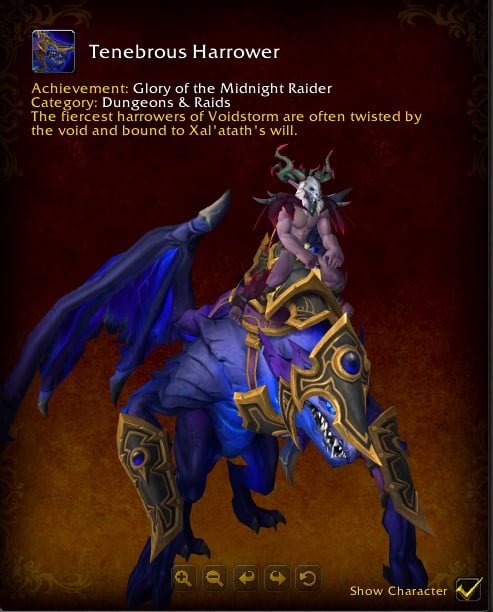
The Voidspire Mount
The main mount tied to Voidspire is Tenebrous Harrower. It’s a beautiful void-themed recolor which comes from the Glory of the Midnight Raider meta achievement:
Check out our other WoW Midnight articles:
