
Rex Infernus Main Quest Guide TL;DR
-
Survive the opening holdout in Her House, answer the phone, and enter the portal to the Nexus Forge.
-
Place the World Seed, destroy both Dread Skulls, and return their Usurped Flames to the Forge to unlock Pack-a-Punch.
-
Use the Void Claw to deliver a Purple Orb to Pack-a-Punch and create the Astral Flame.
-
Solve Nyxara's crystal-beam puzzle, enter the Forest three times, and collect every Warden's Blight component.
-
Solve Dravakar's randomized pillar riddle and assemble the Warden's Blight crossbows.
-
Obtain the Shimmering Thread and Ancient Scroll corruption items currently confirmed by the community.
-
Complete the house symbol sequence and HVT to upgrade the Void Claw into the Void Talon.
-
Remove the eye plates, burn the webs from the Nexus Core, restart its gears, and align the Forge monoliths with each temple.
You can buy ranked-ready Call of Duty accounts on Playhub and get straight into the fray. You can also get accounts with prestige rewards and rare camos unlocked, all delivered safely and quickly.
Black Ops 7 Zombies Story Recap
Since Rex Infernus closes the Black Ops 7 Zombies story, here is the short version of everything that brought the crew to the Warden's domain:
-
Ashes of the Damned: The crew discovered that the Warden had enslaved the Shadowsmiths and stolen their essence. Freeing Veytharion restored Dempsey and Maya.
-
Astra Malorum: Caltheris was freed next, restoring Nikolai and Grey. The Warden then captured the crew and the Entity.
-
Paradox Junction: The Twins helped the crew destroy the Dark Heart and escape the Warden's temporal prison at Nuketown.
-
Totenreich: Dravakar restored Richtofen and Weaver, warned that the Dark Aether was coming apart, and sent the crew after the World Seed.
-
Kowakujō: Nyxara restored Takeo and Carver. The crew then secured the World Seed needed to challenge the Warden.
Rex Infernus begins with all four Shadowsmiths free, the crew restored, and the World Seed in their possession. The Warden, Jack McGregor, is the only major target left.
Rex Infernus Main Quest Walkthrough
Rex Infernus’s mission flow is structured around the Nexus Forge and four Shadowsmith temples. Several quest solutions can vary between matches, especially Dravakar's pillar riddle and some temple interactions. Read the text and symbols in your own match to complete the puzzle.
Step 1: Unlock Pack-a-Punch
You begin inside Her House with the objective to hold out - it’s a recreation of Dr. Monty's estate - the house from Black Ops III's Revelations. Zombies enter from several directions; just fight them off using the equipment around the room. You have access to Quick Revive, a GobbleGum machine, and two wall weapons. Here’s the entire Pack-A-Punch unlock path:
-
Survive the opening holdout until the phone downstairs starts ringing.
-
Answer the phone to trigger the short scene and open the front door.
-
Leave the house and enter the portal outside to reach the Nexus Forge.
-
Place the World Seed on the central Forge pedestal. Two red Dread Skulls will appear.
-
Damage one skull until it retreats into a Shadowsmith temple. Follow it, open the required route, and destroy it inside the chamber.
-
Pick up the Usurped Flame it leaves behind and carry the flame back to the Nexus Forge.
-
Throw the flame into one of the two braziers beside the Forge.
-
Repeat the process with the second Dread Skull and light the remaining brazier.
-
Rotate both Crank Wheels at the Nexus Forge.
As I’ve mentioned earlier, the order of the two skull temples can vary. Veytharion and Caltheris are destinations I got, but follow the skull in your own match to see which one comes first. Once both wheels have been turned, the central platform lowers and creates a staircase to Pack-a-Punch. This also activates the green lanterns used to obtain the Void Claw.
Step 2: Get the Void Claw and Astral Flame
The Void Claw is the grapple tool used throughout the rest of the quest. You’ll need it to move Purple Orbs, rotate crystals, reach elevated areas, and eventually rebuild the Nexus.
-
Interact with one of the glowing green lanterns that appears after Pack-a-Punch opens.
-
Pick up the Void Claw charge. Each pickup lasts for a limited time, but the lanterns can be used again.
-
Find a floating Purple Orb and pull it with the Void Claw.
-
Keep redirecting the orb until you bring it to the Pack-a-Punch well at the Nexus Forge.
-
Wait for the orb to begin circling the well, then rotate the wheel to Surge the Nexus.
Surging the Nexus reignites the braziers with blue Astral Flame. Collect the flame when you need it. It is consumed after use, so deliver another Purple Orb and repeat the surge whenever a later step requires a fresh charge. Do not waste the Astral Flame on normal enemies. It is a quest tool first, even though its fireball can damage anything caught in the blast.
Step 3: Build Warden's Blight Wonder Weapon
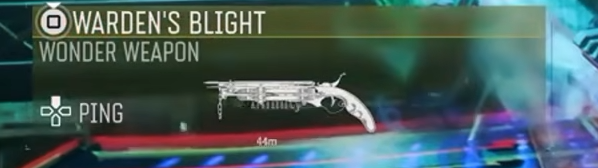
Warden's Blight is the map's exclusive dual-crossbow Wonder Weapon. Building it requires the Fracture of Nyxara, completing a beam puzzle, three separate visits to the Forest, and getting the Dravakar's randomized pillar riddle done:
-
Find the Fracture of Nyxara
Go to Dravakar's Main Chamber and look above the entrance from inside the room. Reach the upper platform with the Void Claw or a wall jump. A section of the wall on the right can be broken to reveal the missing purple crystal, also called the Fracture of Nyxara. An explosive works on the breakable section. Pick up the crystal.
-
Solve Nyxara's Crystal-Beam Puzzle
Take a fresh Astral Flame to Nyxara's Sanctuary. At the end of the temple, shoot the large eye with the flame to activate a moving Purple Orb and the crystal reflectors around the room. Use the Void Claw to rotate each crystal. Your goal is to redirect the orb from reflector to reflector until it reaches the marked door. One mount is missing its crystal, so grapple to it and place the Fracture of Nyxara you collected from Dravakar's chamber. Continue rotating the reflectors until the orb reaches its destination. When the order is correct, a hidden room opens. Approach the orb inside and drop into Nyxara's Inner Sanctum.
-
Enter the Forest Three Times
Walk to the large vine in the center of the Inner Sanctum and interact with it. It drains part of your health before producing the fruit that sends you into the Forest.
Only one Warden's Blight part can be collected per visit. After collecting a part, leave, advance the round, return to the roots, and eat another fruit. Repeat until you have all three components.
-
Cave: Follow the cave path and interact with the charred corpse at the far end.
-
Rocky area: Search around the middle of the Forest for the second charred body.
-
Burned cabin: Find the corpse near the cabin, then melee the glowing floorboard or plank to reveal the last component. Use Melee Macchiato if a normal melee attack does not trigger it.
Each body triggers a short scene and awards one piece. If you cannot collect another component, leave the Forest and progress the round before trying again.
-
Solve Dravakar's Pillar Riddle
Return to Dravakar's Main Chamber and interact with the blue writing to start a riddle. Four pillars form a square:
-
Galaxy is in the top-left position.
-
Moon is in the top-right position.
-
Runner is in the bottom-left position.
-
Star is in the bottom-right position.
The pillars begin facing inward, but the required final directions change between matches. Use the wall riddle from your own lobby to determine where each symbol must face. Three outer levers rotate pairs of pillars:
-
Left lever: Turns Galaxy clockwise and Runner counter-clockwise.
-
Right lever: Turns Moon counter-clockwise and Star clockwise.
-
Bottom lever: Turns Runner clockwise and Star counter-clockwise.
Use those paired movements to match the riddle, then interact with the center lever. A correct solution lowers the mechanism and opens a passage in the ceiling. Grapple through the new opening and assemble Warden's Blight at the build point.
Step 4: Complete the Temple Mechanisms Puzzles
The four Shadowsmith temples contain several mechanisms tied to the Main Quest route. Nyxara's crystal room and Dravakar's pillar riddle are already used to build Warden's Blight. The remaining documented interactions are in Veytharion and Caltheris.
Caltheris Floor Squares
In Caltheris' Main Chamber, look near the Ammo Crate for four stone squares set into the floor.
-
Stand on a square until four yellow lights appear.
-
Shoot every light.
-
Repeat the process for all four floor squares.
Completing the sequence opens a wall section containing a lantern and two Purple Orbs. These extra orbs make the later Astral Flame and corruption steps much easier.
Veytharion Elemental Blocks
Veytharion contains four movable stone blocks representing Fire, Water, Air, and Earth. Place them into the wall in Veytharion Sanctuary to begin a transfer puzzle. The blocks must be moved to the opposite side without leaving Fire alone with Water or Earth. Air is safe with every element and functions as the buffer. The route is:
-
Pick up Fire first.
-
Move Fire and Air to the right side, then leave Fire there.
-
Return to the left with Air and pick up either Water or Earth.
-
Move back to the right and put down Air before depositing the second block.
-
Pick up Fire first, then the block you just moved, and return both to the left.
-
Place Air as the buffer, then place Fire.
-
Take the remaining Water or Earth block and Air to the right.
-
Deposit the remaining block, return for Fire, and place Air before Fire to finish.
This mechanism opens a well or portal and awards a free Perk.
Step 5: Obtain the Corruption Items
The launch-day hunt has reproduced two corruption items: the Shimmering Thread and Ancient Scroll. More items may be required before all four places of power can be cleansed, so check the quest-item display in your match before leaving this stage.
-
Shimmering Thread
Use the Void Claw to pull a Purple Orb toward you and interact with it. The Shimmering Thread is not guaranteed to appear from the first orb, so repeat the process until it drops. Take the Thread to the brazier in Caltheris' Main Chamber. Place it into the brazier, collect a fresh flame from the Pack-a-Punch Forge, and use that flame to ignite the item.
-
Ancient Scroll
Apply the Shadow Rift Ammo Mod to one of your weapons, then enter the Forest through Nyxara's Inner Sanctum. Kill enemies with Shadow Rift until you hear the completion sound. The Ancient Scroll will drop onto the ground nearby. Pick it up before leaving the Forest. If the drop does not appear, make sure the kills are being triggered by Shadow Rift’s damage.
Step 6: Upgrade the Void Claw into the Void Talon
The basic Void Claw cannot remove the eye plates blocking the Nexus. You must turn it into the Void Talon through a specific sequence:
-
Return to Her House and shoot the basketball through the broken center window.
-
Progress three to four rounds. Four blue symbols will appear on the exterior of the house one at a time.
-
Remember or record the order in which the symbols appear.
-
Wait for an Exfil round, then shoot the four symbols in that same order.
-
Ring the phone booth and complete the HVT encounter that begins.
-
Use the resulting teleport to return to Her House.
-
Go upstairs and look through the zombie spawn beside the bed.
-
Fire a charged Warden's Blight shot at the shelf inside the inaccessible area.
-
Pick up the Eye of the Forge that becomes available.
-
Bring the Eye to a grapple station and empower it.
This converts the Void Claw into the Void Talon. The upgraded version can pull off the eye-shaped armor plates covering the Nexus Core and the surrounding monoliths. The symbol order is match-specific. I’d recommend you take a screenshot as each symbol appears; it's much safer than trying to remember all four while progressing rounds.
Step 7: Rebuild the Nexus
Enter the Nexus Core beneath the Forge with the Void Talon equipped.
-
Find the six walls around the Core. Each wall has two eye-shaped plates, for 12 plates total.
-
Pull every plate down with the Void Talon. Web-covered gears will appear behind them.
-
Return to the Nexus Forge and remove the three additional eye plates attached to the monoliths.
-
Create another Astral Flame by bringing a Purple Orb to Pack-a-Punch and surging the Nexus.
-
Carry the flame into the Nexus Core and blast the webbed walls to expose the gears.
-
Return to the Pack-a-Punch well and rotate the same wheel used to Surge the Nexus.
The exposed gears should light blue and begin moving. That confirms the Nexus has been restored and lets you start aligning its monoliths with the four Shadowsmith temples.
Step 8: Cleanse the Shadowsmith Temples
Three Crank Wheels on the Nexus Forge monoliths control the direction of the restored Nexus. Rotate all three so they point toward the same temple, then complete that temple's cleansing event. Repeat the alignment for:
-
Veytharion's Temple
-
Caltheris' Temple
-
Dravakar's Temple
-
Nyxara's Temple
The temples can be targeted one at a time. Confirm that all three monoliths point toward the same destination before leaving the Forge. If the event does not begin, check the Nexus Core for a missed eye plate or webbed gear and verify that your corruption quest items have been processed.
Final Step: Enter the Warden's Inner Sanctum and Defeat Him
The Warden, Jack McGregor, is the final boss of Rex Infernus and the Black Ops 7 Zombies storyline. Treyarch's stated quest objective is to cleanse the Shadowsmith's places of power, find his inner sanctum, and put an end to him.
At the time of this draft, the exact post-cleansing trigger, point-of-no-return interaction, boss phases, and damage windows have not been reproduced in enough independent guides to provide a trustworthy walkthrough. Before entering any newly opened route after the fourth cleansing, prepare as if it is the point of no return:
-
Upgrade your main weapon to Pack-a-Punch Level III and improve its rarity.
-
Repair armor and carry a Self-Revive.
-
Refill Warden's Blight ammunition.
-
Bring crowd-control equipment for Deathspinners and normal zombies.
-
Keep one high-damage weapon available for weak-point phases.
-
Spend remaining Salvage and Essence before interacting with the final objective.
Rex Infernus Main Quest Rewards
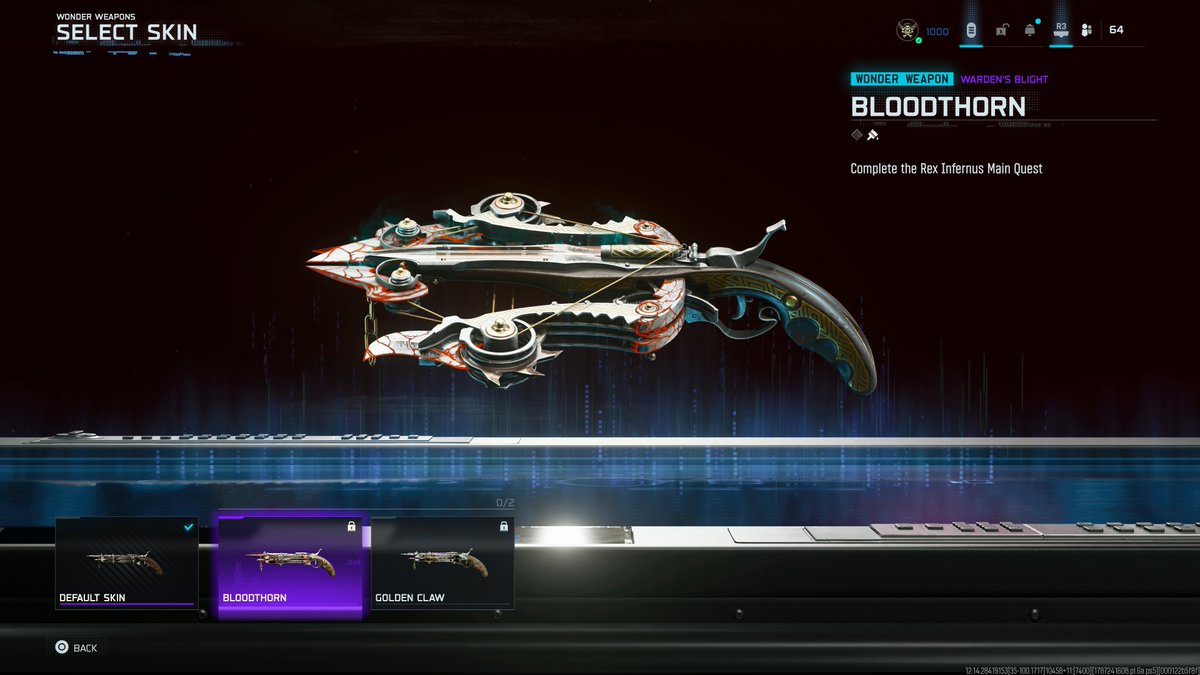
Completing the Rex Infernus Main Quest awards:
-
Bloodthorn Wonder Weapon Skin
-
Main Quest Calling Card
-
10,000 XP
Completing the quest before Directed Mode arrives also grants a unique variant of the Main Quest Calling Card. Rex Infernus also has two separate reward tracks:
-
Collect the required Audio Logs, Documents, and Artifacts to earn another Calling Card and 10,000 XP.
-
Complete the Rex Infernus Mastery Challenge to earn an Animated Calling Card and another 10,000 XP.
Rex Infernus Cursed Mode
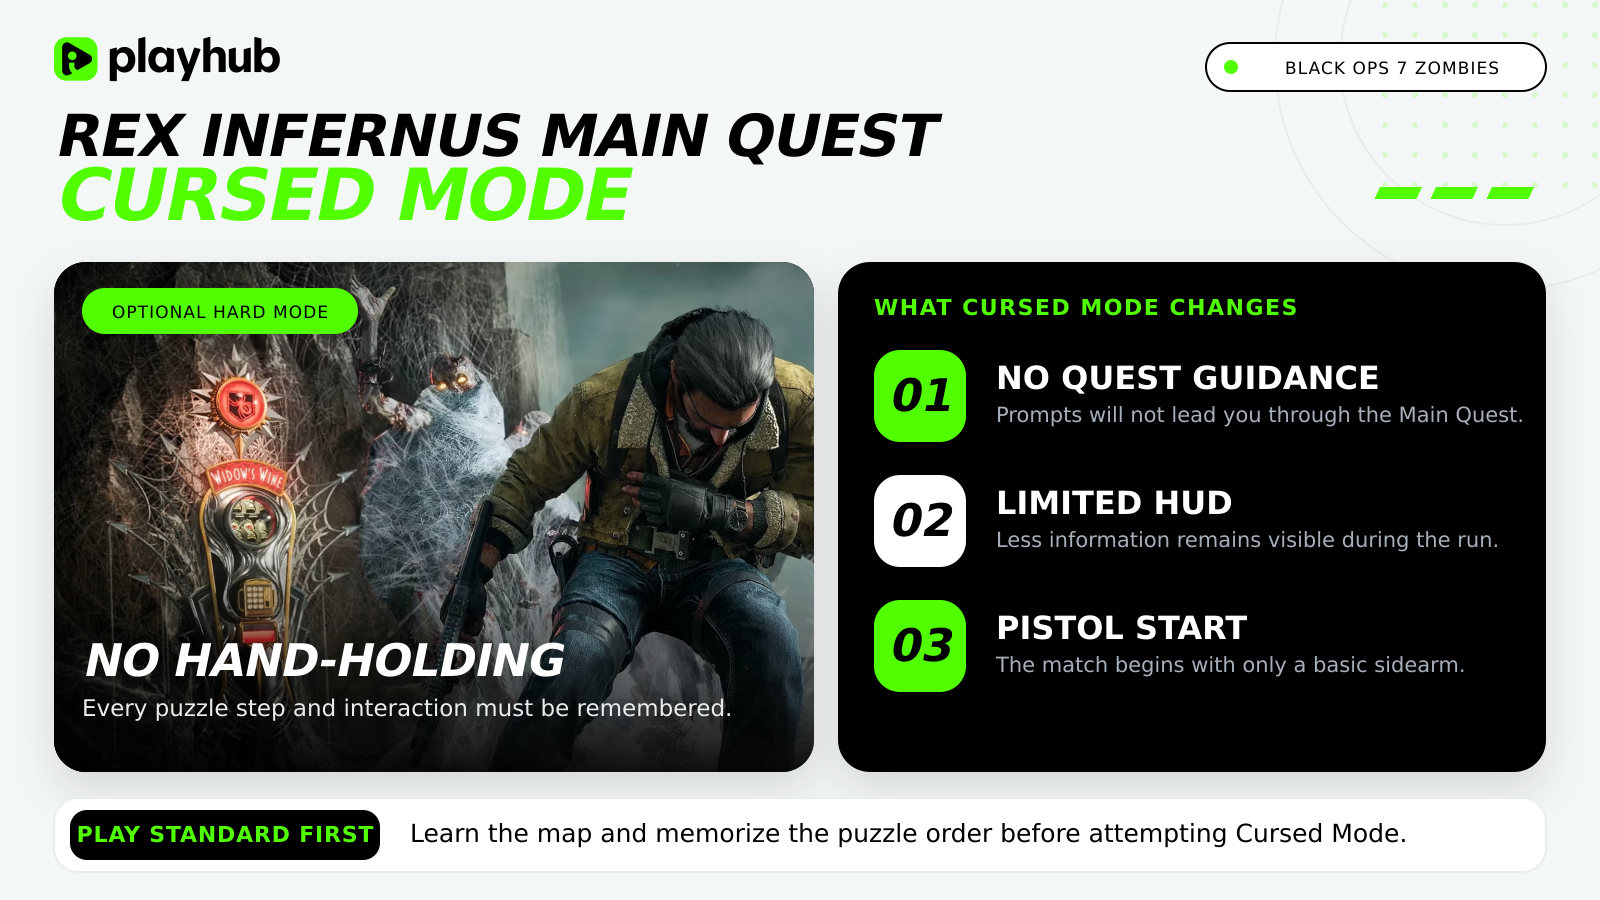
The Rex Infernus Main Quest can also be attempted in Cursed Mode. This version removes Main Quest guidance, limits the HUD, and begins the game with just a pistol.
Complete the Standard version first to learn the map and memorize puzzle steps. Removing the quest prompts makes every missed interaction harder to get right.
Check out other helpful CoD Guides:
Black Ops Royale Guide
Best Ranked Loadouts
Camos Guide